The more often a task is repeated, the more deeply it gets embedded in the brain. This is key for long-term learning. When it’s truly necessary to master a concept, do it over and over and over. It’s with this in mind, I present a challenge in this week’s tip to mix it up. Hopefully it will motivate you to get into the field and give it a spin. It’s based on the idea of motion. There are many aspects of this concept, hence the challenge. Are you up for it?
With each photo or set of photos, I offer information that relates to different aspects of motion. To master just a single type is a challenge unto itself, so I offer the following to get you motivated. Try each of the techniques found below and see if one entices you to dig deeper and run with it. If they all do, even better. Here’s to hoping at least one tickles your fancy so each time you have your camera, you can practice again and again. Remember, repetition is key to embedding a concept in the brain. Good luck and I hope you’re up for the challenge.
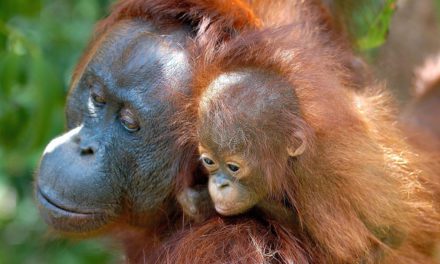
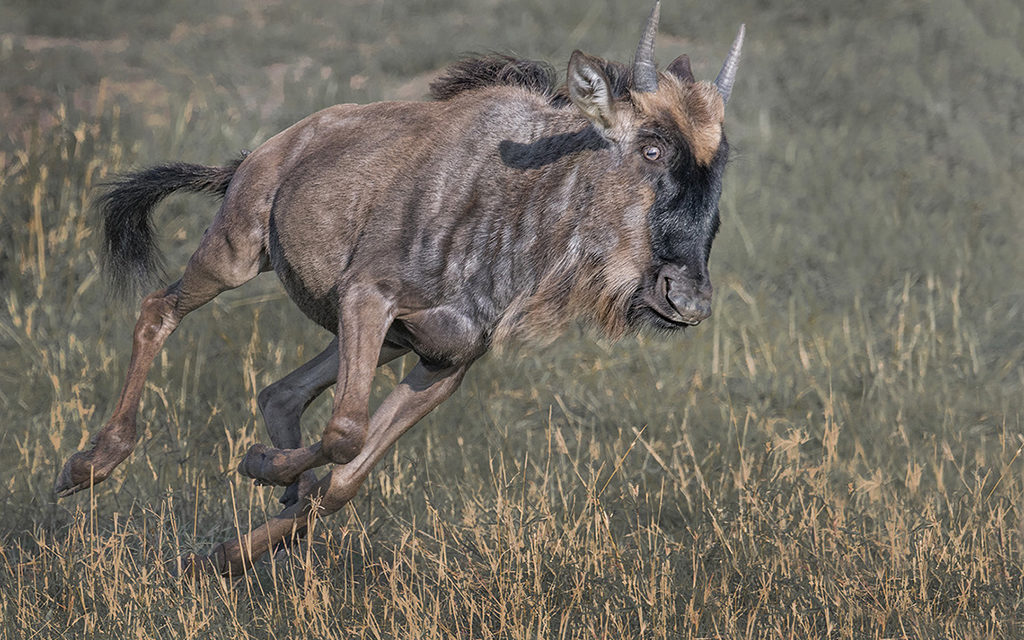
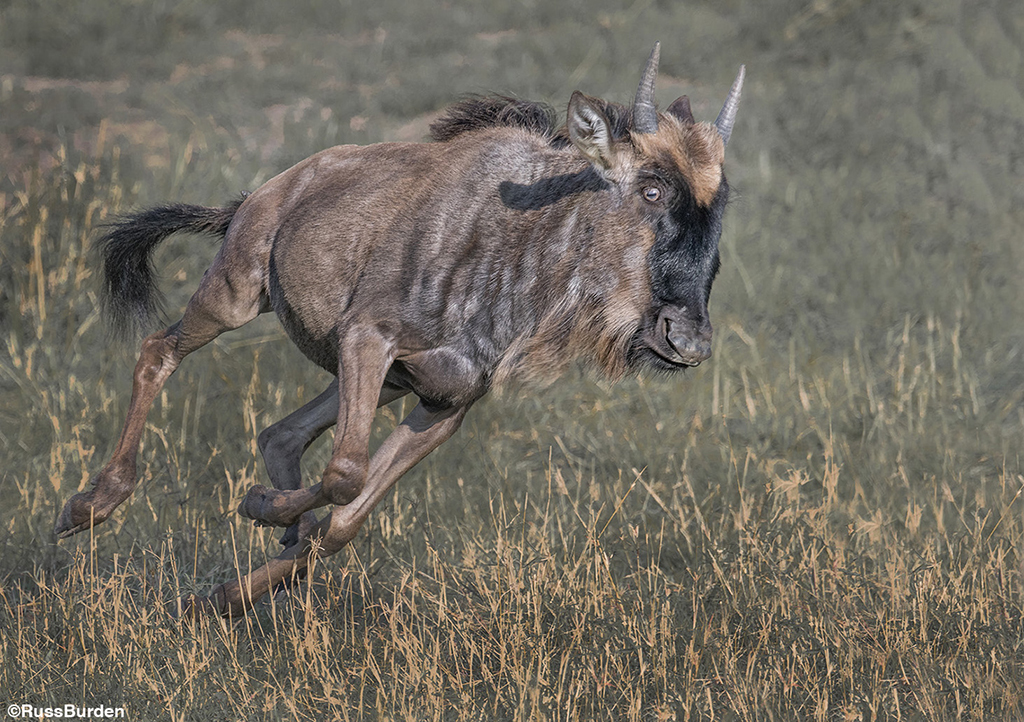
Stop The Action
The most basic way to convey motion is to photograph a fast-moving subject and freeze the action. The recipe for success starts with given variables. There needs to be enough light to attain a high shutter speed depending on the speed at which the subject moves. For instance, a hummingbird in flight needs an extremely high shutter speed to freeze the wings in comparison to the speed at which a seagull flaps its wings (many hummingbird photos that show frozen wings use flash). Higher ISOs are needed to attain higher shutter speeds, so cameras with high-quality sensors are essential. Lenses with wide apertures are highly recommended. Those in the ƒ/4 and faster range take in more light. Follow the action and leave more room in front of the direction of motion so the subject has room to move. This is a given for almost every action-depicting photo you create. Follow the action using fluid camera and lens flow. Set the capture rate to Continuous High. Be sure the subject is perpendicular to or coming toward the camera. Fire away and enjoy the editing!
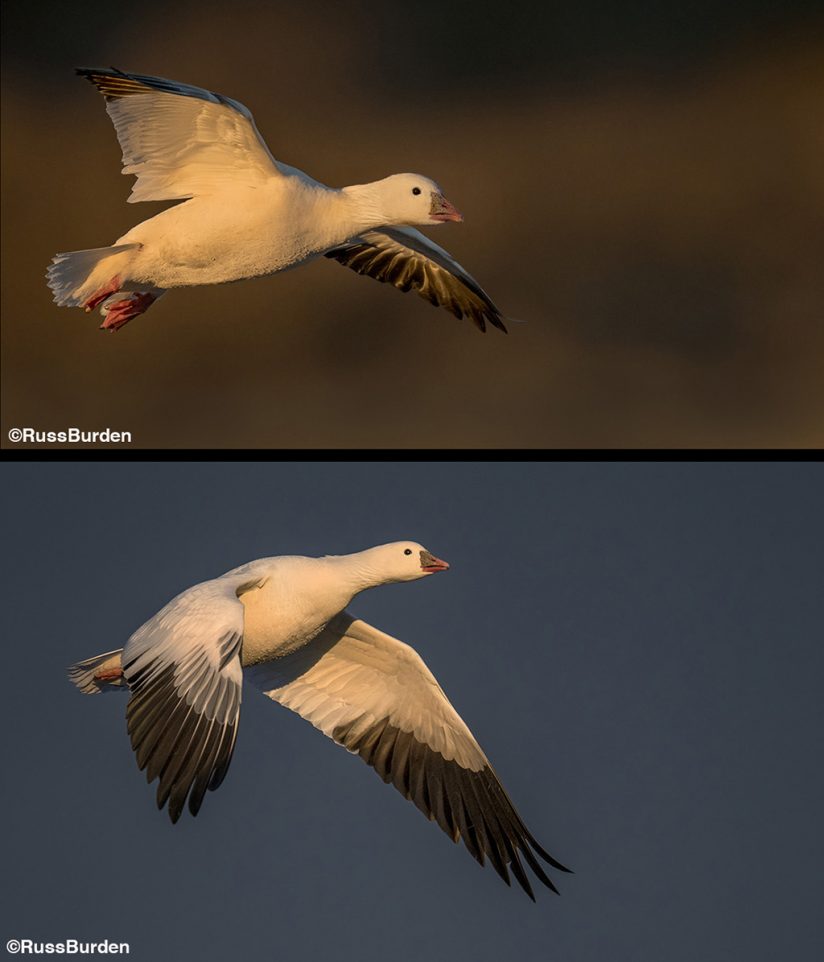
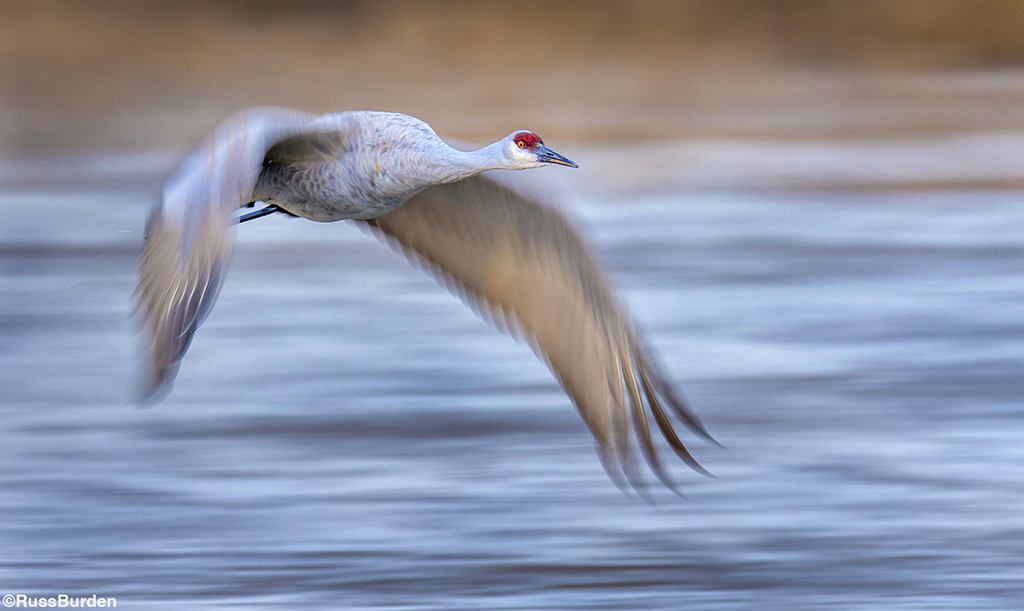
Birds In Flight
I mentioned birds in flight above. There’s a very important consideration if it’s your goal to capture avian motion. The position of the wing is very important. It impacts how the viewer interprets how much action is actually conveyed. Think about a photo of an airplane in flight. When a fast shutter speed is used, it looks as if the plane hovers in midair. The same holds true when the wings of a bird are straight out. It’s best to capture birds in flight with an up-wing or down-wing position. Here’s where the frame per second (FPS) rate of today’s cameras provides higher odds of capturing a great shot. In my early days of photography, never did I fathom the number could be so high. In the combo image of the snow geese, the top photo portrays more of a glide while the bottom one depicts forward movement.
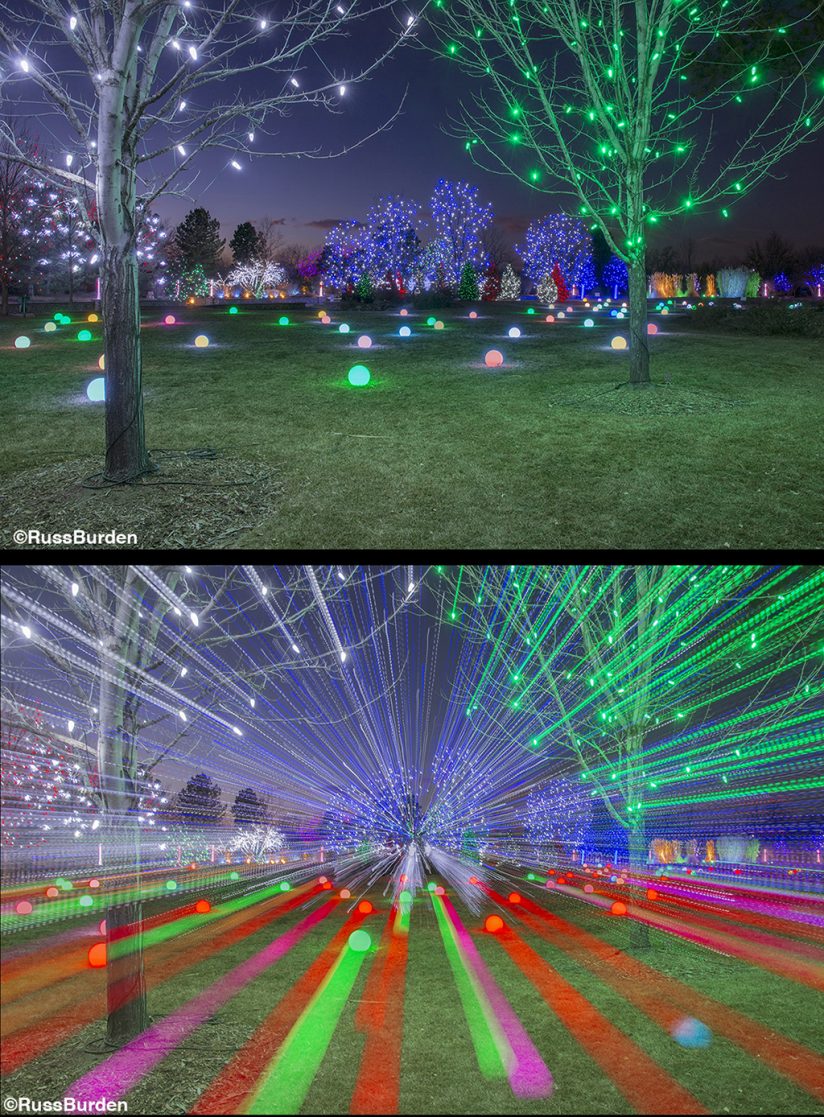
Zoom It
Make images in low light and/or use a strong neutral density filter to cut back the amount of illumination that would otherwise strike the sensor. During a one second or longer exposure, use the zoom feature of your lens to go from wide to telephoto or visa-versa to create converging lines toward the center of your frame. Place the camera on a sturdy tripod that has a solid head. An option is to handhold the camera or intentionally use a flimsy tripod if you want wiggly looking lines. I much prefer the clean look, but I have tried both and netted some interesting “squiggly” results.
Pan It
Besides freezing action, use other means to portray motion. Panning is used to create an image with a sharp subject set against a background that shows motion. The way to achieve this effect is to move the camera along the path of the subject’s motion and use a slower shutter speed than necessary to freeze the action. For instance, start with a shutter speed of 1/60th to capture a runner. Use a slightly longer speed to create more motion or a higher one to show less. Preview the image on the LCD and adjust the speed accordingly. The key factor is to choose a shutter speed dependent on the speed of the subject and to move the camera absolutely parallel with the subject. If there’s any up and or down movement of the camera as you pan, the effect is near impossible to achieve.
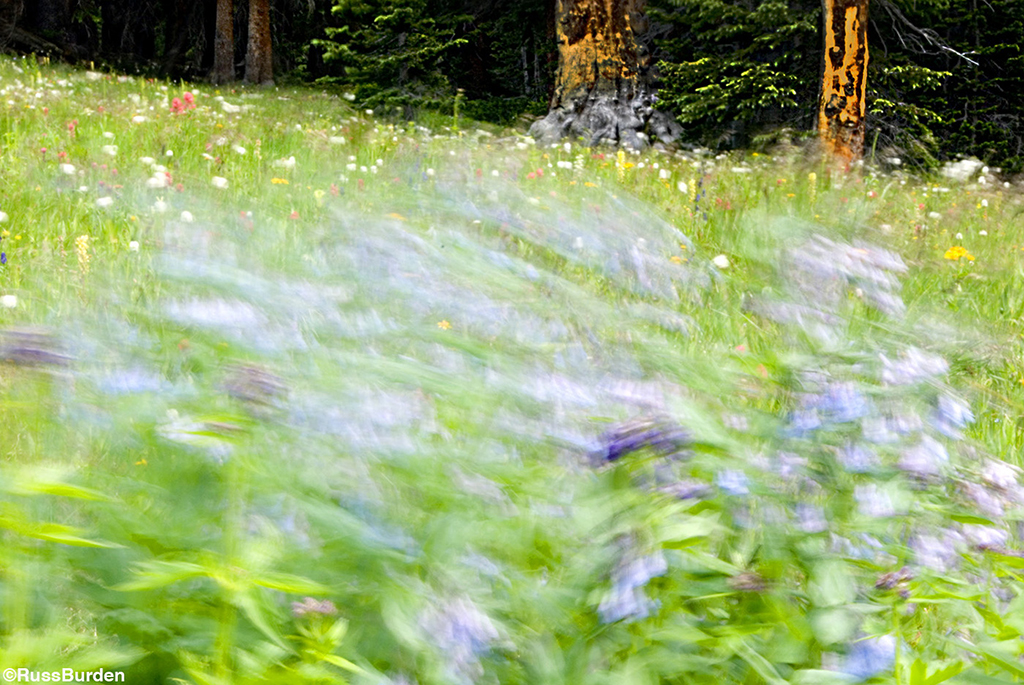
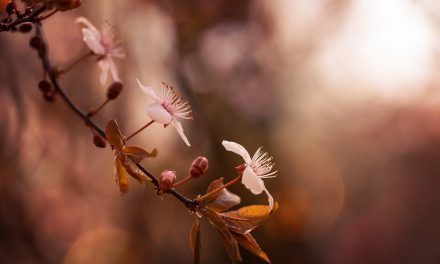
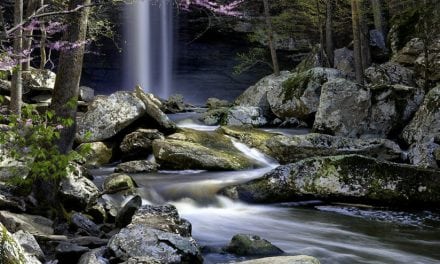
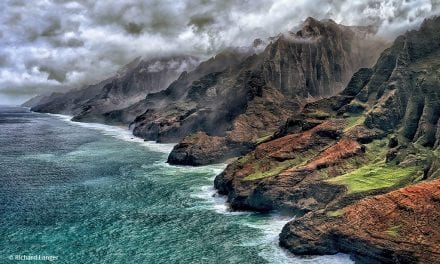
Slow it Down
Experiment using alternative ways that depict motion. Use a slow shutter speed and let the motion “paint” the sensor. Think about flowers that blow in a stiff breeze or a person walking a city street to show the hustle and bustle of a big city. A slow shutter speed depicts the motion while permanent structures within the photo remain frozen. Be sure to use a tripod to achieve the effect so the stationary subjects remain sharp.
To learn more about this subject, join me on a photo safari to Tanzania. Visit www.russburdenphotography.com to get more information.
The post The Many Moods Of Motion appeared first on Outdoor Photographer.