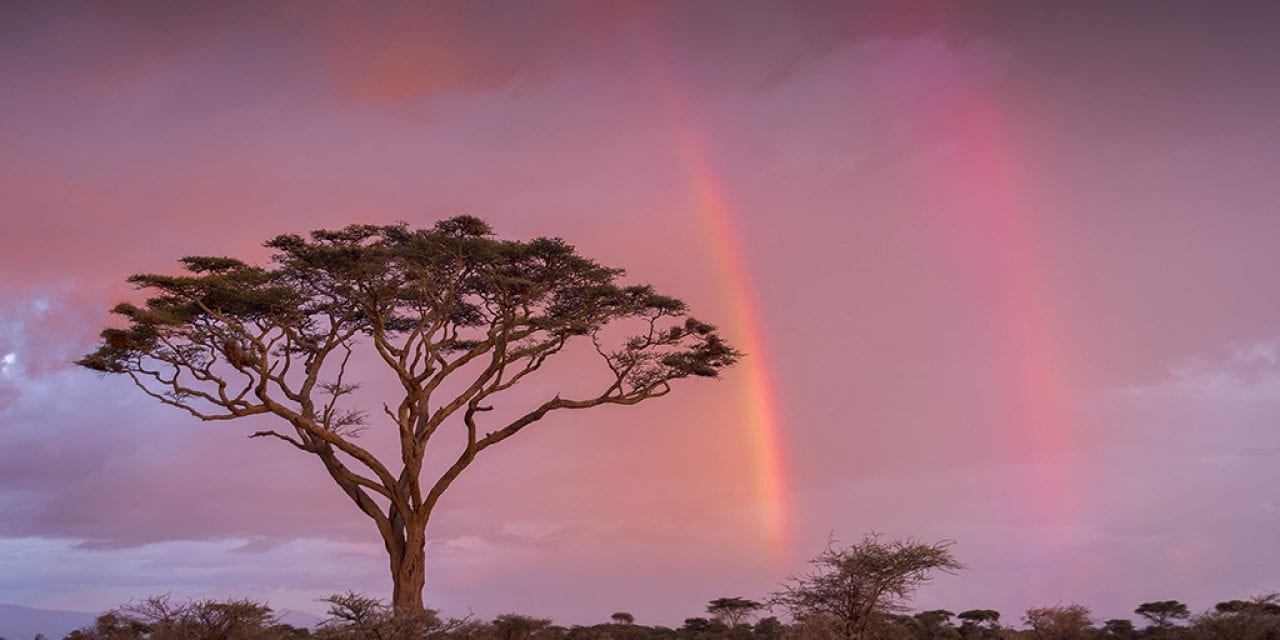
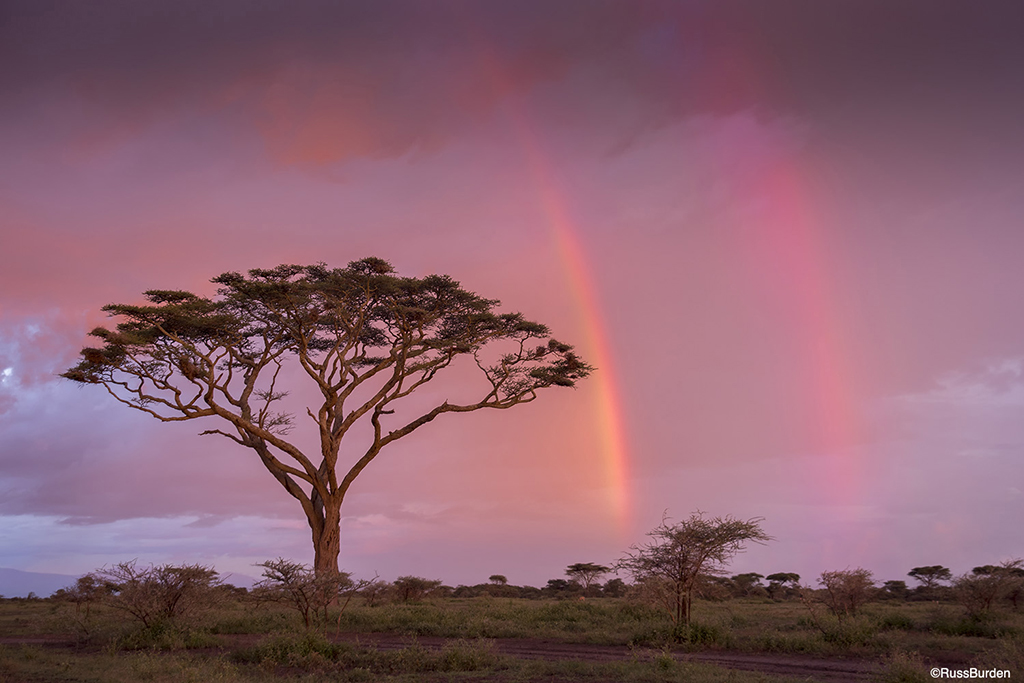
I was optimizing some of my photos taken in Tanzania while listening to my iTunes library. I LOVE my photography, and I LOVE my music. When I synchronize the two, life is good! Back in the day, I was enamored by a band named Spooky Tooth. A leading member, Gary Wright, went solo and I continued to follow him. Gary was the keyboardist—I LOVE keyboards. Long story short, one of his songs from his solo career came on iTunes, which sparked this week’s Photo Tip of the Week.
If you read this week’s title and you’re now singing the song, send me an email and I’ll meet you at a local pub and we’ll listen to some tunes! It wasn’t until the song ended that the inspiration hit. The final line is repeated three times and upon my second hearing, I knew I’d write this tip. “Sky Eyes, your creation is the glory of the day.” What better motivation do I need to encourage photographers to use the sky as a clean background. I always tell students, “the background is equally as important as the subject.” A clean sky background works great 98 percent of the time. (Thanks, Gary, for your inspiration.)
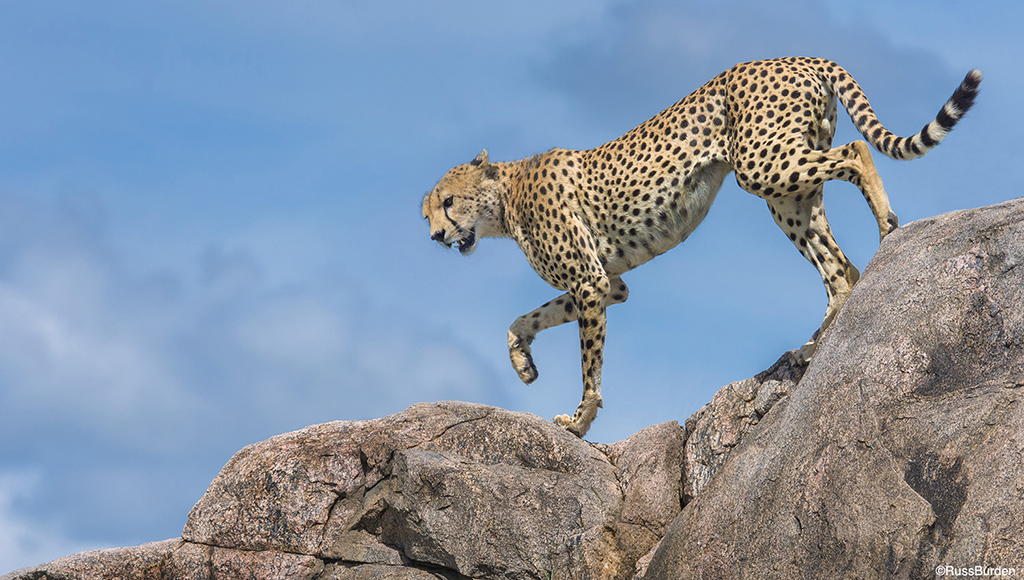
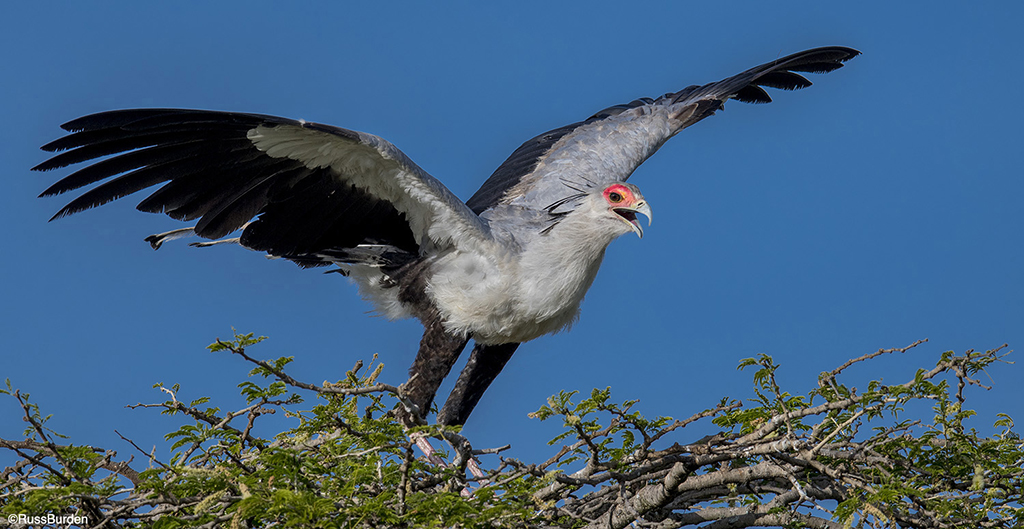
A clean and dramatic sky as a backdrop is an asset. Great sunsets, a clear blue sky, an impending storm or one full of puffy white clouds all contribute to making better images. This is dependent upon your foreground subject, and much more often than not, the effect is clean and dramatic. When a subject is shot against a clear blue sky, it’s separated from the background. It makes it visually easy for the viewer to know the intent of the photo. Psychologically, a human’s brain is in tune to a blue sky, therefore when a subject is placed in front of one, the eye naturally accepts the blue and distinguishes what’s in the foreground as the subject.
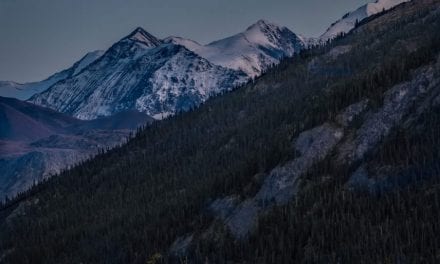
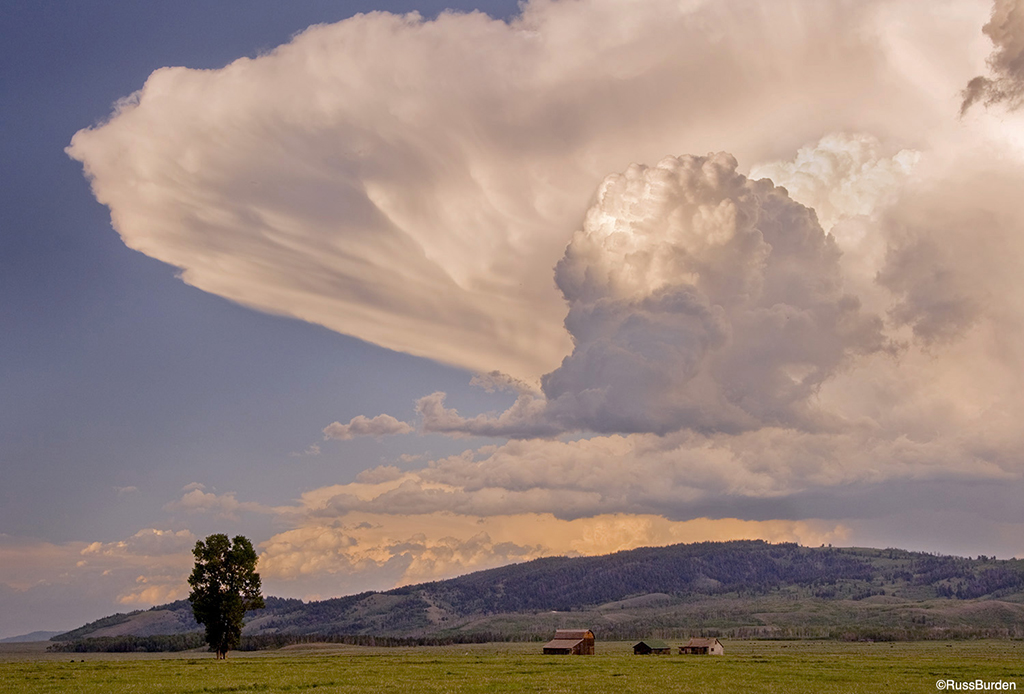
Ominous light from an impending storm is extremely moving. Whenever I encounter magical moments with this look, I search out a foreground subject to use as a center of interest. This type of light doesn’t last long, so I work quickly. The windier the conditions, the faster the clouds move, so speed is essential. Study the viewfinder to make sure you don’t create tone mergers. Dark parts of the subject shouldn’t be superimposed against the darker parts of the sky. The same holds true for the brighter components. The idea is to create separation in tone, shape, color and contrast.
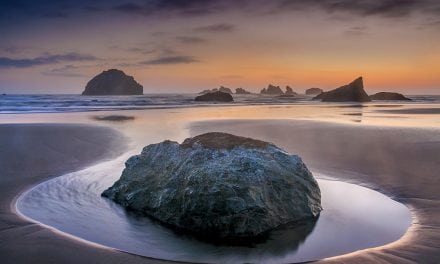
Other “sky eyes” backdrops are the colorful hues of a sunrise or sunset once it reaches its climax. A clear horizon associated with high, thin clouds is necessary for the conditions to develop. Once the sun drops below the horizon and is refracted through the atmosphere, color is transmitted to the high clouds, and they come alive. Again, avoid placing dark parts of the subject against the dark parts of the sky. Move around as efficiently as possible to find the best composition based on the tonality, color and brightness of each portion of the sky.
Sky eye images can commonly be enhanced through the use of filters or via post-processing. The one caution I implore you to avoid is to take the saturation slider too far to the right. The result is an over-cooked, unnatural color. While it may look dramatic at first, please refrain and stick to a more natural look. I admit this is bias and you can do how you feel, but keep the end result within reason.
For blue skies, I use a polarizer to enrich the saturation of colors or a graduated neutral-density filter to bring the exposure values of the sky closer to the value of foreground elements. When I use a polarizer, I make sure I’m as close to 90 degrees to the sun as possible to prevent the unnatural transition from dark to light as one deviates from the 90-degree position. For sunrise/sunset shots, I also use a graduated neutral-density filter to bring up foreground detail or I shoot a bracketed series of photos and blend them in post.
Visit www.russburdenphotography.com for information about his nature photography tours and safari to Tanzania.
The post Sky Eyes appeared first on Outdoor Photographer.