In this three-part series, I offer tips to help you learn to shoot like a pro. The information on the topics I chose to disseminate can be applied to any subject you wish to photograph. Last week, I covered the importance of doing a pre- and post-shoot check of your settings, simplifying the elements in your composition and modifying the light. Go here for a refresher, and then read on for part 2.
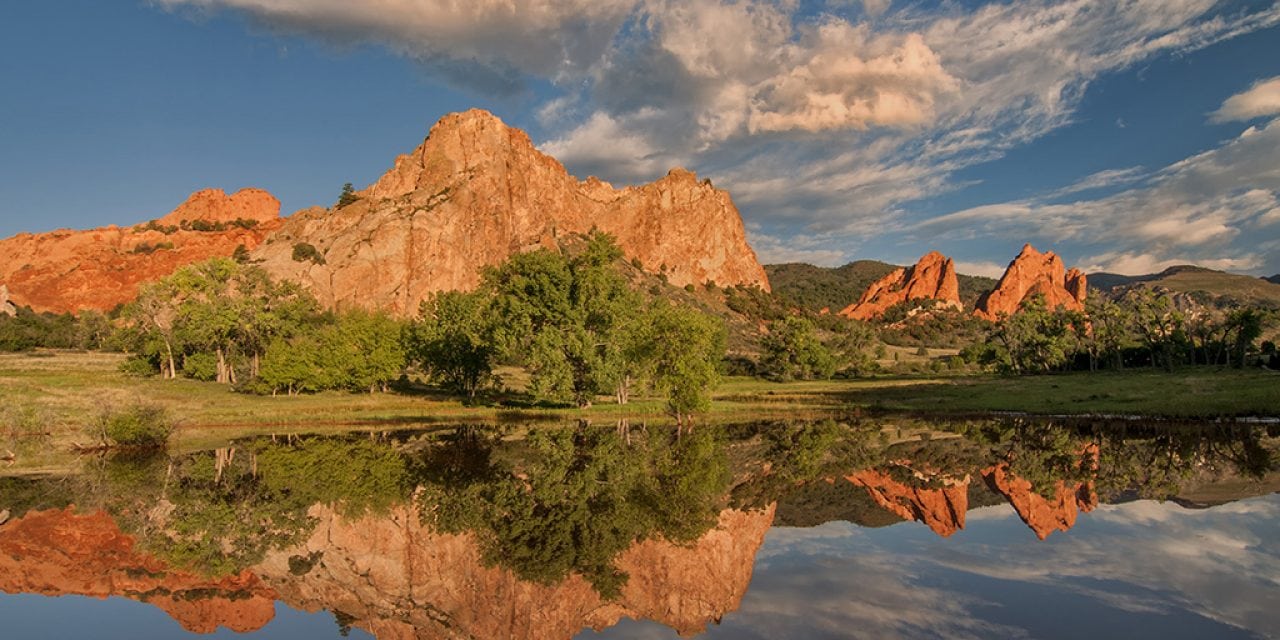
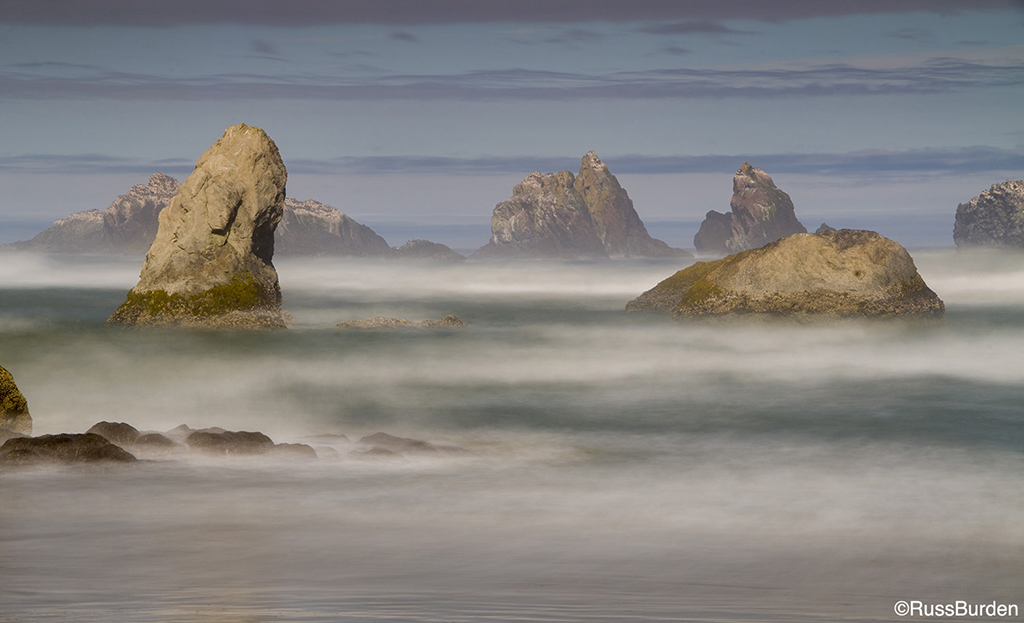
Don’t Leave Home Without Them: There are two filters I never leave home without—a polarizer and neutral density. The effects can’t be replicated in Photoshop nor can the settings on a camera let you achieve what they perform. For instance, a neutral-density filter absorbs light so slow shutter speeds can be utilized. Even if you lower the ISO to its lowest setting and stop the lens down to its smallest opening, it may provide a shutter speed that’s still too fast to create the effect you need, especially in bright midday sun. I carry a variable ND filter in which the density can be adjusted from -2 to -8 stops. It can go to -10 stops, but artifacts begin to appear after -8 stops due to cross polarization of light. I can get 15-second exposures in late morning sun on a clear day. If you prefer to use a conventional type, start with a 6-stop ND. At one time I combined a 3 and 6 stop, but when I used this combo on a wide angle the corners vignetted, so I switched over to the variable ND.
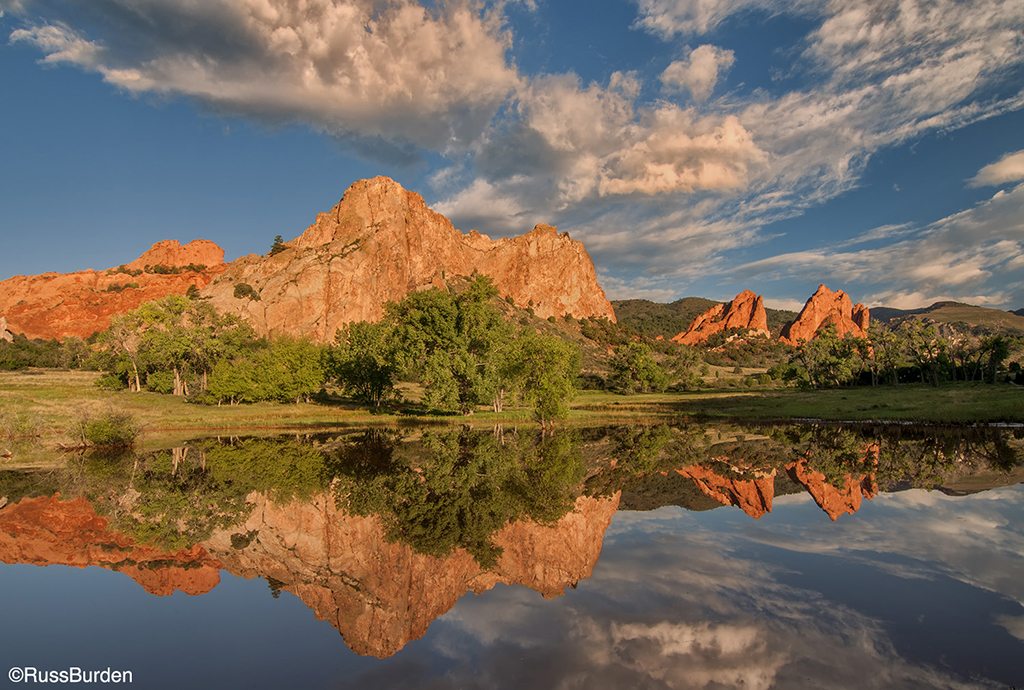
A polarizer does more than just darken a blue sky. A polarizer removes glare from shiny surfaces to reveal the underlying color. It also helps remove shine from reflective surfaces. There’s no Photoshop filter that can replicate these effects, so be sure to use a polarizer in the field at the time of capture.
Tripod, Tripod, Tripod: The title has the word three times—one for each leg. I also emphasized it three times to stress the importance of its use. Use a tripod, use a tripod use a tripod—get the point? I’m fully aware that many lenses and camera bodies have image stabilization, but a tripod all but guarantees you sharp images if you use the camera with a cable release and the tripod is substantial. A tripod is beneficial for other reasons. It helps slow you down in a positive way so you scrutinize the viewfinder more carefully. If you use a long lens, the camera and lens remain in place as opposed to having to place both on the ground to take a rest from handholding. While it may not be your most impressive piece of photo gear, it’s the one that will help make you a better photographer allowing you to return with better-composed and sharper images.
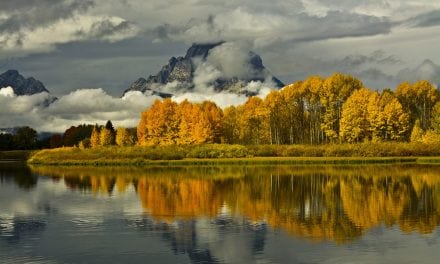
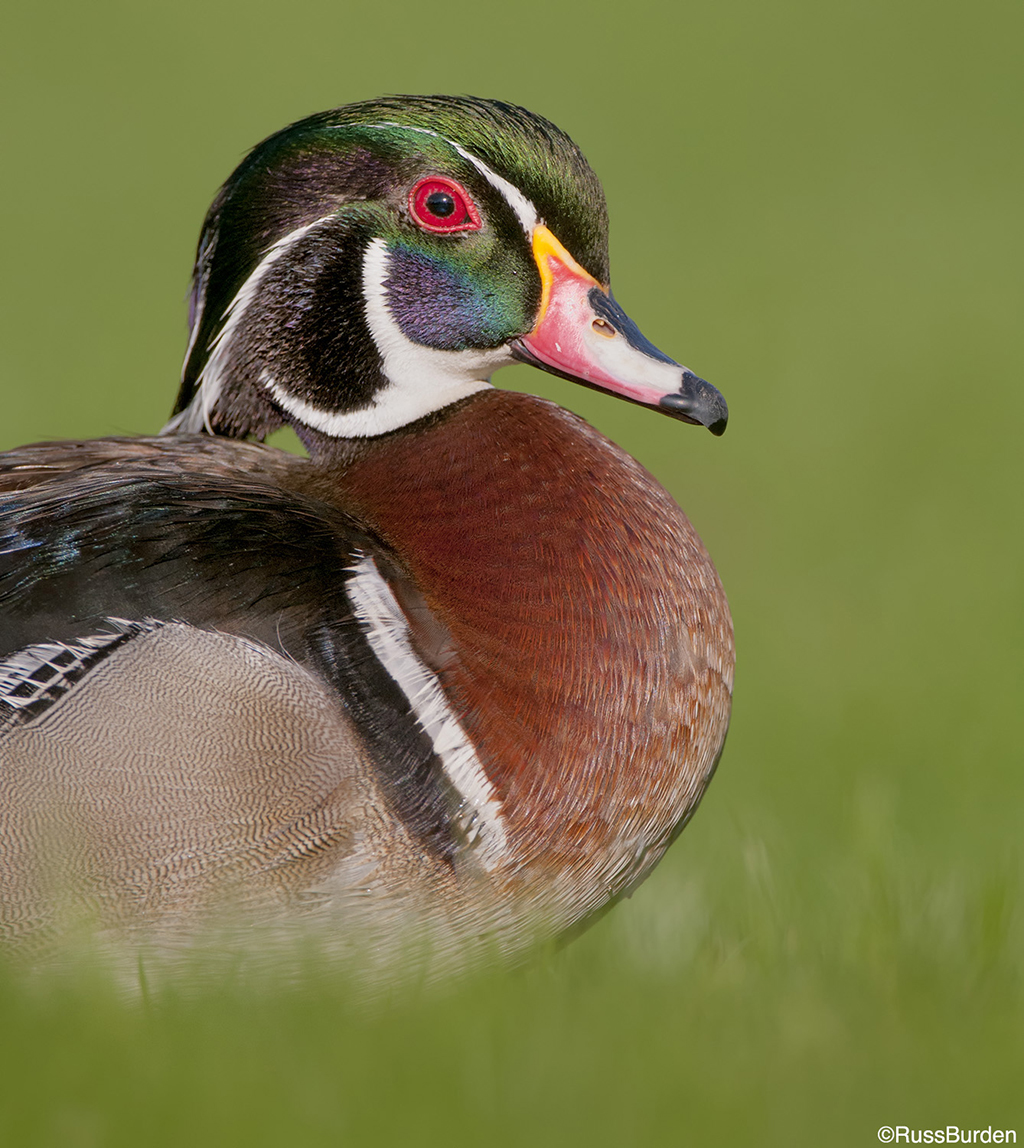
Time to Get Down: Many images are made where a standing photographer simply raises the camera up to his or her eye and presses the shutter. Very little thought is given to obtaining a higher or lower vantage point. While climbing a tree or standing on top of a car are options, it’s a ton easier to drop to your knees or lay on the ground. You will be amazed in the differences of images shot from an upright position compared to the same subject photographed from down low. The background takes on an entirely new look and if you’ve been a reader of my tips for a while, you’ve read my mantra that “the background is equally as important as the subject.” Since fewer images are made from a low angle, yours will be more unique. The sky can become the background, which is a plus as it’s clean and contains no distractions. Get a right angle viewfinder as it’s easier to view the composition.
Visit www.russburdenphotography.com for information about his nature photography tours and safari to Tanzania.
The post Pro Results Anytime, Anywhere—Part 2 appeared first on Outdoor Photographer.