Be sure to read last week’s Tip of the Week to thoroughly digest Part 1 of Flower Power to learn all you need to know about the importance of light in flower photography. This week, we’ll focus on controlling the background.
Control The Background
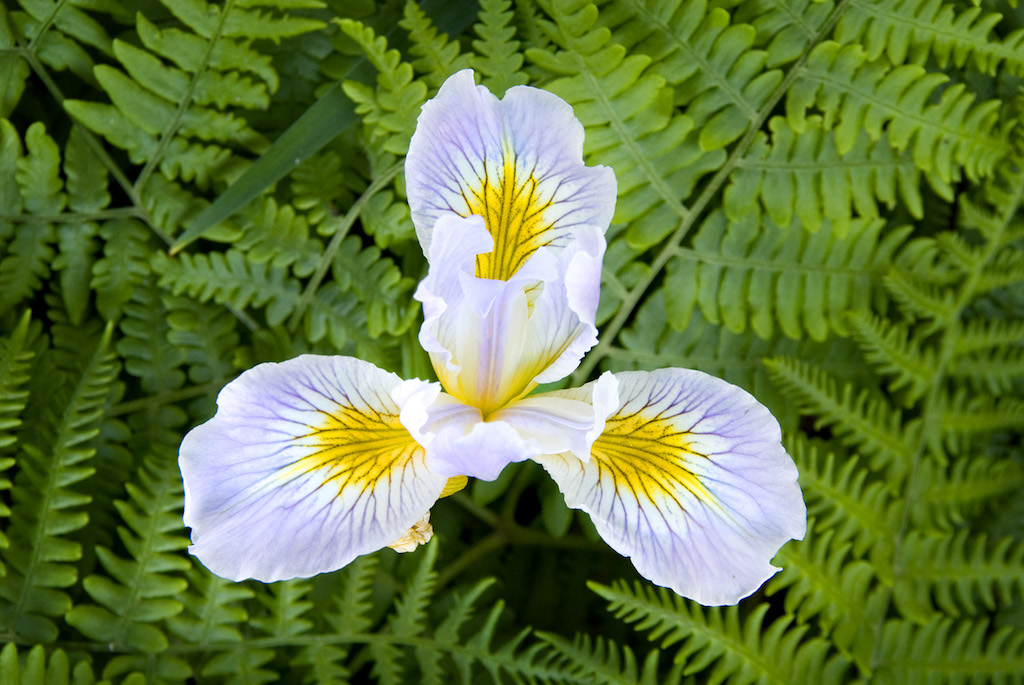
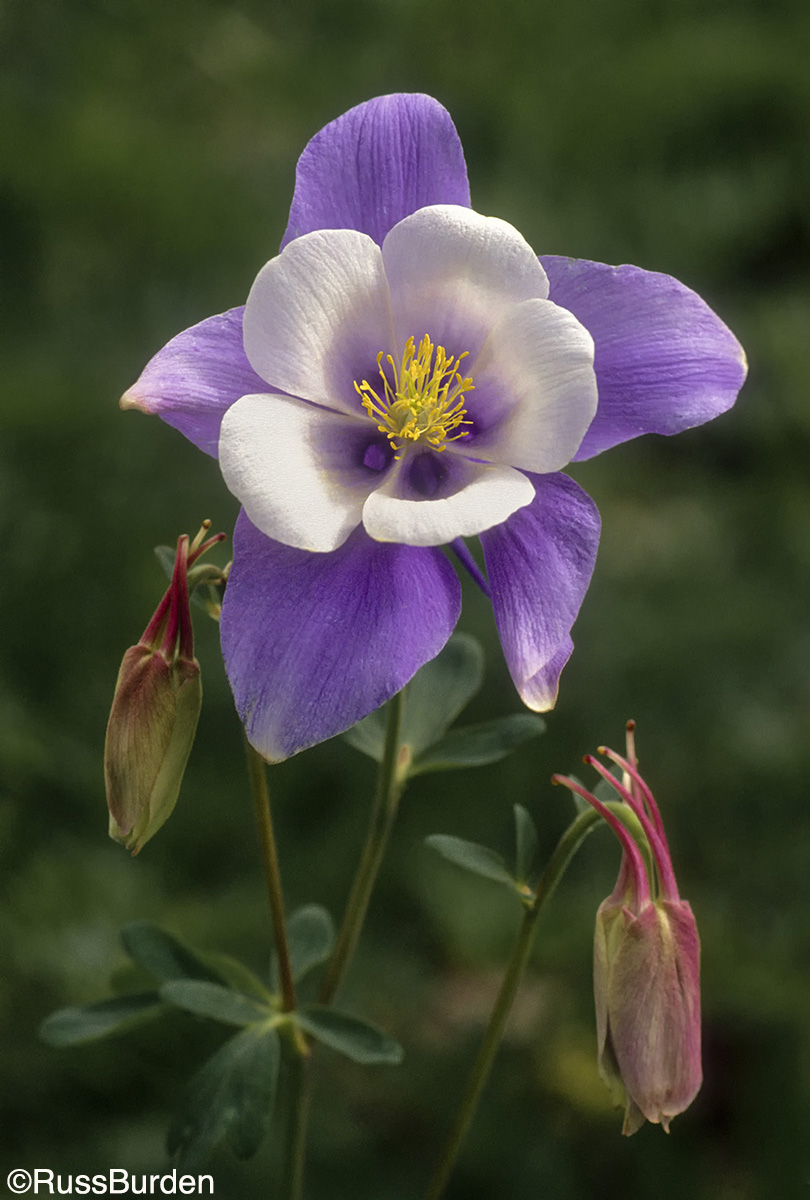
Equally as important as the light, if the background doesn’t complement the flower, the best possible photo can’t be created. Factors to consider are color harmony, clutter, out-of-focus highlights and dark distracting shadows. Ways to control these are through depth of field, selective focus, lens length, the use of flash, other lighting augmentation and/or artificial backgrounds.
The flower should stand out from the background. It shouldn’t get lost in clutter or compete with distractions. Too often, photographers get tunnel vision and only notice the flower in the viewfinder. Consideration isn’t given to what’s behind it, beside it or in front of it. If the background is cluttered, alter the shooting angle, modify the light or choose a different flower.
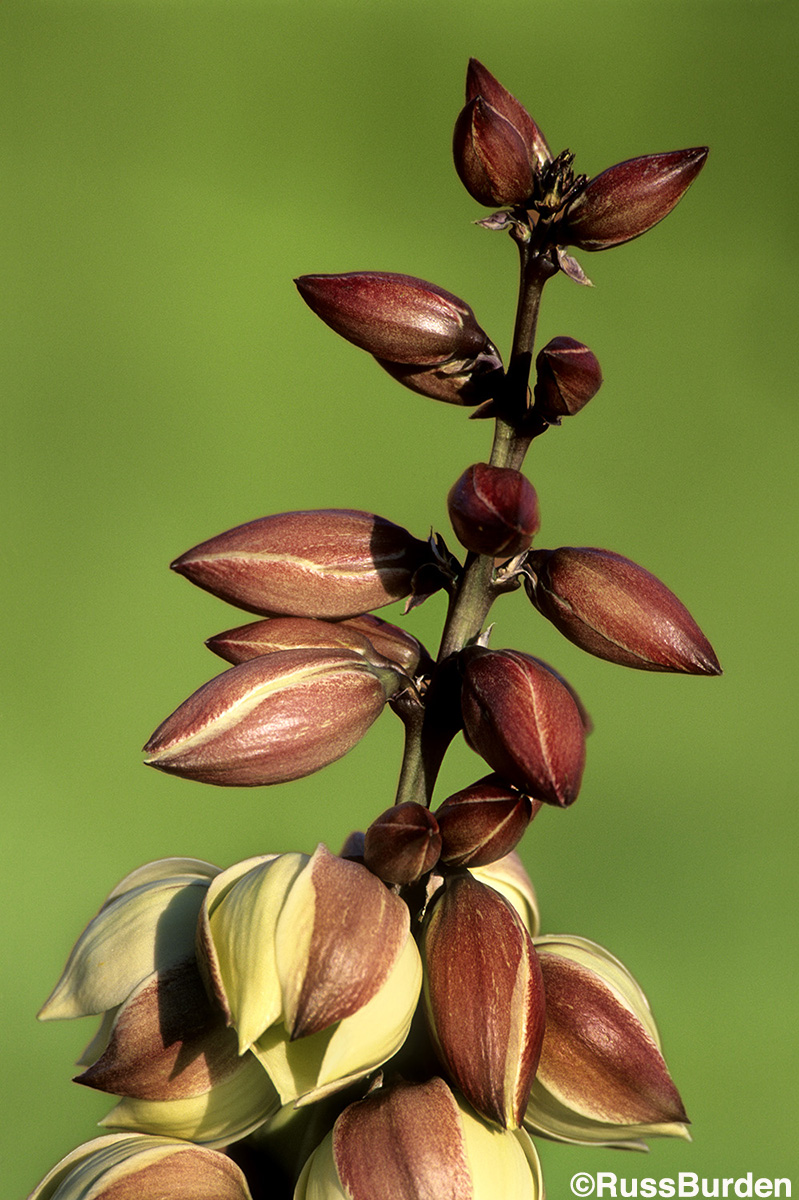
Due to given lighting conditions, especially if the flower is darker than the background, out-of-focus highlights will be recorded. In any given photograph, a viewer’s eye will be attracted to the lightest areas first and it will be continuously drawn to them. Be aware of this situation and either add more light to the flower so the background becomes darker or darken the background by casting a shadow across it.
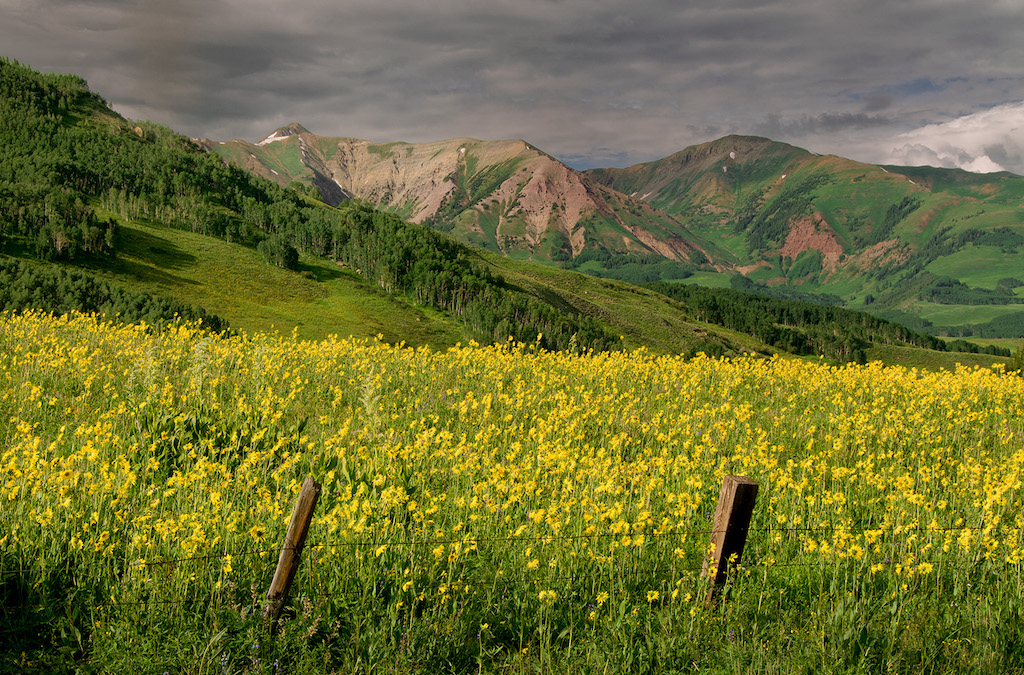
With regards to color harmony, note what’s behind the flower. See if it clashes with the subject or prevents it from standing out. Try to work color opposites as they’re very striking. Get down low or shoot up at red Indian paintbrush against a blue sky to juxtapose colors on the opposite side of the color wheel. Conversely, a late-season red rose against a red maple in full autumn color may not be the best pairing of subject and background.
Depth Of Field
A successfully created background is one that becomes a wash of color and allows the flower to stand out. To accomplish this, three main factors come into play: depth of field based on the ƒ-stop at which the picture’s made, length of the lens based on its angle of view and inherent depth of field and the distance between the subject and background based on how much of the background comes into focus.
In a simplified explanation, the smaller the ƒ-stop—ƒ/22 or ƒ/32—the greater the depth of field. More of the background will come into sharp focus. The longer the lens the narrower the angle of view and less depth of field. The lens “sees” less of the background and throws it out of focus due to the long focal length. The greater the distance between the flower and what’s behind it, the more out of focus the background will be when the focus point is placed squarely on the flower. In essence, the goal is to choose the proper combination of the above to sharply record the flower but throw what’s behind it out of focus. Use the depth of field preview button to give you a good idea how the final image will look.
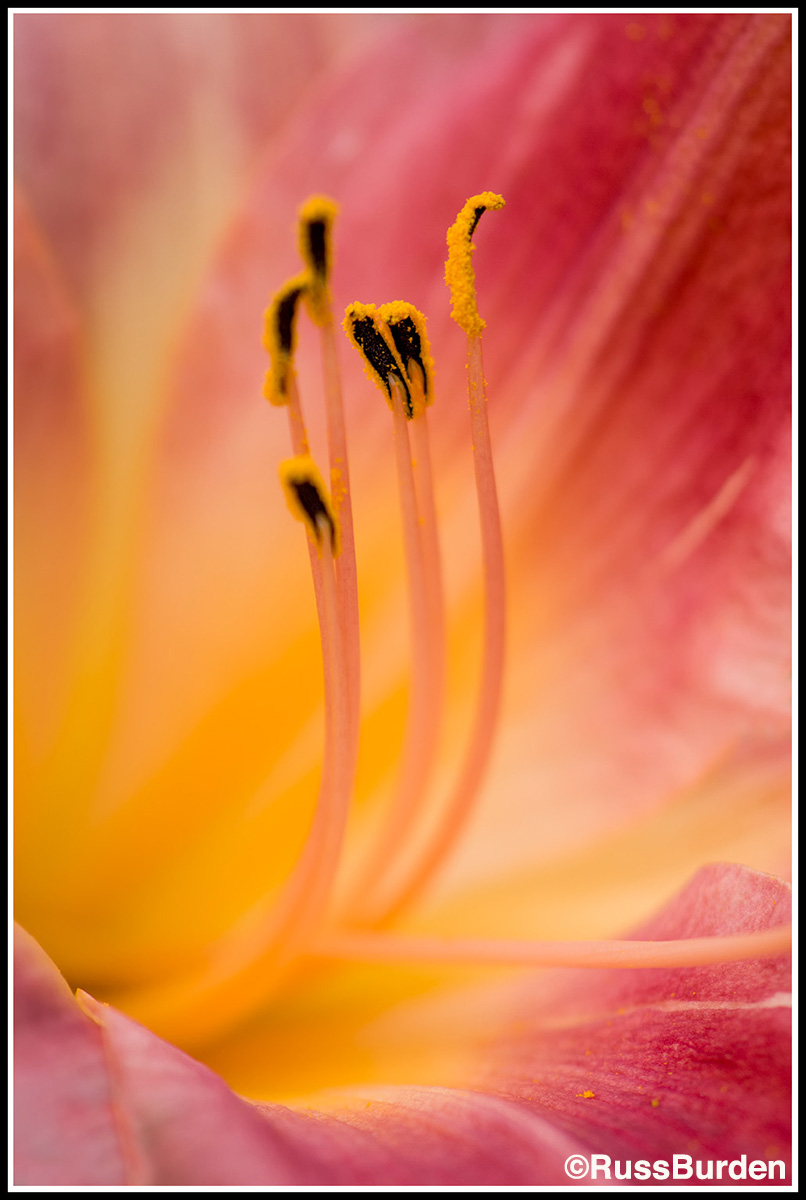
Selective Focus
Selective focus is a technique used to draw attention to an isolated section of a flower. The end result will be just a sliver in sharp focus while the rest of it recedes into an out-of-focus wash of color. The best way to create this effect is through the use of a long lens, wide open aperture and being very close to the subject. A painterly quality is implied, which imparts a creative look to the image.
Two other ways to control the background are to use flash or place some sort of man-made material behind the flower. Because light falls off very quickly with small apertures, when flash is used, very little light makes it beyond the subject. As a result, the areas behind the flower go dark. This isolates the flower against a dark background. The effect can be very dramatic. Finally, use pieces of mottled green or brown cardboard to incorporate into the picture. When strategically placed, the flower pops out against them, which results in the viewer zeroing in on the main subject. A nice aspect regarding the use of pieces of colored cardboard is results can be successfully repeated for many different species.
Be sure to check back next week for Flower Power, Part 3, where we’ll discuss specimen choices for the most impact.
To learn more about this subject, join me on a photo safari to Tanzania. Visit www.russburdenphotography.com to get more information.
The post Flower Power, Part 2 appeared first on Outdoor Photographer.