
There seems to be some gray area and misunderstanding about the correlation between minerals and whitetail deer health. Whitetails undoubtedly need specific minerals and critical nutrients to stay healthy, but what’s the best way to implement a good mineral site program for your deer herd? I have used almost every mineral product on the market, from liquids that smell like apples to basic salt blocks. I’ve tested everything, but reading the mineral analysis on the back of the packaging can seem a bit overwhelming, and quite frankly, it looks like something that you would need to have a Ph.D. in chemistry to understand fully. After doing some on-the-ground research a few years back, it turns out it’s not as complicated as I thought. The science behind the exact mineral ratio whitetail deer need isn’t fully known. However, we know a few minerals and vitamins play a massive role in antler growth and whitetail health.
Which Minerals Are Best for Deer?
The two most common minerals found in whitetail antlers are calcium and phosphorus. Studies have shown that supplementing these minerals can result in more considerable antler growth, at least to some degree. Science has proven to us that whitetail bucks can store excess amounts of calcium and phosphorus as reserves to promote antler development, so ensuring that your deer herd gets enough of these minerals is essential.
If you have looked at the ingredients in most whitetail minerals, you’ve likely noticed that most of them consist almost entirely of sodium. Whitetail deer crave sodium, especially during the spring and summer as the bucks are growing their antlers and the does are nursing their fawns. While sodium doesn’t seem to have a solid correlation to antler growth, there’s no doubt that it is beneficial to your deer herd and will attract those target bucks to your trail cameras.
Generally, there are three mineral products: blocks, granular, and liquids. I sometimes combine some of these to make a spot that attractive. Placing a block in the middle of the exposed soil, with liquid mineral poured around it within a 2-foot radius, will be more than enough.
The key to finding a good mineral is to look at the vitamin and mineral ratio and ensure that your deer herd is getting enough of what they need and not too much of what they don’t. I have found that a great ratio to go by is a mineral that consists of no more than 40% salt, with at least 10% calcium and ideally 3-5% phosphorus.
My recommendations are:
Where to Place Your Minerals
-
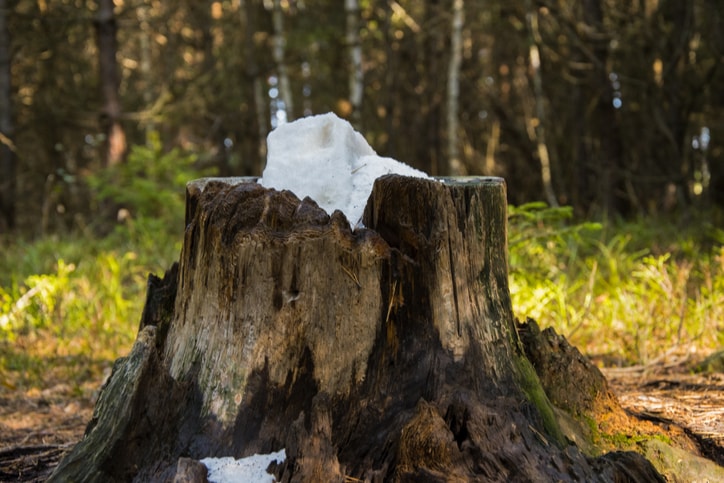
Faraonvideo/Getty
Finding the right location to place your minerals is perhaps equally as important as which minerals you’re using. Because let’s face it, if you’re putting it in a spot that won’t attract deer, it’s useless. Ensure that you choose an area where the deer feel at ease with very little human pressure. Also locate mineral sites close to active trails to have confidence that the deer will be stopping by regularly. These are the three main places I’ll put out a mineral site:
Staging Areas: Some call them transition spots, I call them staging areas, but whatever you call them they work. The general idea is that they are between bedding areas and a primary food source. These are prime spots that bucks are traveling through multiple times per day and are a perfect spot to put out some minerals and hang a trail camera.
Near a Waterhole: Minerals sites will see much more activity during the spring and summer months, and it just so happens that this is when you’ll see the most activity near your water sources. Combine the two, and you’ll no doubt fill up those SD cards and ensure your deer get the minerals they need.
Main Trail Adjacent: We all know deer prefer to take the path of least resistance. This rule still applies during the offseason. However, some bigger and more mature bucks will still just slightly off a primary trail to feel more protected. This is a great place to put out your minerals and allows you to get in and out quickly, remaining undetected. You must leave the least amount of scent possible during the off-season.
Finding a spot and placing down a mineral rock might attract some deer, but it won’t be as effective as it could be without the proper steps. Once you find the perfect spot, you’ll likely need to brush away leaves and sticks to expose the dirt. I like to rake up the ground, creating divots and cracks within the soil that allows the minerals to seep in. Even once the mineral is gone, the deer will return to lick the dirt that has absorbed the nutrients.
Creating mineral sites can be an incredibly inexpensive way to provide your deer herd with nutrients and attract your target bucks to your trail cameras. Find a good spot with deer traffic and easy access to limit your property disturbance. A good rule of thumb for how many mineral sites to put out is one site for every 50 acres, which has worked very well for me for the past several years. You must also maintain your mineral sites by refreshing them as needed. Depending on your deer density and weather conditions, this could vary throughout the year. However, on average, I like to restore my mineral sites every 30-45 days or when my trail camera shows me a sharp decline in deer activity.
READ MORE: DISPERSED CAMPING ALLOWS YOU TO STAY IN THE WILDERNESS FOR FREE
The post The Best Way to Put Mineral Sites Out for Deer appeared first on Wide Open Spaces.