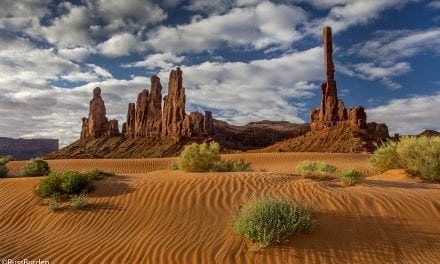
Crowds gather at a scenic overlook in Grand Canyon National Park. Notice the steep cliffs—this is not a place to push the boundaries for an Instagram selfie.
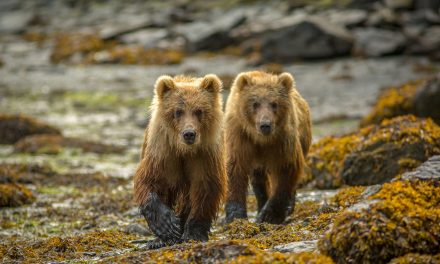
Our national parks are popular, and with those crowds come folks unprepared for the hazards and sometimes lacking common sense, increasing the risk of accidents. People falling from cliffs trying to take “selfies” is far too common an occurrence at places like Grand Canyon, and at Yellowstone, more than 20 people have died (and many more have been injured) when illegally leaving the boardwalk and falling into the park’s famous hot springs. These are just a few of the potential dangers you may encounter in the national parks, but tragedy can be prevented through preparedness for the conditions. With proper planning and situational awareness, you can avoid foreseeable problems and enjoy the incredible views. These national parks safety tips will help ensure you have a wonderful experience—and return home with the photos to prove it.
Familiarize Yourself With Park Services
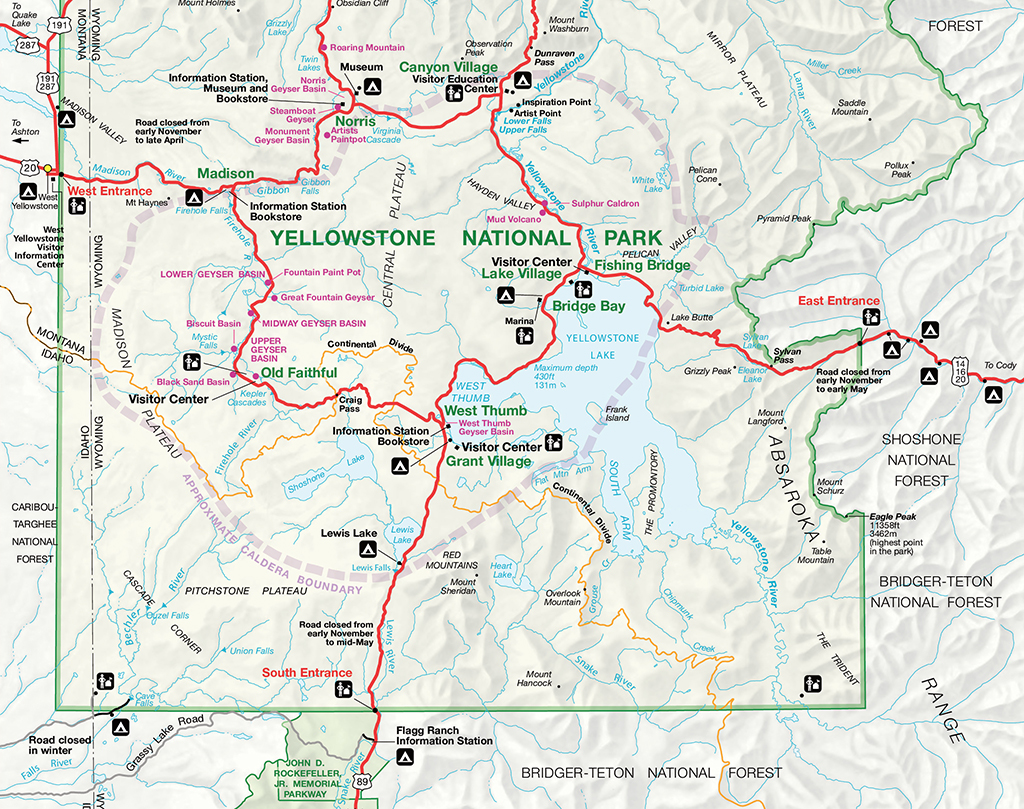
Detailed park maps are available for free at the National Park Service cartography site, www.nps.gov/carto.
The beauty of our national parks is their wildness, but that’s also their greatest danger. While they do offer varying levels of infrastructure, on-site services and emergency personnel, your safety in the national parks is ultimately up to you.
Before heading into the wild, study park maps to know where emergency services are located if you need them. Detailed park maps are available at the National Park Service website. Plan your route in advance and make note of the nearest facilities.
It’s also wise to save the park’s emergency communications center phone number to your contacts in case you are in range of cellular service and need help. If you’re planning a multi-day backpacking adventure into the backcountry where you’ll be away from your car and park services for extended periods, consider renting a satellite phone for the trip.
Park services can also advise you of specific hazards you may encounter in a particular park. These may be year-round or seasonal concerns. Be sure to check the National Park Service website for the park you’ll be visiting to learn about potential dangers, road closures and more.
NPS also offers smartphone app guides for many of the parks, which can be handy, but we recommend downloading and printing or picking up a printed map at an information center—you don’t want to rely on an app for vital information if you’re out of cellular service range.
Drive Extra Carefully
Wildlife leaping onto the roadway. Rain-slicked or icy pavement. Winding, cliff-hanging mountain passes with steep drop-offs. Other drivers maneuvering or stopping suddenly. These are just some of the hazards you might encounter on national park roads. While your car may feel like a safe haven in the wilderness, vehicular accidents are actually the most common cause of fatality in some parks.
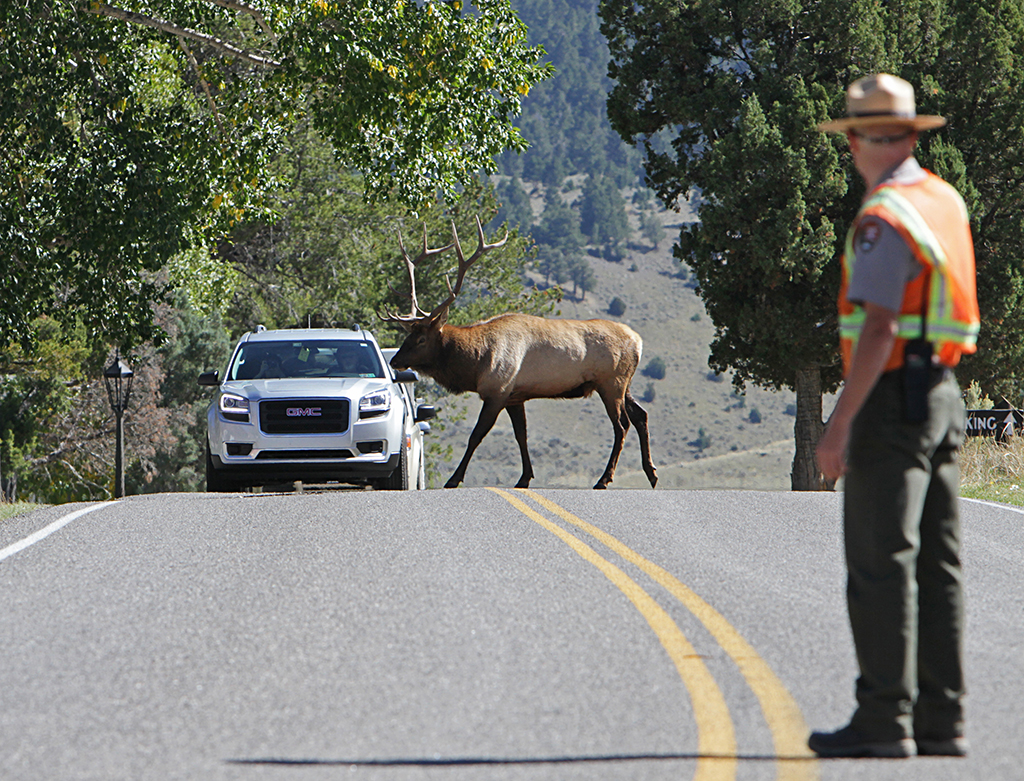
A park ranger stops vehicles while a bull elk crosses the road near Mammoth Hot Springs, Yellowstone National Park. When driving in parks, be alert to the possibility of a sudden stop for wildlife—there won’t always be a ranger nearby to direct traffic. Also be ready for other cars to abruptly pull over to view herds of wildlife from the roadside. Photo courtesy National Park Service/Jim Peaco.
Slow it down, stay at or below posted speed limits depending on the conditions, and keep your eyes on the road. Pull over and park in a safe place off the road if you want to look at the scenery. Proceed with extra caution when you see a group of cars pulled to the shoulder to view wildlife or a special vista to avoid a car door abruptly swinging open into your lane.
It may be tempting to press the accelerator when you’re chasing a sunrise, but don’t. Missing peak light is a minor regret compared to possible alternatives.
Stay On Trails
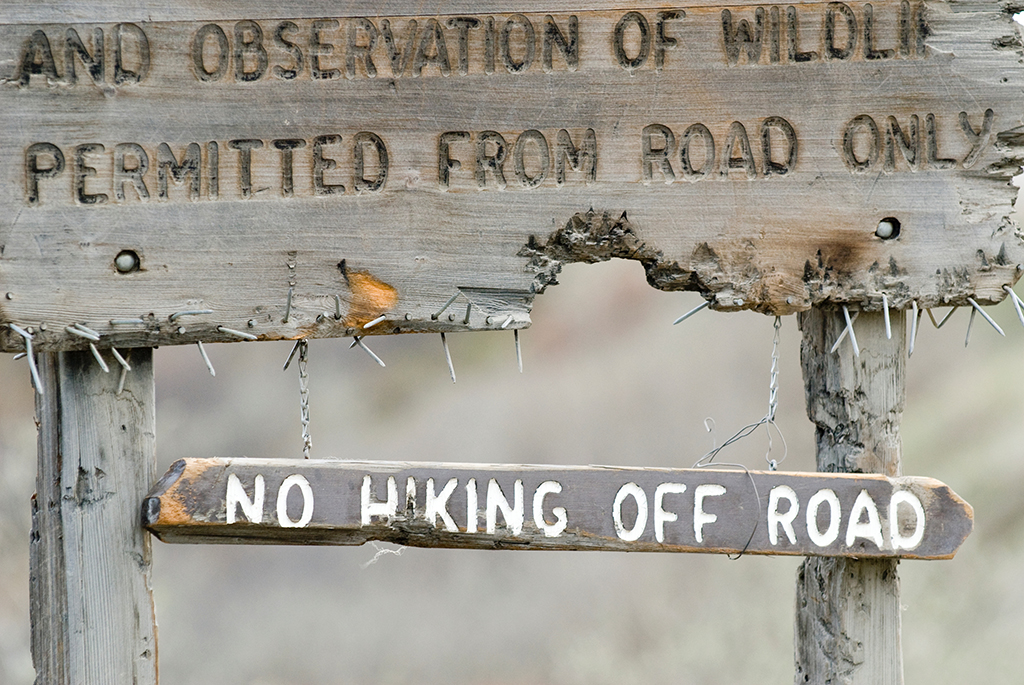
Obey posted signs and boundary restrictions—even the rustic ones like this in Denali National Park. Photo courtesy National Park Service.
It’s a rule that’s made to be broken in some wilderness areas, and “local conditions prevail,” but by default, stay on trails—especially if you are unfamiliar with an area or in places with heavy vegetation obscuring your steps. Even minor injuries like a sprained ankle can become a serious medical emergency when help is not nearby. Getting that perfect perspective for a photograph is not worth risking your safety or calling in rescue services. Falls are the No. 1 cause of fatalities in the parks.
Veering off trails may also be forbidden in some areas of the park, not just for your safety but also to preserve the habitat and natural beauty for the park’s visitors and its wild inhabitants alike. Respect for the environment will help ensure you and everyone else can enjoy the park.
Know Your Physical Limits
As a nature photographer, you likely have a strong sense of adventure and an instinct to explore, but for your safety and the safety of those with you, it’s really important to be honest with yourself about your physical fitness. In some environments, simply being there without significant exertion can quickly lead to exhaustion. Learn about the area’s conditions—average climate, elevation, weather patterns—when planning your trip.
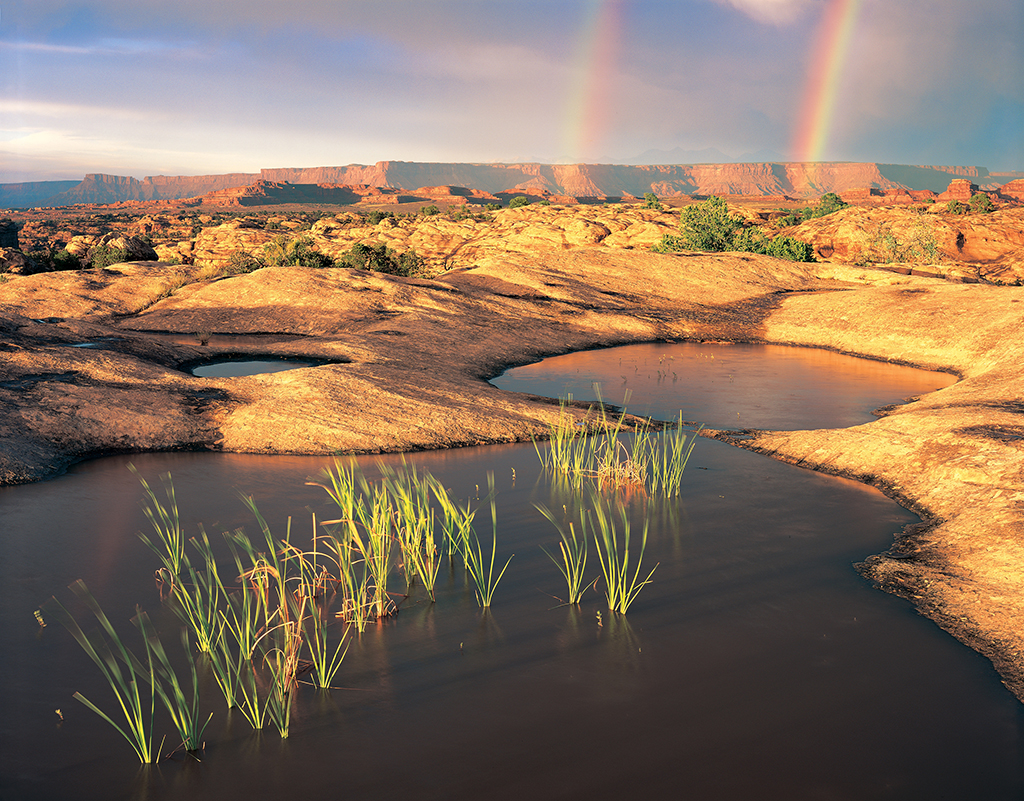
You don’t have to go off-trail to find stunning photo locations in our national parks. Pothole Point is an easy self-guiding trail in the Needles, Canyonlands National Park. Photo courtesy National Park Service/Neal Herbert.
Some terrific photo opportunities may be found roadside, just a short distance from your car. Others may be several miles from the trail head with major elevation changes over narrow and rugged paths. Choose trails and routes that you know are well within your physical limits, and don’t try to do too much in one day.
Be sure you leave yourself plenty of time to hike in and back out at a pace that’s comfortable for you, and remember to account for the time you’ll likely spend photographing or just enjoying the surroundings.
Stay Hydrated & Pack Snacks
How much water do you need to bring with you on the trail? A general guide for adults is two cups of water per hour. Double that for hot or humid climates. So, for an eight-hour day in the field, you’ll need at least one gallon of water per person or even two gallons in more extreme environments.
That’s a lot of water when you’re already burdened with photo gear, so plan accordingly to be sure there’s room in your pack to carry it, especially if you’ll be far from park services. Better to leave a lens or two behind or take a shorter excursion than to find yourself dehydrated far from trustworthy water sources.
Don’t forget snacks, even for short day hikes. There’s a reason it’s called “trail mix.” Energy bars are a compact, pack-friendly option, too.
Watch The Weather
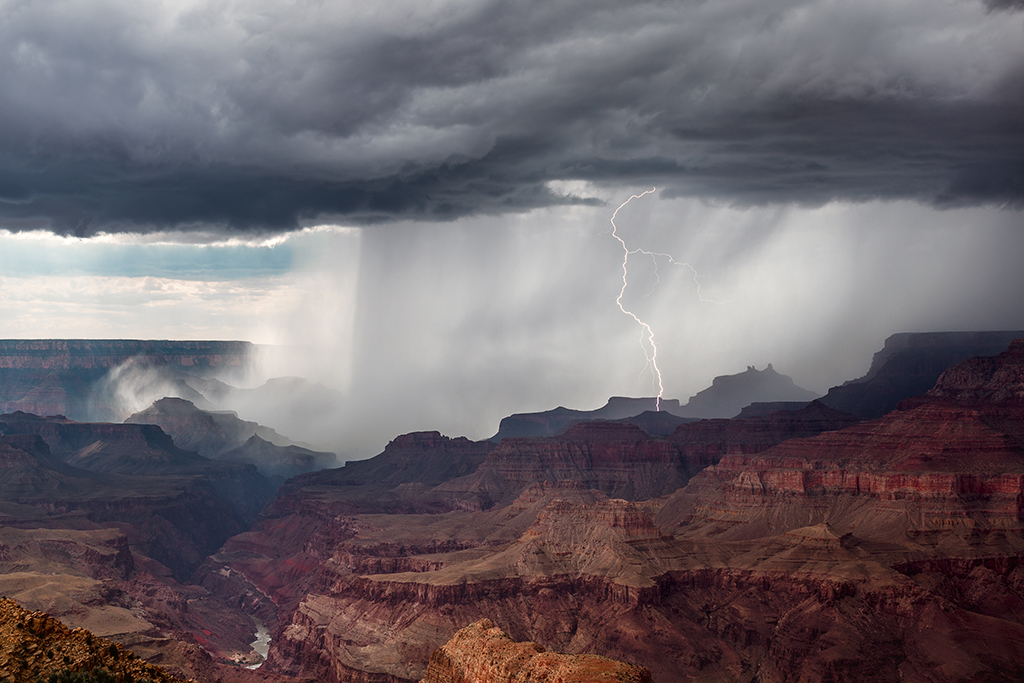
During the summer months, Grand Canyon’s monsoon season brings sudden thunderstorms with exciting lightning displays that are photogenic if you’re thoughtfully prepared but can pose a significant danger if you’re not.
You need to know what to expect from the weather and plan accordingly. Depending on the season and location, you might need to be prepared for an unexpected storm, for example. If extreme temperatures or a sudden downpour are a possibility, be sure you’re properly equipped to protect yourself and your photo gear. Be especially careful around rivers and streams, which can swell suddenly when the weather changes.
As mentioned above, the National Park Service website is a valuable resource for planning your trip, with general park information in addition to seasonal alerts for issues like extreme condition warnings.
Dress For The Occasion
Proper footwear should be the first item on your packing list. Trails and pathways in the national parks range from paved roads and sidewalks to wide and well-maintained trails to narrow, sketchy paths that caution even experienced hikers.
Don’t assume a pair of sneakers will cut it. A blister, wet feet or a twisted ankle may not seem like a big deal at home, but on the trail, potentially miles from your car or park services, anything that reduces your mobility can become an emergency. Invest in a pair of quality hiking boots that provide good traction, padding, waterproofing and moisture-wicking. Wear them first at home to be sure they’re comfortable and to get any break-in blisters out of the way, and be sure to pair them with high-quality socks designed for hiking that provide additional padding and moisture control.
Technical apparel is also recommended. Since you’ve already studied the weather to expect on your trip, pack gear that’s as lightweight as possible while providing the protection you’ll need. Dressing in layers gives you the flexibility to adjust if temperatures vary widely throughout the day. And though it may seem counterintuitive, in hot climates, long pants and long-sleeve shirts of lightweight fabrics that provide UV protection may be a better choice than shorts and short sleeves. Technical garments from premium outdoor clothiers aren’t cheap but are usually worth the expense when it comes to your comfort in the field. And don’t forget your hat!
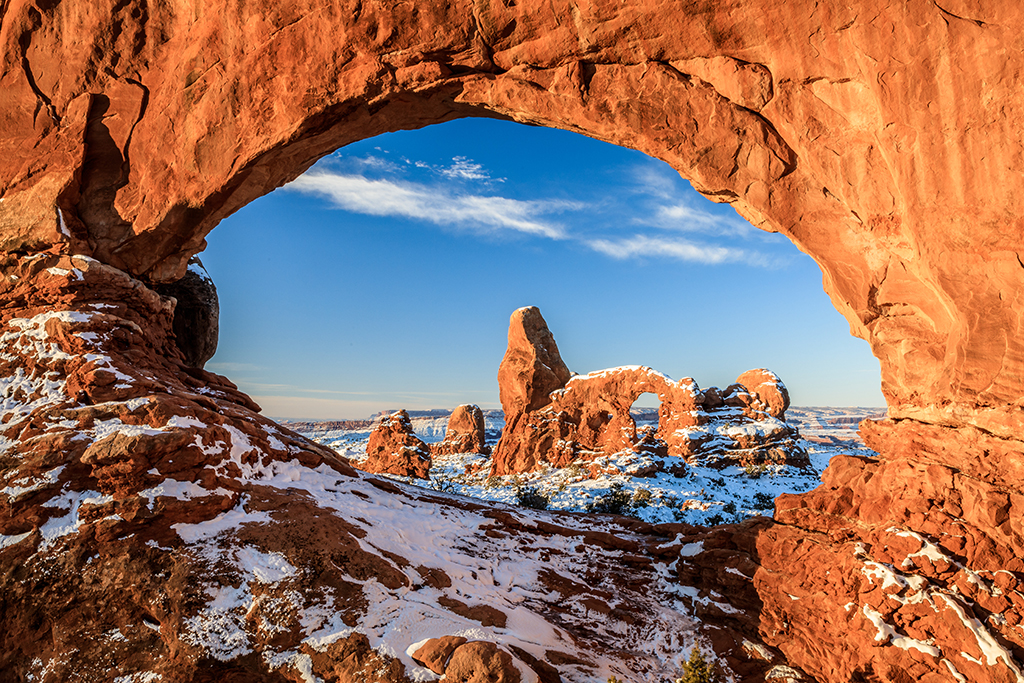
Turret Arch and North Window are two of the massive stone arches at the Windows Section in Arches National Park. The National Park Service website describes Arches as “a ‘high desert’ region that experiences wide temperature fluctuations, sometimes over 40 degrees in a single day.” Research the park you plan to visit and know what to expect from the weather so you can dress accordingly.
Carry Safety Gear & First Aid
The list of safety gear to carry with you depends on the season and location of your trip, but there are a few items that are always useful. A headlamp is one, for early-morning and late-evening trail illumination. A multi-tool is another. You should also carry sunscreen and a basic first aid kit to address scrapes, blisters and cuts to reduce the opportunity for minor injuries to become an emergency.
Also take into account potential wildlife hazards. For example, bear repellant is recommended in parks like Yellowstone and Grand Teton. In desert parks like Grand Canyon, a snake bite kit could be a literal lifesaver if you accidentally stumble across a rattler. Insect repellant is another basic safety item to consider carrying depending on the location and time of year.
Bring A Buddy
Maybe you’re the photographer in the family, and your loved ones would rather sleep in, linger over brunch or browse the gift shop back at the lodge. Don’t go it alone. Convince a like-minded friend to take the trip with you or plan your photo adventure as part of a workshop with instructors and guides. Ranger-led hikes are also available at some national parks.

Ranger-guided hikes are offered at many national parks. Here, a ranger leads visitors through a tight spot in the Fiery Furnace, Arches National Park. Photo courtesy National Park Service/Andrew Kuhn.
Heading out in solitude may be appealing—there’s nothing more distracting for photographers than companions who’d rather be anywhere else—but solo excursions in the field greatly increase your risk. You don’t want to find yourself in need of help and alone.
Listen to your companions in the field and speak up if you are feeling tired. You may not want to spoil the adventure and just “press on,” but pay attention to what your body is telling you. It’s better to take a rest stop or head back before reaching your intended destination than risk over-exerting yourself and becoming a problem.
Be Respectful Of Wildlife
It’s tempting to get closer for a better shot, but you need to keep your distance from wildlife, especially those that pose a danger when they feel threatened. The National Park Service recommends stopping at least 300 feet from predators like bears and wolves and at least 75 feet from bison, elk and other large mammals. Use a telephoto lens to observe and photograph wildlife courteously and safely.
If any animal shows signs of alarm or distress due to your presence, back off slowly. You’re in their home, so act as a considerate guest. Never feed wildlife—you’re not helping—nor bait wildlife for the sake of a photograph. Animals that are fed by humans become accustomed to it quickly, and this leads to behavior that’s dangerous to both them and to us. Great wildlife photography starts with good field ethics.
Keep Your Wits About You
It’s rather easy when you’re composing a photograph to become immersed in the moment, your camera settings and tripod position. Being very familiar with your camera and gear operation before heading into the field means less fussing and fumbling with equipment.
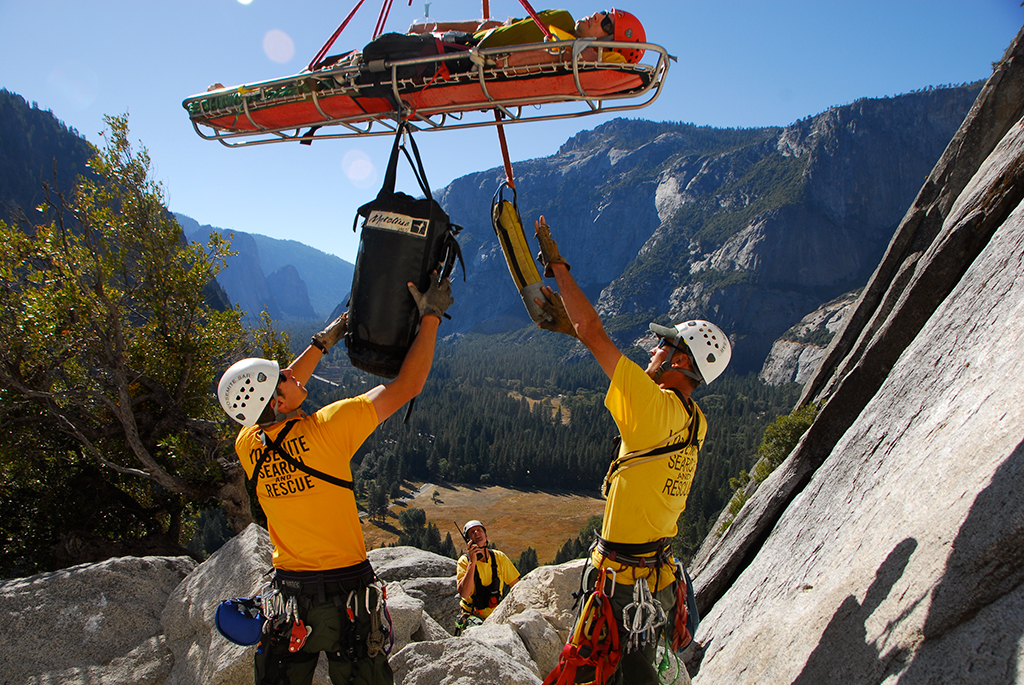
A search and rescue team at Yosemite practices an evacuation. You don’t want to be the one on the stretcher—take your time, watch your step and prioritize your safety over your photography. Photo courtesy National Park Service/Dave Pope.
No matter how compelling the light and the scene in front of your camera, maintain situational awareness. Don’t allow yourself to get so caught up in your own creativity that you lose track of what’s happening around and behind you. Watch your step as you move about to frame your photograph so that you don’t trip or twist an ankle on uneven ground or step on wildlife habitat.
Slow down, take your time and put safety first. Your photography will be better for it.
The post National Parks Safety Tips For Photographers appeared first on Outdoor Photographer.