A portrait is a portrait. To simply add the modifier of macro doesn’t change the rules of good composition, light, creativity, depth of field, etc. What does change is the way in which the subject is captured. If you use natural light, time of day and angle of the sun still help determine the success of an image. But you have a tremendous advantage making macro portraits over ones of large mammals or people. With just a few modifications, macro portraits can be made mid-day when most photographers nap, clean equipment, download, edit or explore new locations. You need to modify harsh noon light with a reflector or diffuser. Additionally, sunlight can be overridden via the use of flash and dependent upon power settings, it can be reduced to a source of fill.
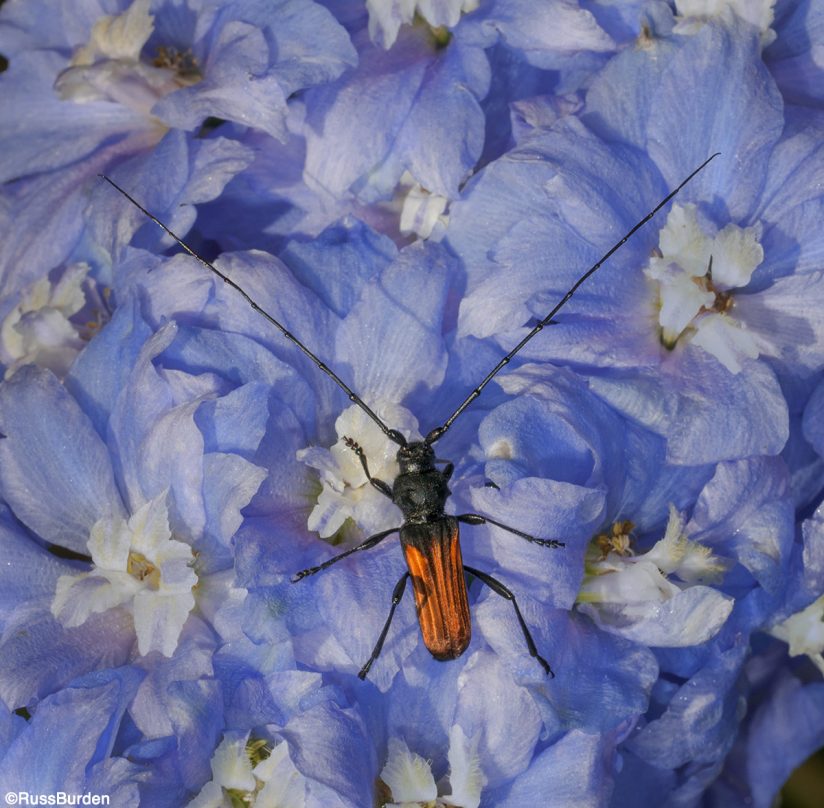
To photograph macro portraits, you need equipment that allows you to fill the frame with small subjects. While many lenses claim to have macro capabilities, this is debatable. Some offer the macro capability only at the widest zoom setting, which defeats the purpose of getting close. True macro lenses work wonderfully but are costly. Depending on the subject matter you want to capture, a given focal length will prove more advantageous. For instance, if insects or other skittish animals are your main focus, you need a telephoto macro. You can be farther back and not scare off the subject. Additionally, if you use flash, there will be enough working distance where the flash can evenly light the subject and not have the end of the lens cast a shadow. If you don’t want to lay out big bucks for a macro lens, you can use extension tubes, a bellows or close-up filters. Of the three, I prefer filters for their ease of use. The key is to use the dual-element achromatic type.
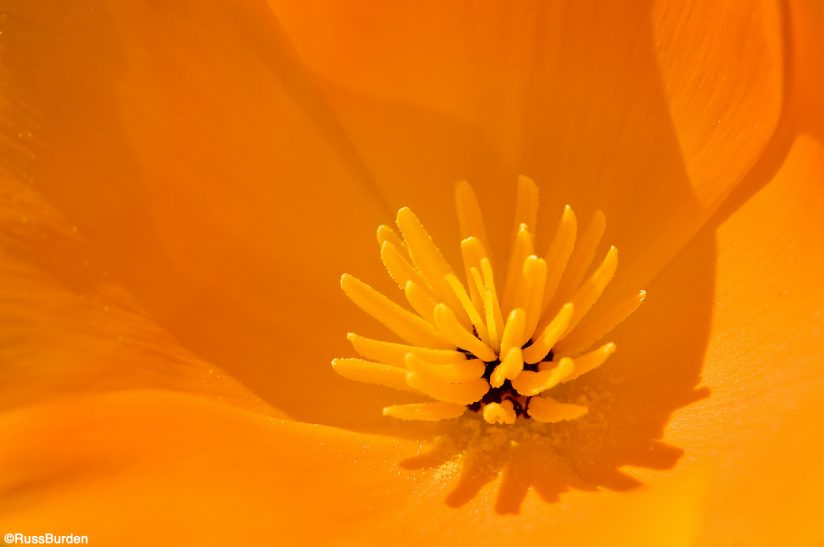
I’ve seen many gorgeous macro portraits taken with available light. But as with many other subjects, a lot of factors must fall into place to create a successful natural light photo. The beautiful light has to be where the subject is located, the subject’s appearance has to coincide with the time of the gorgeous light and the setting must be perfect for the direction of light. Rather than leave these factors to fate, wouldn’t it be nice to have the ability to produce consistent results even if it’s heavily overcast? The solution is a rather easy one. Use flash. It can be used as a fill light, main light or in tandem with multiple flashes to produce dramatic and pleasing results.
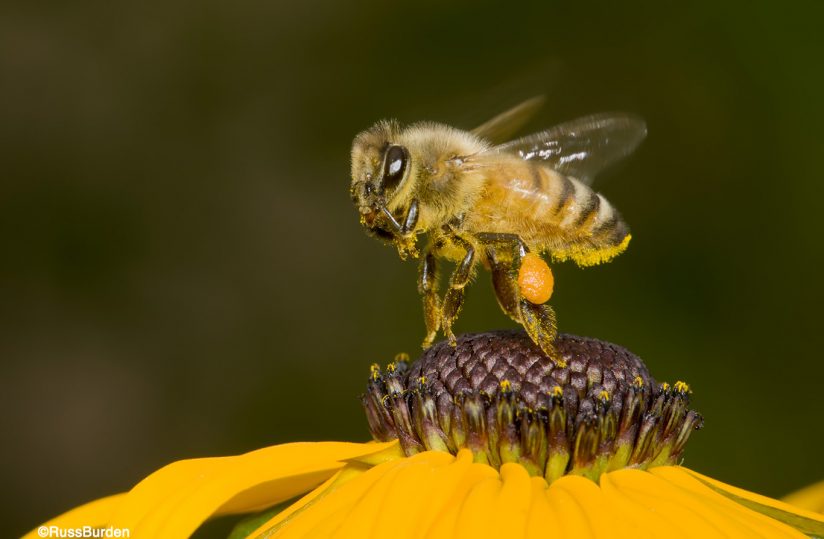
Flash has many advantages. First off, it provides a large burst of light so a small aperture can be used. This results in more depth of field. This is important in that when you work with macro subjects, critical focus is measured in millimeters. Even the slightest error in focusing results in an out-of-focus subject or a subject that may have a sharp wing instead of a sharp eye. Secondly, a flash helps offset movement if the wind is blowing. The duration of the flash is so fast that motion is frozen whether it’s a flower in a breeze or a walking praying mantis. An additional benefit is it frees you up from using a tripod. This is advantageous as you can move more efficiently. Additionally, the tripod is just another item that may scare away your subject.
My personal favorite setup consists of two flashes. I have a bracket that mounts to the tripod socket on the bottom of my camera. The bracket contains a flash foot on the left and right sides into which I insert medium power flashes. I position the “main” light on the right side of the bracket and the “fill” light on the left. The fill light gets dialed down to emit one to two stops less light from the main flash. This creates modeling and mimics a wraparound effect. When just a single flash is used, distracting shadows often appear.
To learn more about this subject, join me on a photo safari to Tanzania. Visit www.russburdenphotography.com to get more information.
The post Macro Portraits And Macro Flash appeared first on Outdoor Photographer.