The sun is the center of the universe and an amazing celestial body. It provides energy for plants, heat for warmth, gravity to hold the planets in orbit and light to make photographs. Without its light, photos of landscapes, seascapes, wildlife and every other subject couldn’t be made. It illuminates the earth in rich warm tones of orange and red, allows rainbows to bridge the sky and provides color to paint the clouds. Regardless of its quality, photos can be made. Learn all the options.
Pray For Clouds
Although contradictory for many photographic situations, soft clouds can be your ally at sunrise and sunset. They can take on color in early or late light and add impact to an image. To get a proper exposure is basic in that the intensity of the sun isn’t apparent and won’t fool the meter. There may be very delicate warm tones in small bright areas, so I encourage bracketing to maintain detail is those delicately toned locations. Reds, yellows and oranges are the most fragile colors that risk a loss of fine detail.
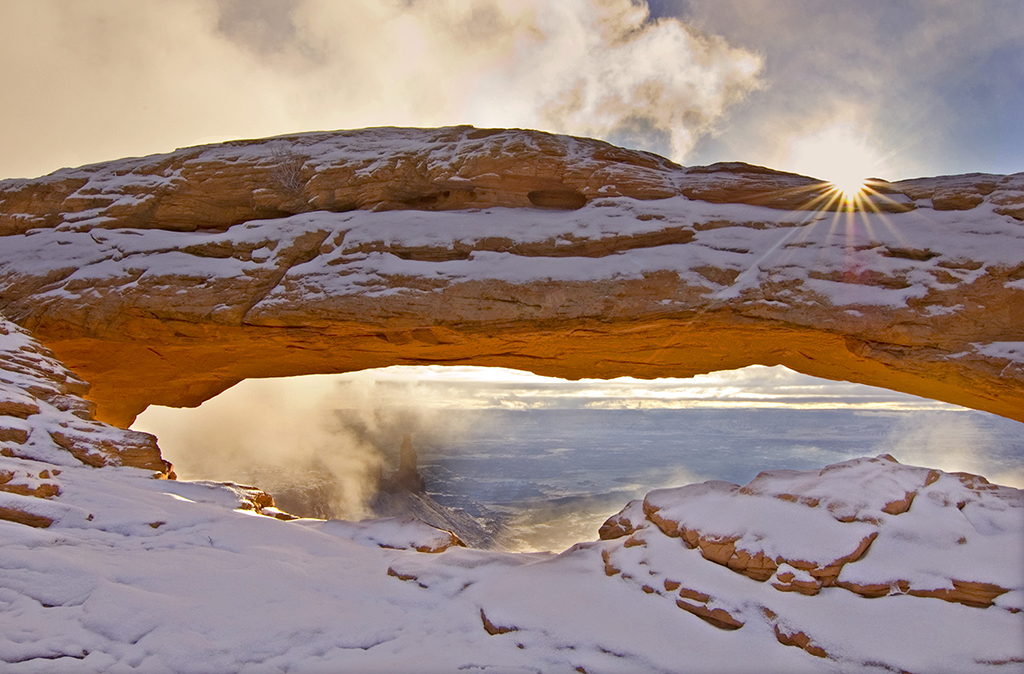
Sunburst
Cross star filters are used to create radiating lines from pinpoint sources of light, yet similar results can be made if you shoot into the sun at ƒ/22. The key is to use a solid object in the composition that blocks out all but a small percentage of the sun. It’s a fine line between destroying the image with flare and producing a naturally created starburst effect. The hint of sun that peaks out from behind the item creates the effect. Because the earth rotates so quickly, the camera position needs to be changed often or the effect is lost. For safety’s sake, never look directly at the sun, especially when using a telephoto lens.
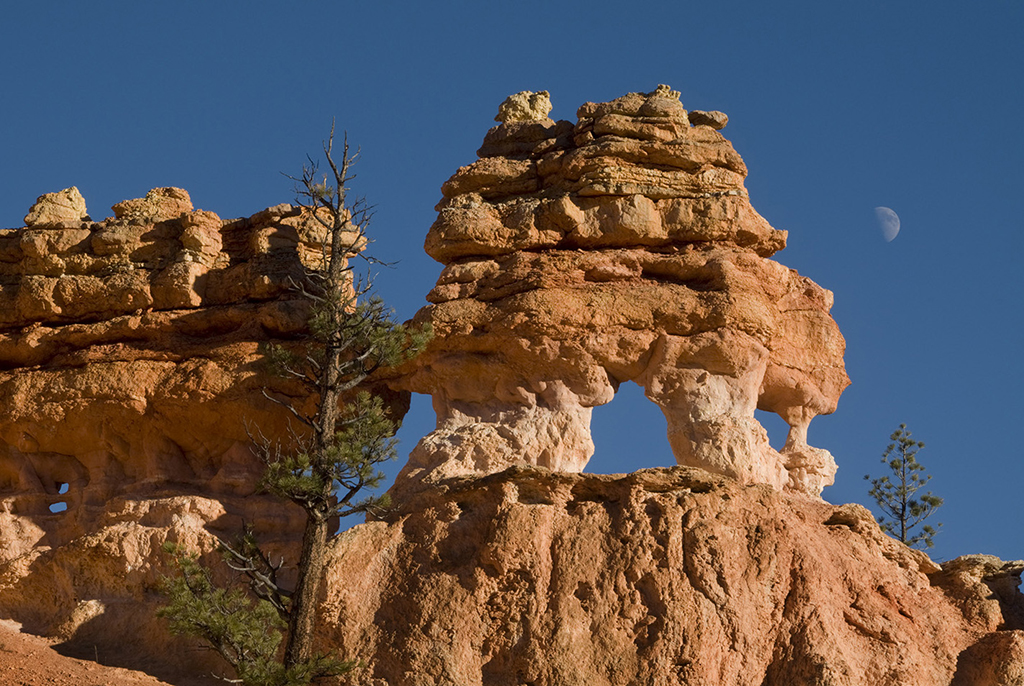
Celestial Body
Moonlight is actually reflected sunlight. The sun shines upon the moon’s surface and its light is reflected back to Earth. Depending upon its phase, the sun illuminates the section not in shadow. When the moon appears in a daylight sky, it can become a focal point in your composition. I especially like to include the moon the first few days after its full phase as it sets at sunrise. On the day of a full moon, it sets just before the sun rises.
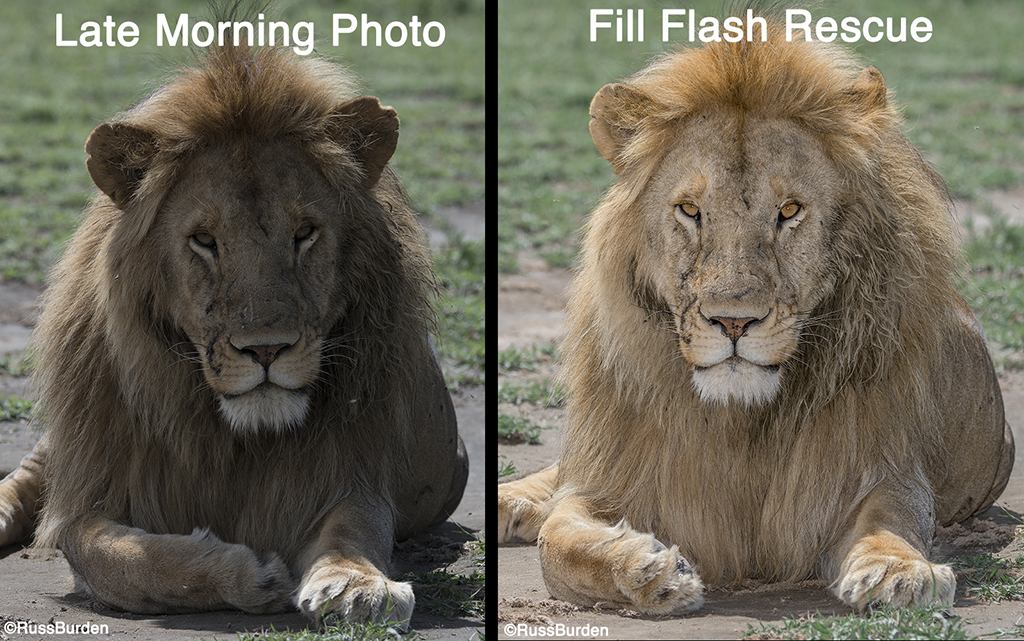
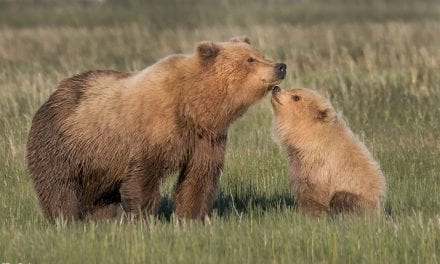
Flash As A Source Of Fill
When the sun is bright and gets too high in the sky to make powerful scenic or wildlife images, try to rescue the image with fill flash. Attached to my flash, I use a MagMod that projects the flash greater distances so wildlife that would otherwise be out of the usable range is illuminated. It does have limitations. The side-by-side comparison of the male lion shows the difference between straight overhead sun and fill flash with the MagMod.
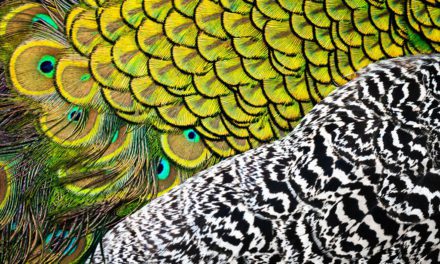
Focus On The Sky
Intriguing skies are good subjects unto themselves. The best time to take advantage of them is when the sun is close to the horizon. Be it pre-dawn, post sunset or after sunrise or sunset, the sun acts to fill the sky with vivid warm tones. Isolating cloud patterns, spots of dramatic color, sun rays or a long telephoto of the sun itself produces strong images to punch up your images. Interesting skies can also be captured an hour or two after sunrise or before sunset. Don’t overlook these gifts.
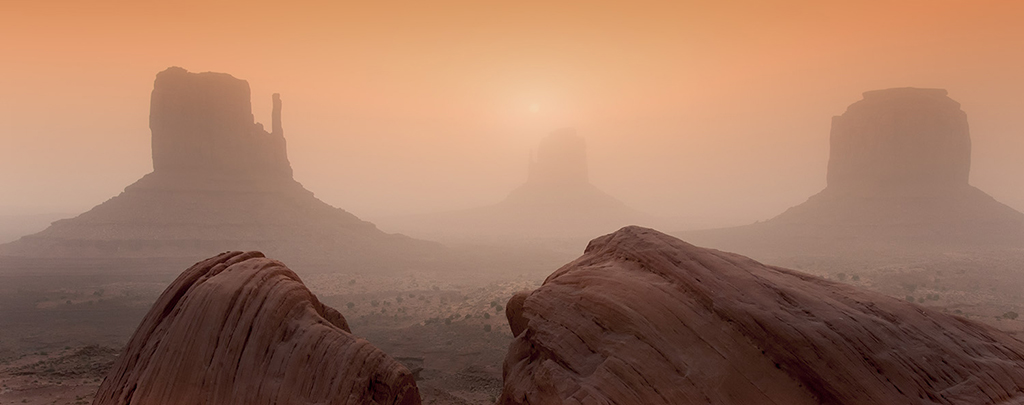
London Calling
Fog is one of my favorite conditions in which to photograph. Its ethereal quality lends itself to convey great moods. It also acts as a natural diffuser to reduce contrast. This provides fewer flare or exposure problems. The density of the fog determines the mood of the image. A thin rolling fog is very effective. At any given moment, the sun’s intensity varies with the thickness of its mist. As the fog moves across the sun’s face, its brightness increases and decreases. It may appear as a subtle round disk and within a matter of seconds, it may be obscured. I often overexpose up to one stop from the meter reading to prevent dull gray atmospherics. Always check your histogram to play it safe.
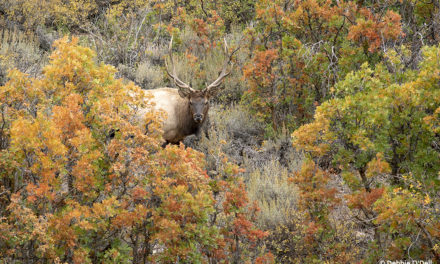
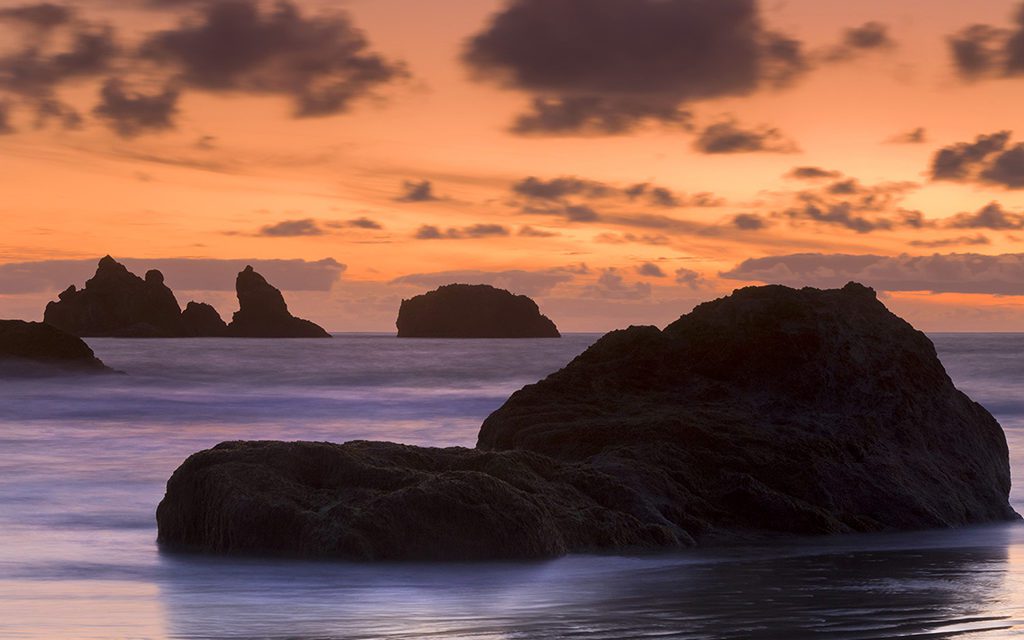
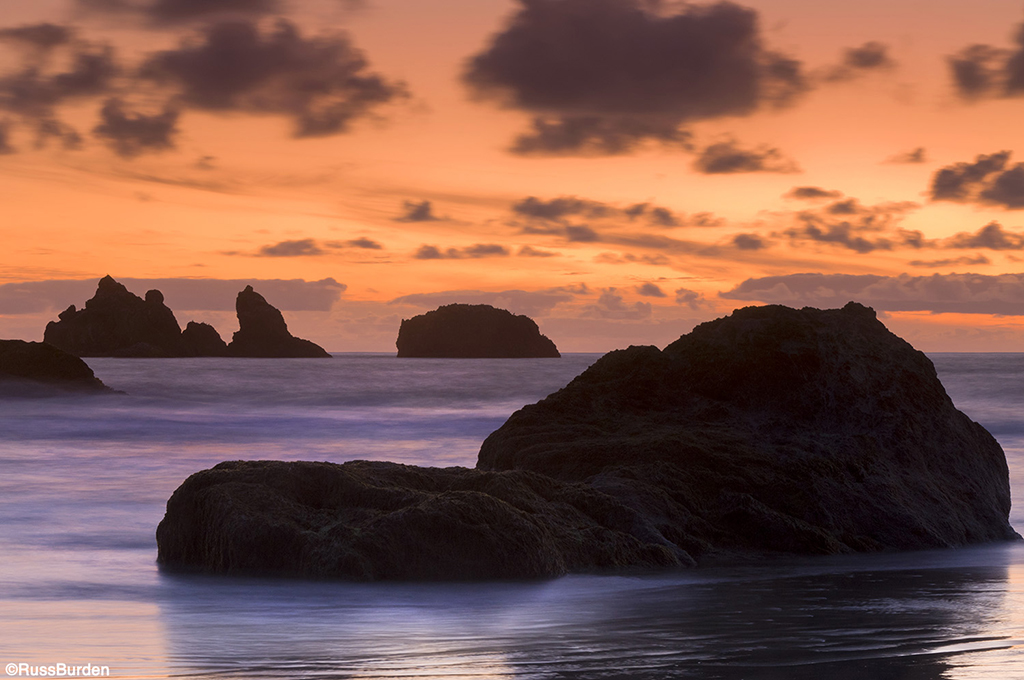
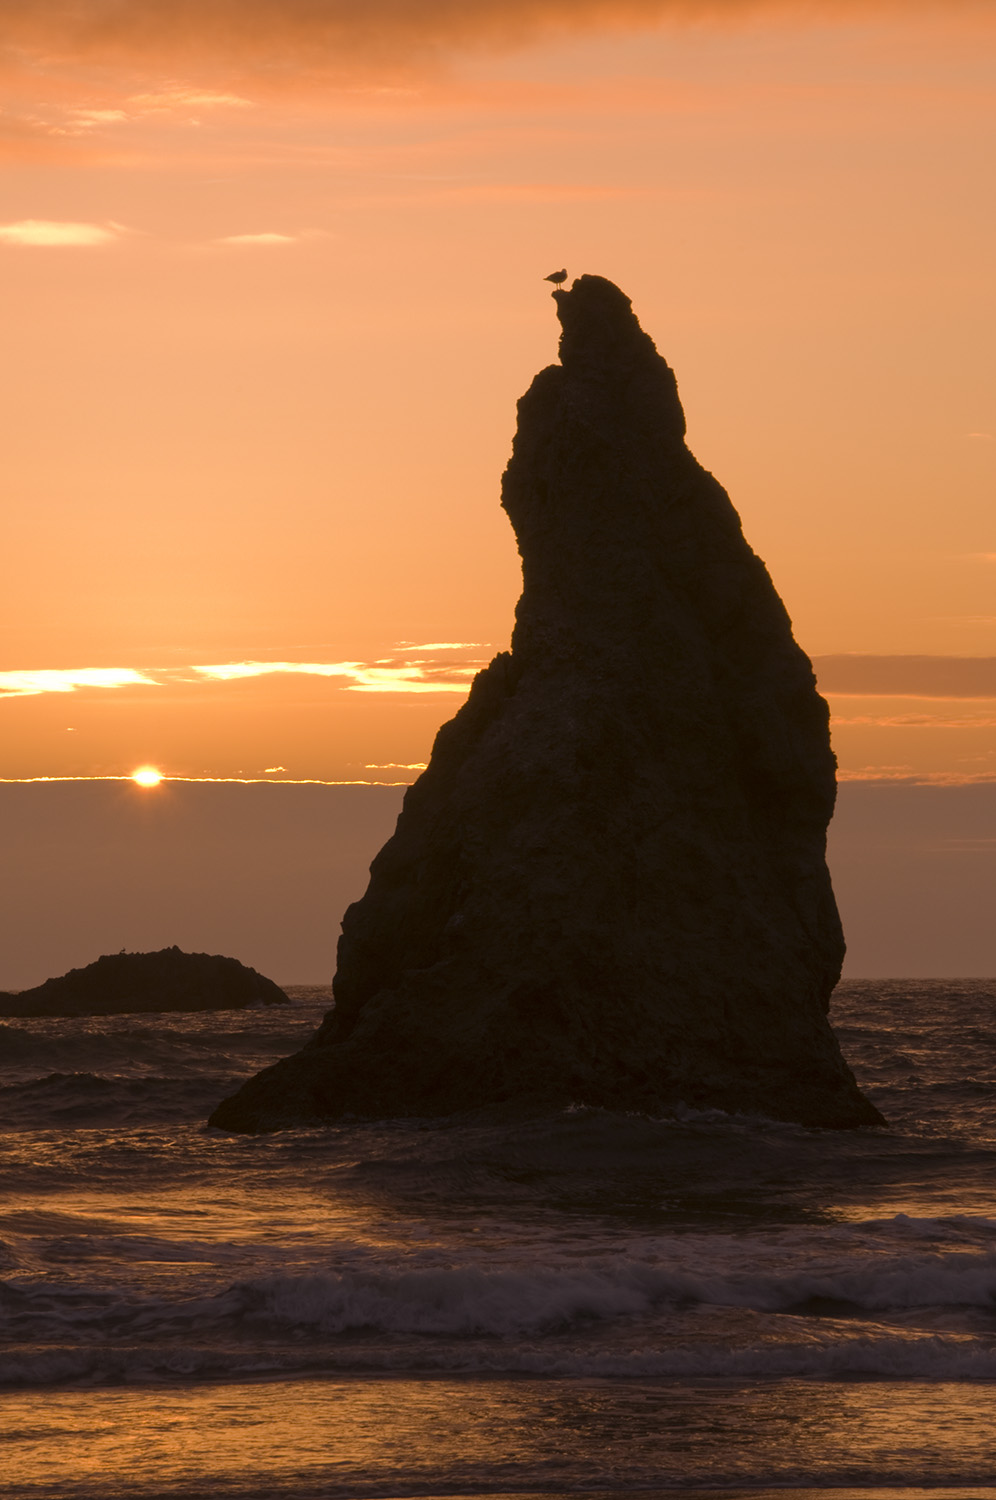
Hide The Sun
It’s not necessary to fully show the sun in a sunscape. An implied sun can produce dramatic photos when it’s close to the horizon. Most subjects will appear as silhouettes due to the strong backlight. When you use this technique, incorporate a subject that has a bold and easily identifiable form. The shapes shouldn’t be confusing or have any distractions. The cleaner looking it is, the better. The more the subjects block the sun, the easier the metering in that the camera won’t be fooled by specular bright sunspots.
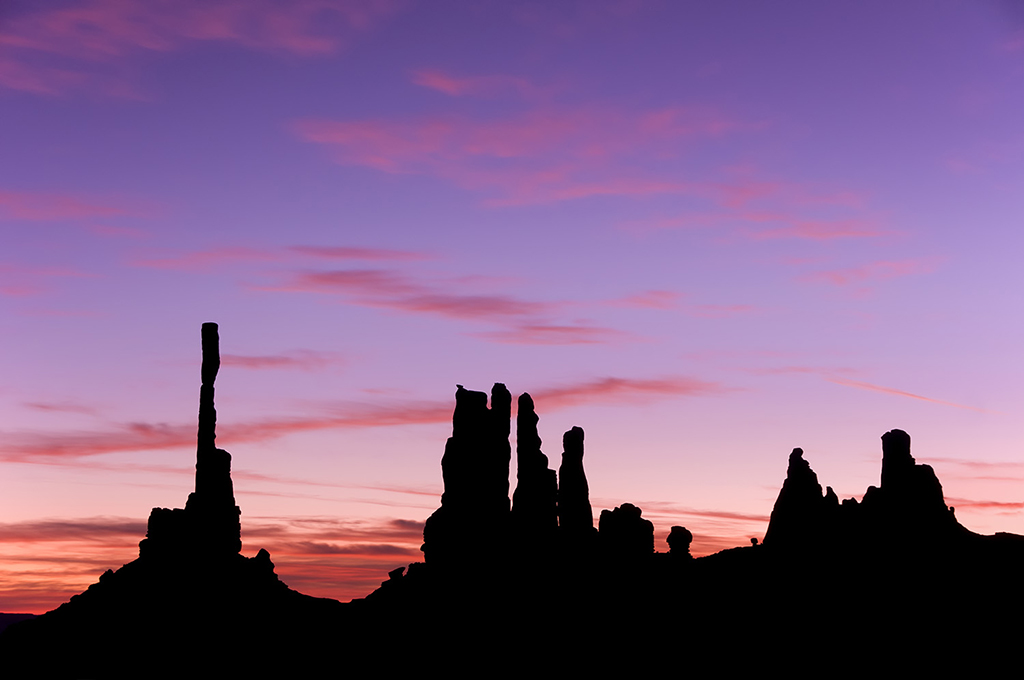
Alpenglow
On clear mornings, about 20 minutes prior to sunrise, the sky takes on a graduated effect from fiery red at the horizon to cobalt blue at its high point. It’s caused by the sun coloring the atmospheric particles at the horizon. When used with a strong silhouette, the potential to create outstanding images is high. The same effect occurs at sunset approximately 20 minutes after it drops below the horizon. Metering is straightforward unless the silhouette takes up a large portion of the composition. In this case, bracket the exposure toward the minus side.
Horizon Time
A great time to shoot the sun is when it appears just above the horizon. Unless the sky is void of atmospherics, pollutants or dust particles help tame flare. If the sun isn’t strongly diffused, do not look directly at it! You may cause irrevocable damage to your eyes. Try to position the sun using the rule of thirds as it will be a primary subject.
The post Every Version Under The Sun appeared first on Outdoor Photographer.