Every photographer wants their pictures to stand out from others. One way to accomplish this is through the use of dramatic light. Rainbows, ominous clouds, storm light, vivid sunsets and more create dramatic conditions, but the frequency with which they occur is low.
Another way to add dramatic light is through the use of backlight. Backlight creates eye-popping results and can be utilized more consistently and with greater frequency. It adds impact and intrigue to a photograph and its advantage is it can be made artificially either in the field or under controlled conditions via the use of flash. While Mother Nature creates spectacular backlight, it’s not essential to rely on her.
Indoors: Backlight can be used in many ways. Studio photographers use it to separate subjects from a background. When a dark subject is photographed against a dark background, the subject and background blend in tone. But if a narrow beam of light is added from behind, a rim light separates the subject from the background. The subject’s outline takes on a glow that makes it discernible.
Depending on the size of the subject, it may be necessary to use more than one flash to create full separation. The key to backlighting in a controlled environment is to not go overboard unless a special effect is intentional. If too much is added, you run the risk of over separating the main subject. Additionally, the effect may spill over to other areas and create hot spots and/or overexposure. Bracket the amount of backlight by dialing the flash down or up or by varying the distance of the lights. Check the effect on the LCD of your camera to see what power ratio works best.
While I primarily use indoor backlights for small nature subjects such as flowers and insects, they also work wonderfully if you’re into portraits. Incorporate a backlight to make the subject’s hair glow with a halo of light. They’re sometimes used to place a highlight on the top of the subject’s hair and other times to light the entire head from behind. Both are effective. To make the top of the hair glow, place a flash in a small softbox just above and slightly behind the subject’s head. The softbox softens the light, which produces less contrast. To fully rim light the hair, place a strong flash squarely behind the subject’s head and don’t use a softbox. Blonde hair requires less output than someone with dark hair.
When I use backlights in the studio, I don’t aim them directly toward the lens. Direct light creates flare. I carefully aim the flash head toward the subject but slightly away from the camera. If the position of the backlight is such that it looks like it may flare the lens, I add a scrim to its side. This channels the light away from the lens, which reduces the risk of flare. Elaborate attachments can be purchased that accomplish this. I simply tape a piece of cardboard to the side of the strobe and make sure it’s large enough to not allow stray light to hit the front element of the lens.
Backlighting in the studio doesn’t have to be reserved for separating a subject from the background. It can be placed to add dimensionality and texture. I move the backlight so it becomes a partial sidelight to shape and add texture to the subject.
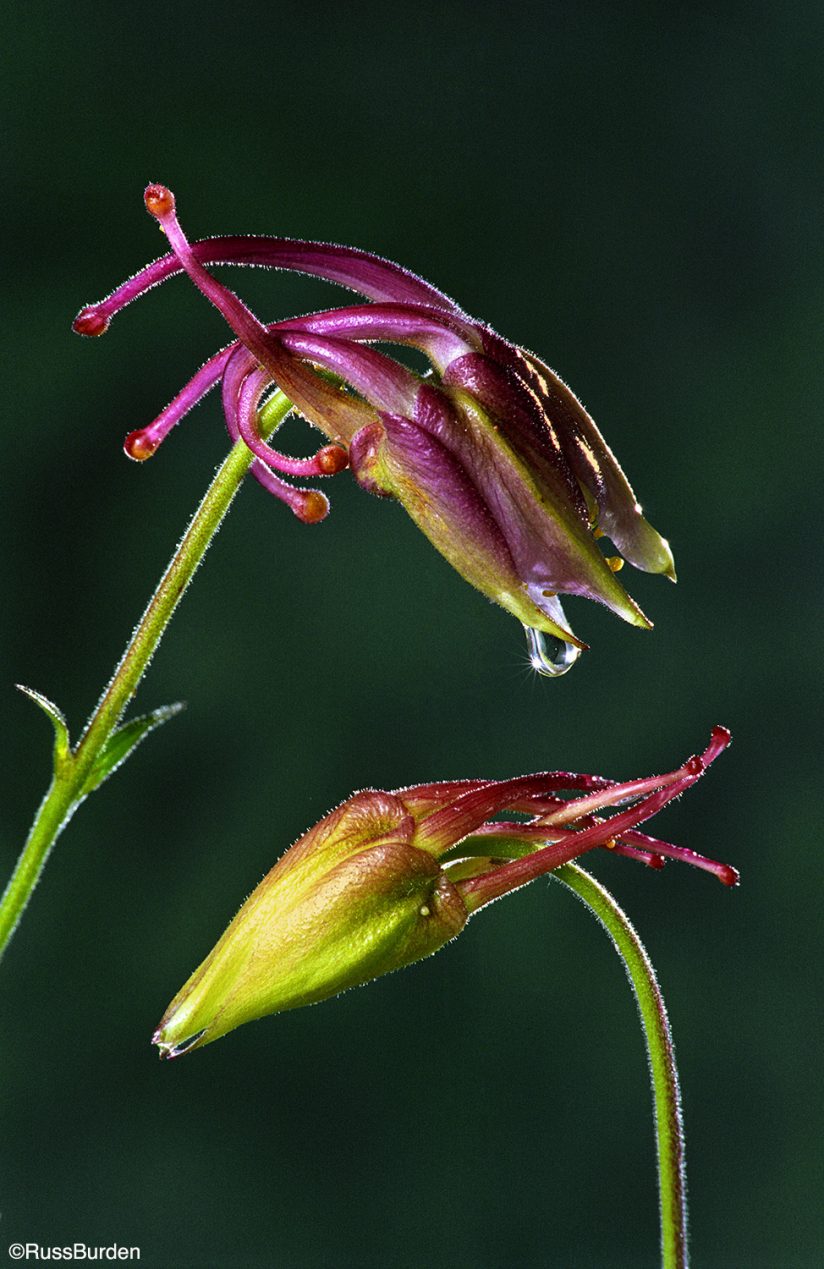
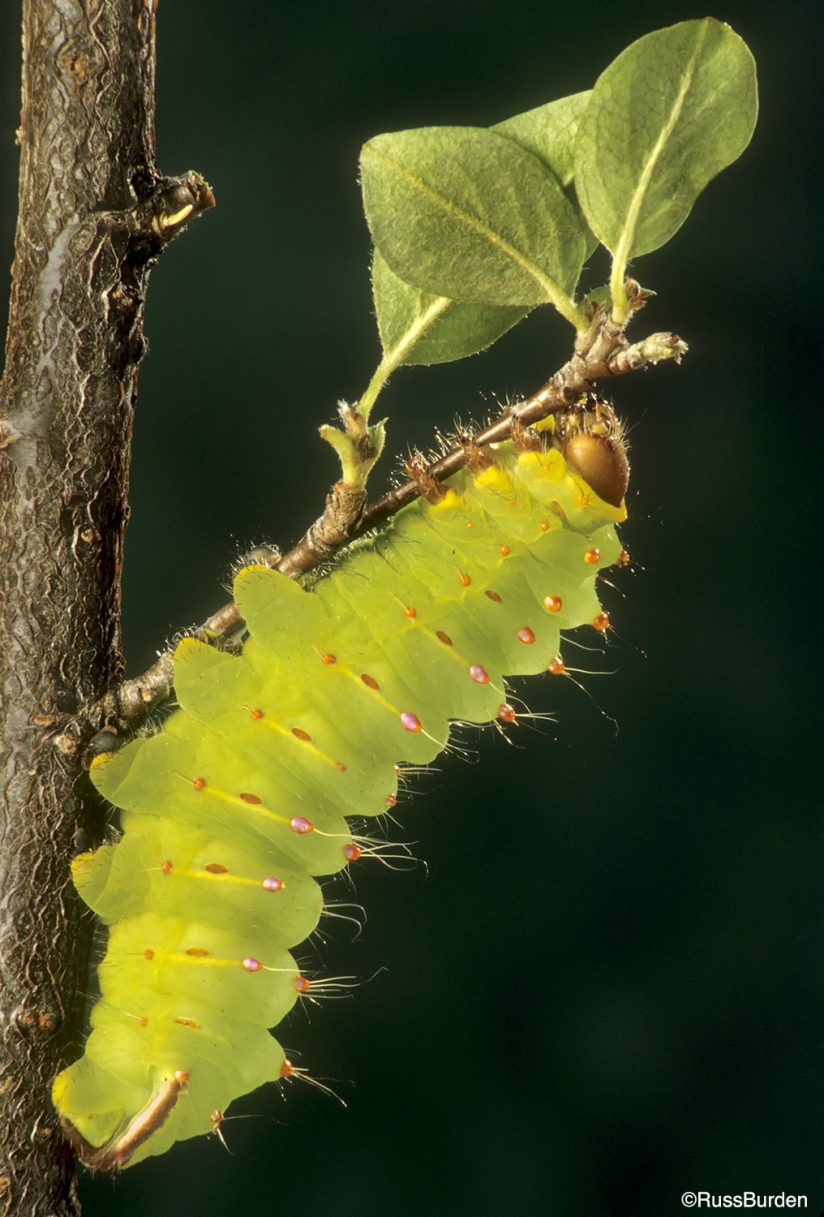
In my mini nature studio in my basement, I create images of flowers and insects. I sometimes reposition my backlight to highlight specific portions of my subjects. If I move the backlight more to the right or left side of what I photograph, a sparkle or highlight can be placed on just its side. An additional backlight can be incorporated into the mix, which creates a halo on the backside of the subject. The effect can be very dramatic.
When I photograph flowers, I like to show the translucency of their petals. The picture has more impact than if I make a basic recording. Because there are so many gorgeous images of flowers made every day, I strive to do something different. Its use can be very tricky based on a number of variables, so I suggest you bracket the placement of the backlight at varying distances. If the flower is light in tone, the backlight should be placed farther away. The thinner and more translucent they are, the farther back the backlight should be.
Be sure to catch next week’s Tip of the Week that addresses backlight in outdoor settings.
Visit www.russburdenphotography.com for information about his nature photography tours and safari to Tanzania.
The post Create Dramatic Light With Backlight, Part 1 appeared first on Outdoor Photographer.