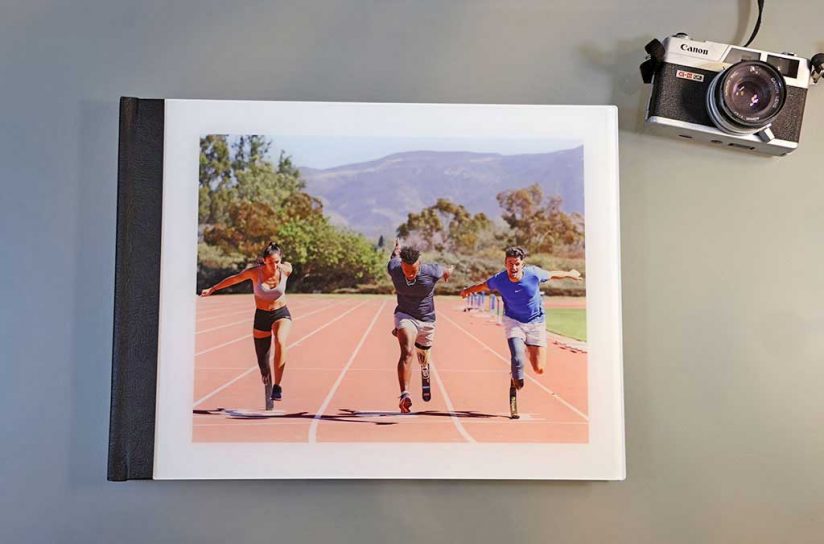
The cover of my finished photo book from Saal Digital.
Do you have a series of photos you’d love to see in print? Have you considered turning them into a professional photo book? It’s not as difficult or as expensive as it might sound as I learned while trying out Saal Digital’s Professional Line Photo Book service recently.
Not only was I able to create an impressive photo book in no time, the quality of my 16 x 12-inch tome from Saal Digital was exceptional and the process was relatively painless. So, whether you’re creating a one-off photo book of your work as a self-promotional tool or want to produce something specific for a client or, perhaps, a series of photo books to sell on your website or gift to friends, Saal Digital’s service offers some great options. Here’s how I made mine.
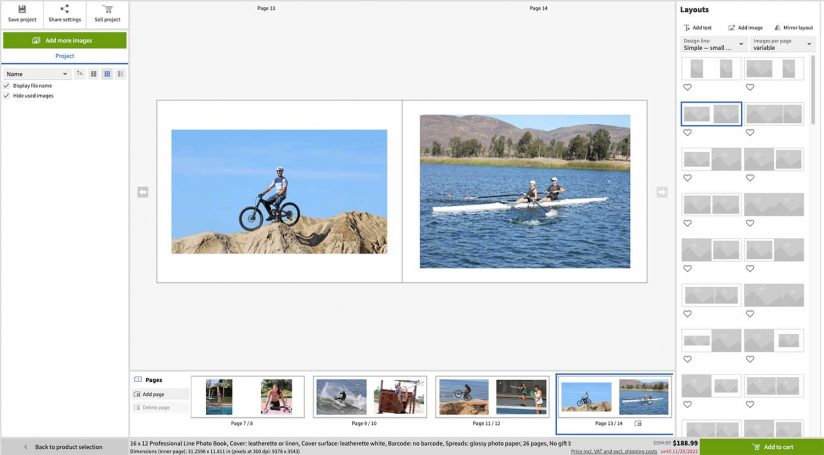
The web-based layout process for making a photo book with Saal Digital was simple and straightforward.
Picking Images
Creating a photo book is quite a bit of a different experience from producing a single print to hang on a wall. The main, obvious, difference is your book will consist of a group of images, not just one photo. While the images in a photo book don’t, necessarily, need to be tied together by a theme, it helps if they’re related in some way to tell a visual story.
Travel photography, in particular, is well suited for book form so whether you’ve shot towering Redwoods in California or castles and surrounding landscapes in Germany, you likely have a wealth of potential material in your portfolio for a photo book. In my case, I recently returned from a press trip to San Diego where I shot several thousand images of elite athletes in a variety of sports including BMX racing and aerial stunts, track and field, rowing, diving, tennis, surfing, and mountain biking.
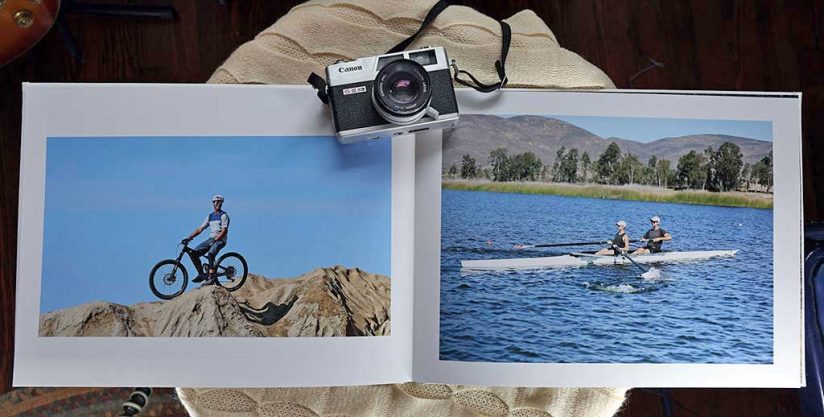
The layflat binding gives the book a professional look and feel.
From that large group of photos, I narrowed down a few dozen shots I considered to be my very best. I tried to choose images that showed a mixture of the sports I photographed so the book would feature a range of athletes and action. In many ways, making your image selects is the most difficult part of making a photo book with Saal Digital since the technical process is so simple.
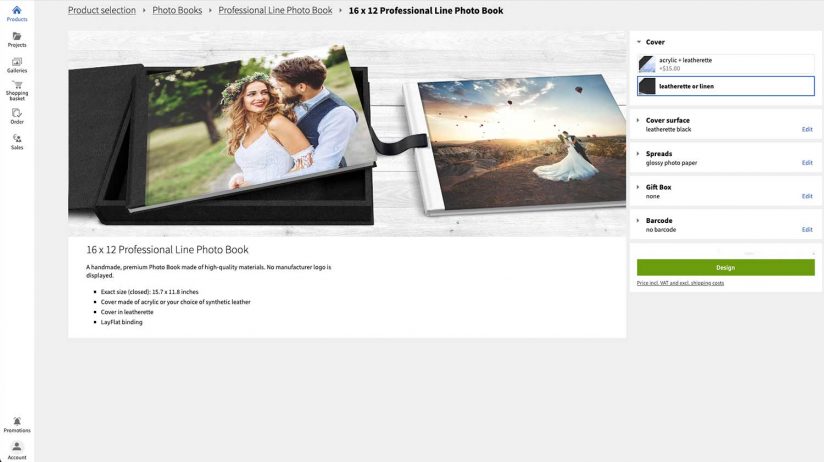
Size, format, cover, and paper options abound when making a Professional Line Photo Book with Saal Digital.
Picking a Book
Saal Digital offers a wide variety of photo book options, but I wanted to test their premium Professional Line of books because I thought it would most appeal to Outdoor Photographer readers. They do cost a bit more, but Professional Line Photo Books really are the best way to showcase your images.
Some of the features we appreciated include a “LayFlat” binding that lets you place your photos across an entire double-page spread without losing any detail in the “gutter” of the book. (More about this later.) Also, there are no distracting manufacturer’s logos on the book, and you can have the production barcode removed. Saal Digital also guarantees color fastness for 75 years so your images won’t lose their luster over time.
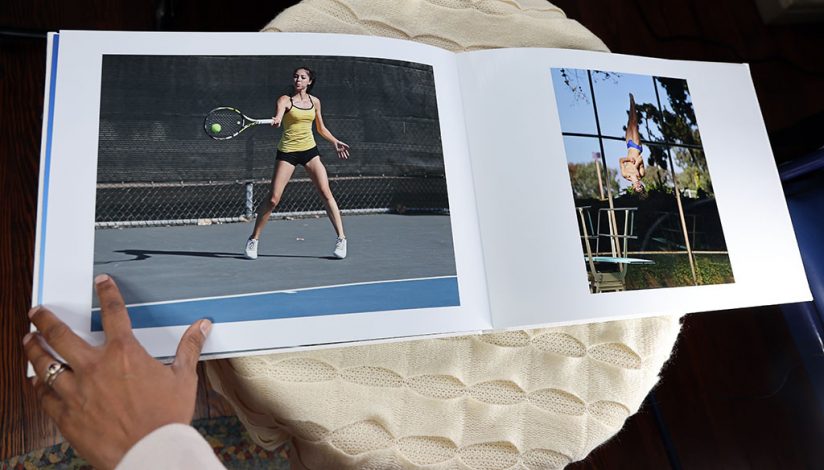
The glossy paper really made my images stand out.
Options abound in terms of size formats and paper and cover possibilities. I went with 16 x 12-inch Professional Line Photo Book option in a Landscape format. (There are also Portrait and Square format options.) If you are planning a large multi-book project, Saal Digital will give you an individual quote via a bulk order form.
I just wanted to produce a single book for my test, so I selected the 26-page option with an acrylic cover and glossy paper. The shiny acrylic cover option costs a bit more but it’s worth it and helped highlight the sports theme of my book. On the other hand, the less expensive leatherette cover is a solid choice for a wedding or portrait photography book.
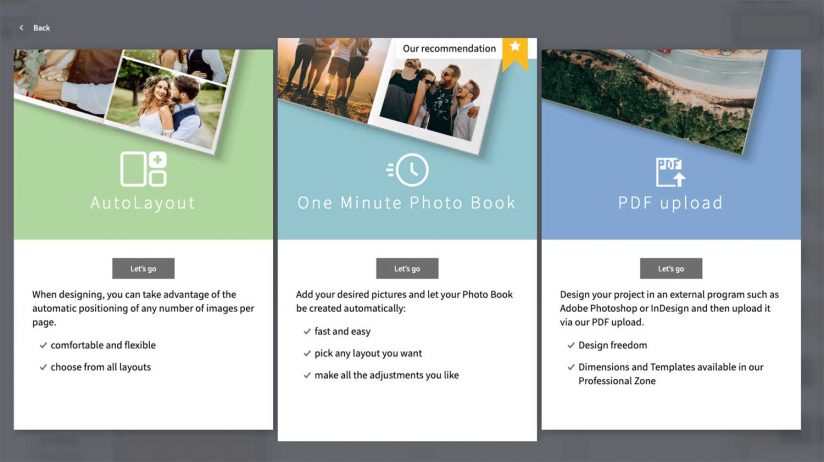
The One Minute Photo Book option was not only fast, its automated features helped me create an attractive layout.
Creating the Book
Creating the book is where the fun really begins. There are three ways to do it: either do it directly on the Saal Digital website; or download the free Saal Design Software to your computer; or get the free Saal Digital mobile app for your smartphone or tablet computer.
There is some additional functionality if you use the Saal Design Software, but I decided to go directly to the Saal Digital website and create my book there since I suspect that’s how most users will do it. I picked the “One Minute Photo Book” design option since it was recommended by Saal Digital and promised a “fast and easy” process with some customization. If you want even more flexibility, there’s an AutoLayout option, and a PDF upload option if you’ve designed your book project through an external program.
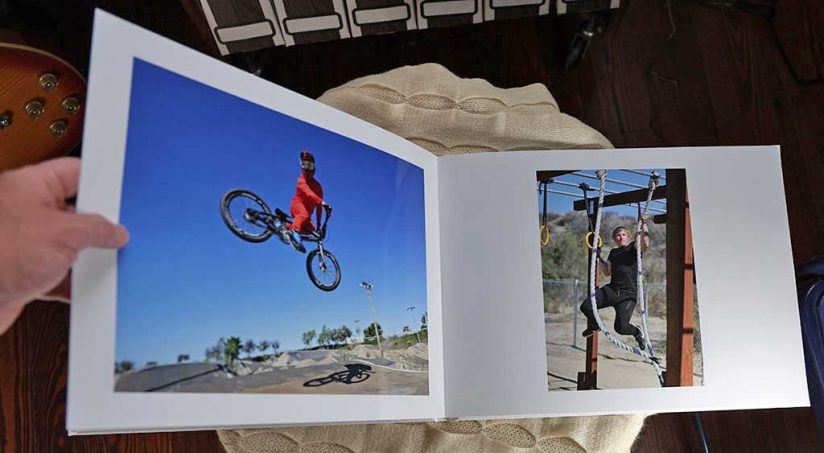
Color rendition was excellent throughout the book.
After selecting the margin size you want, the next step is to upload your images. The “One Minute Photo” design option will autofill most of the layout of your book with your images. I was pleasantly surprised with the photo order and layout selections during this automated process with the software choosing an image for the cover I hadn’t considered. I quite liked the cover choice along with some of the other layouts that Saal Digital picked. You can, of course, go back and changed layouts manually but I skipped that and saved my selections for the rest of the 26-page book, which is left open.
My favorite part of the layout process was picking photos for double-page spreads. As a magazine editor, I love how a great image looks spread across two pages in print and to have this feature in a layflat book was even more exciting.
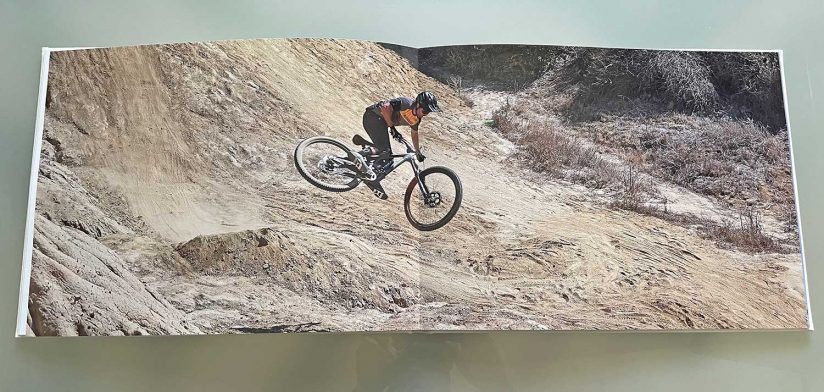
Here’s an eye-popping two-page spread featuring one of my BMX images.
Final Thoughts
Once you’re done laying it out, the final step is to order the book. Mine arrived just a week or so afterwards in a well-protected cardboard box. The images and visual flow of the book looked even better when I actually had it in my hands and I thought the glossy paper made the photos really pop. I left mine text-free to put emphasis on the images themselves but there are multiple ways to add text and other design touches to your book. Overall, Saal Digital’s Professional Line Photo Books are a great way for photographers to tell an elegant visual story with their images. And during this holiday season, these handsome photo books also make an excellent, personalized gift.
The post Create a Gorgeous Professional Photo Book of Your Work with Saal Digital appeared first on Outdoor Photographer.


