It’s only September, but the wind chill hits -30 degrees Celcius on the Greenland ice cap for the third day in a row. Lying in the warmth of my sleeping bag, I can see the fog of my breath illuminated by my headlamp. Suddenly, I realize I’ve forgotten my boots outside overnight, and they’re frozen solid, tough as bricks. So, the day kicks off with my footwear sandwiched between dehydrated dinner bags filled with hot water. Thirty minutes of thawing later, and I can get a move on with what I’m actually there to do: shoot a film about photography with French filmmaker Mathieu Le Lay.
The misadventures that day didn’t start with frozen boots. Every two hours throughout the night, Mat and I took turns going to our water supply—a nearby supraglacial lake—where we punched through the surface of the ice with our tripods for fear it would freeze solidly enough to shut down our hydration source for good. It was an important lesson that, at times, what threatens a photo expedition isn’t malfunctioning gear or dead batteries; it’s your own body’s batteries that make all the difference.
Sleep-deprived, with boots finally on, we venture out onto the ice cap, and the wind is howling. As a photographer, you know that it will be one of those days where you’ll be very selective about what you stop for, and when each shot has to be earned. All day, our voices are muffled by the balaclavas and the gale, and hand signals prevail. Our silence isn’t due to a lack of excitement. For hours we explore in quiet bliss, photographing crevasses of an impossible blue, sneaking between teetering seracs, and peering down every millwell we stumble upon.
The environment forces us to be intentional with our creativity, to manage our energy. That evening, we return to the tent and finally reveal the rest of our faces: smiles all around.
A Case For Cold Weather Photography
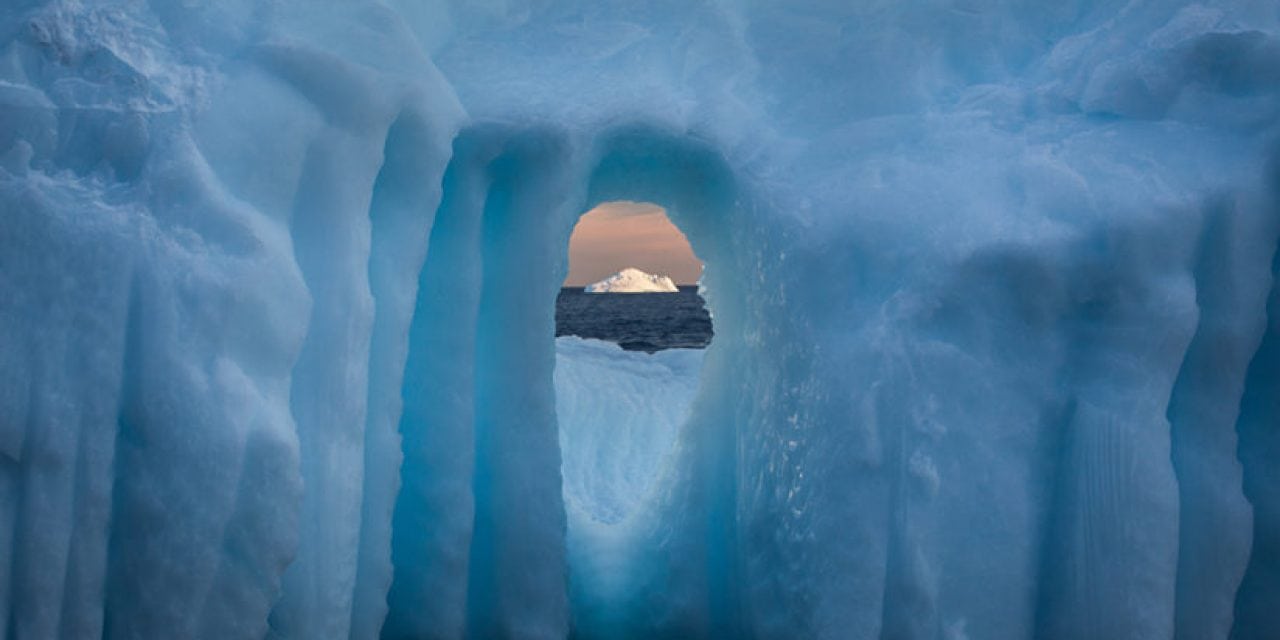
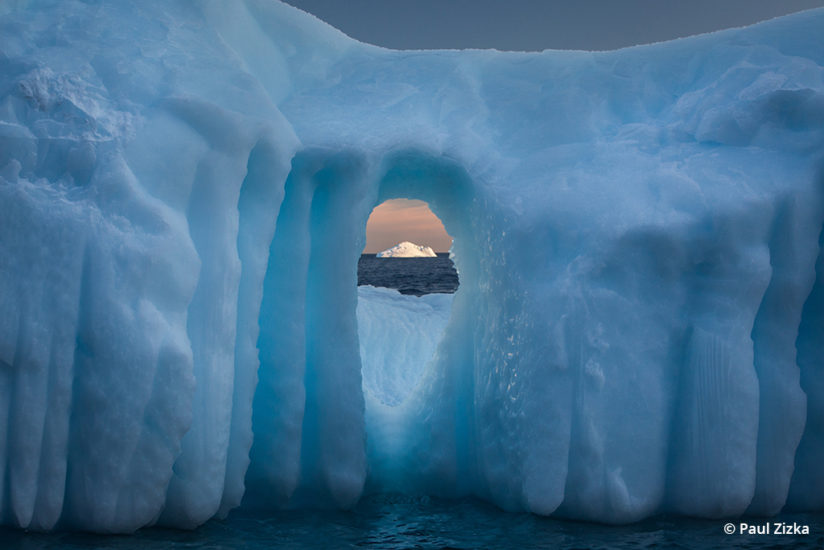
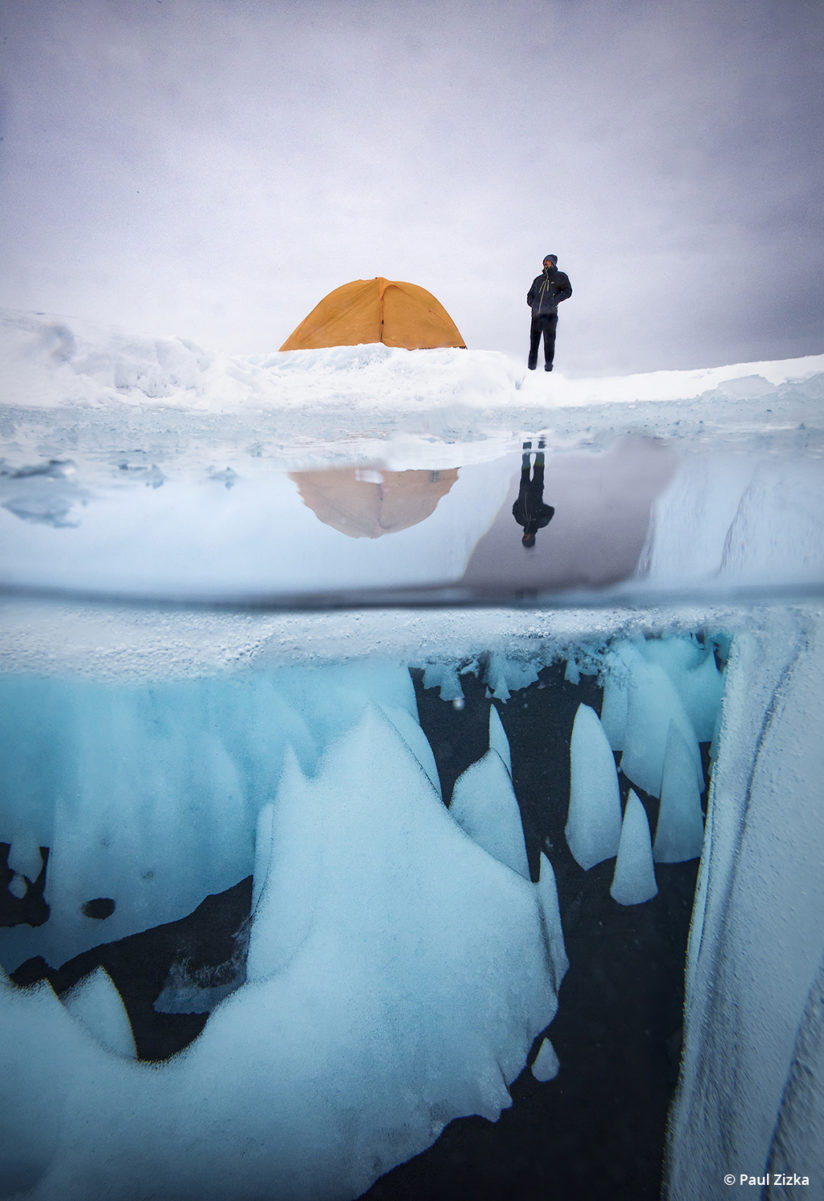
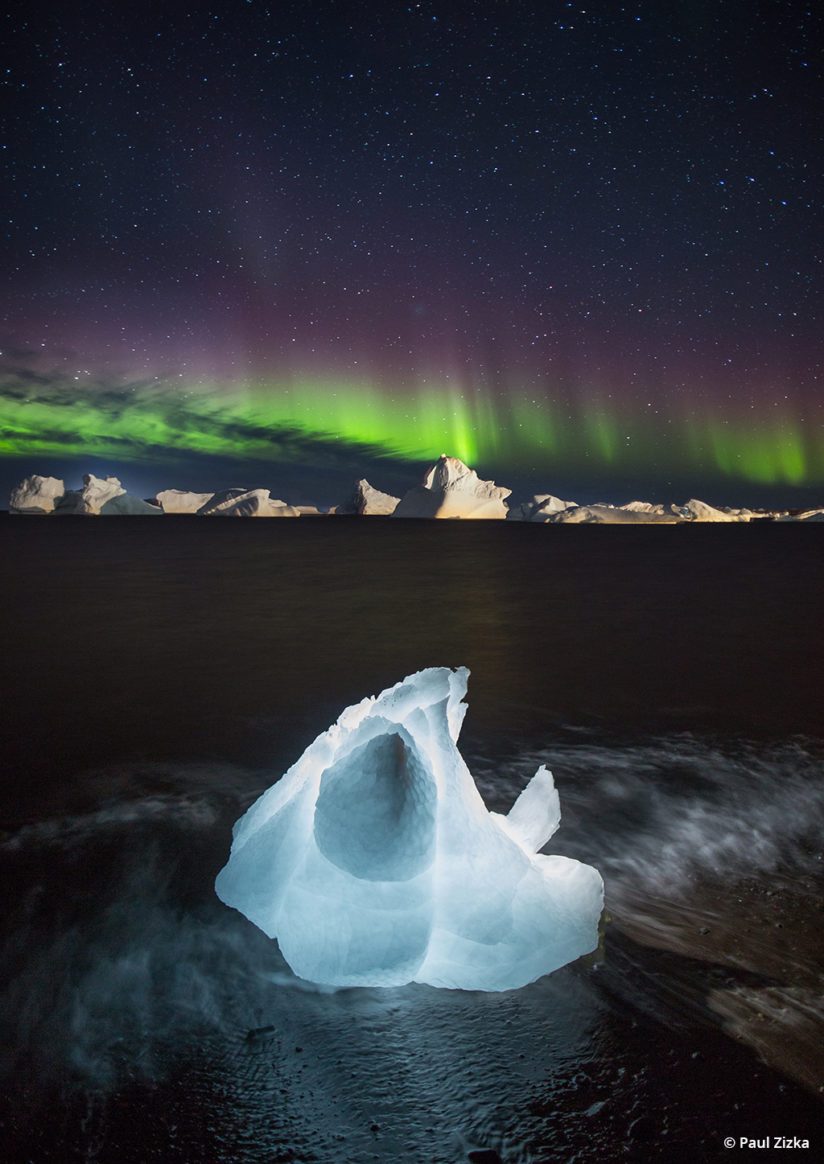
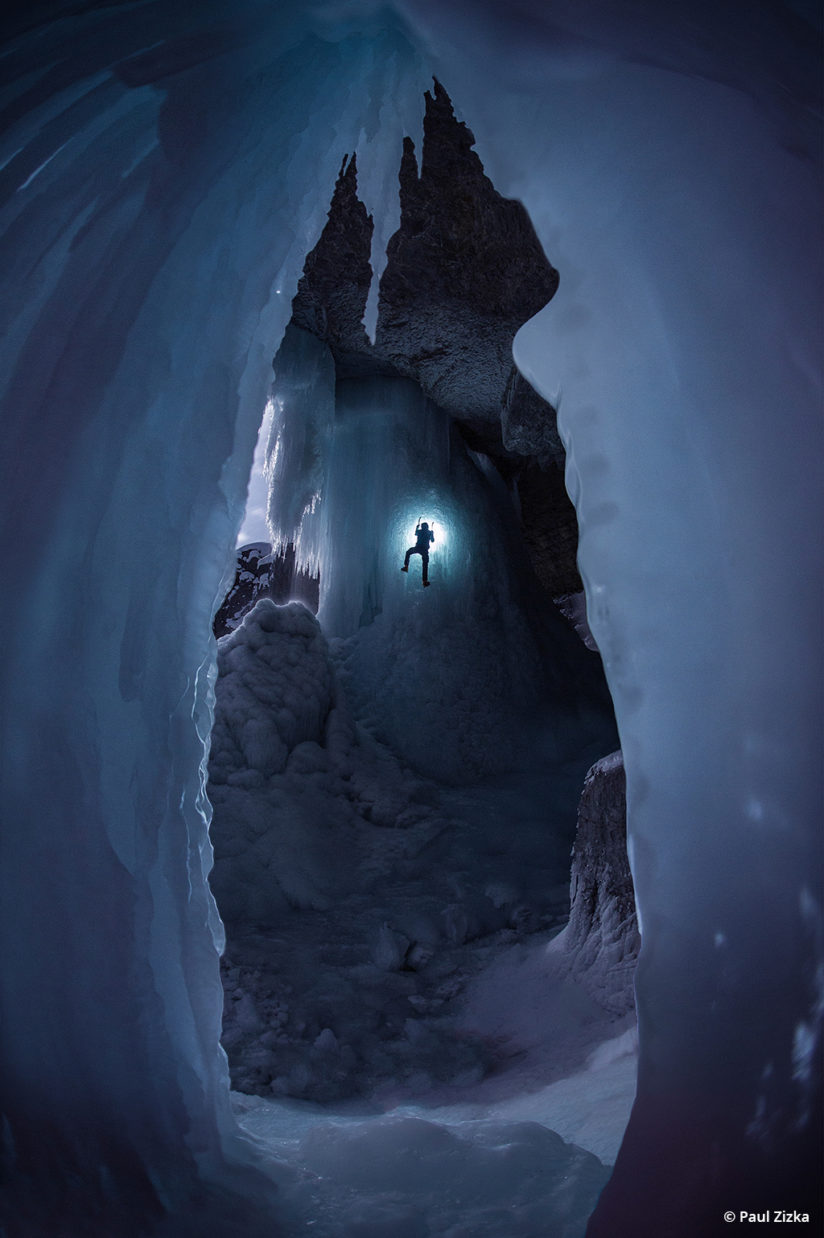
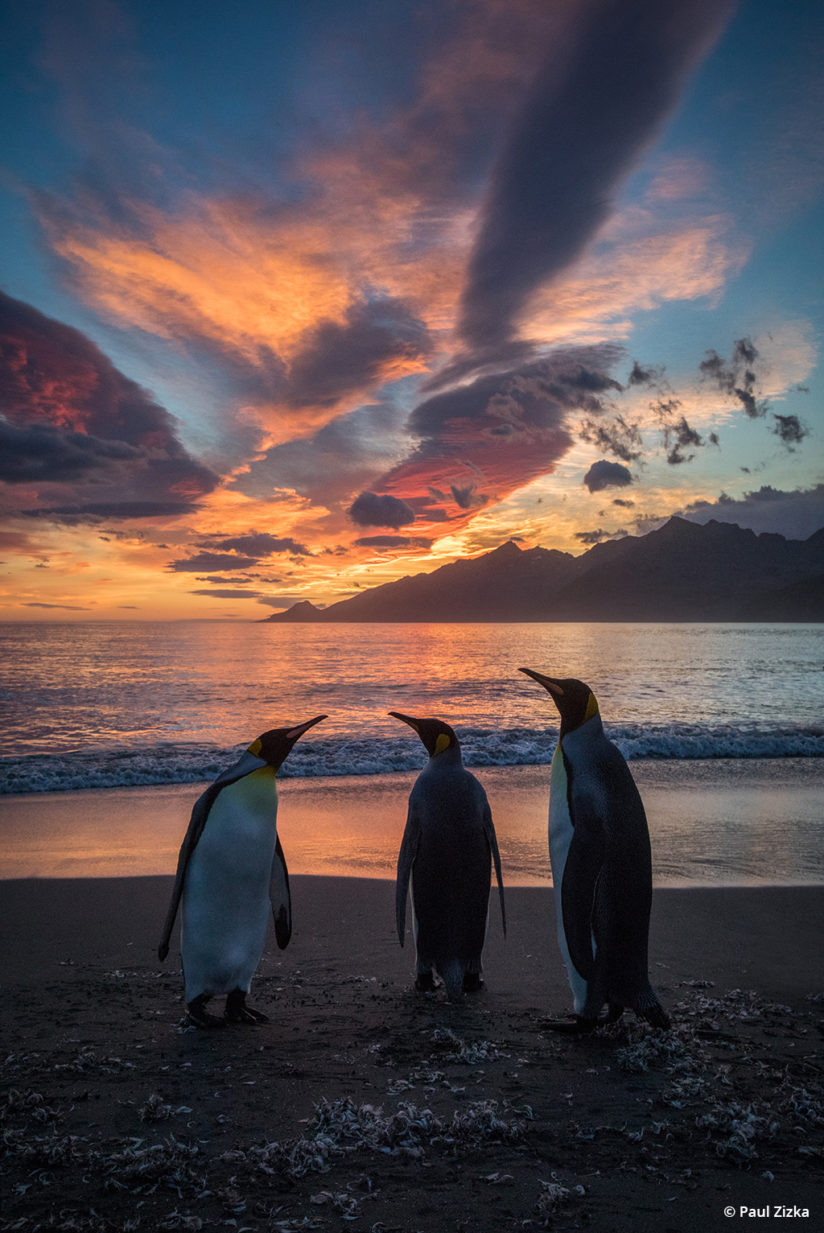
I won’t lie, I’m a high-latitude fanatic. I love the remoteness that comes with venturing to the far-flung reaches of the planet, and traveling toward the poles means venturing into cold climates. Some of my most memorable and creative photo experiences occurred amongst the bobbing icebergs and penguins of South Georgia, the endless tundra and dramatic fjords of Baffin Island, and the snaking blue-hued glaciers of Svalbard. I’m addicted to that end-of-the-world feel.
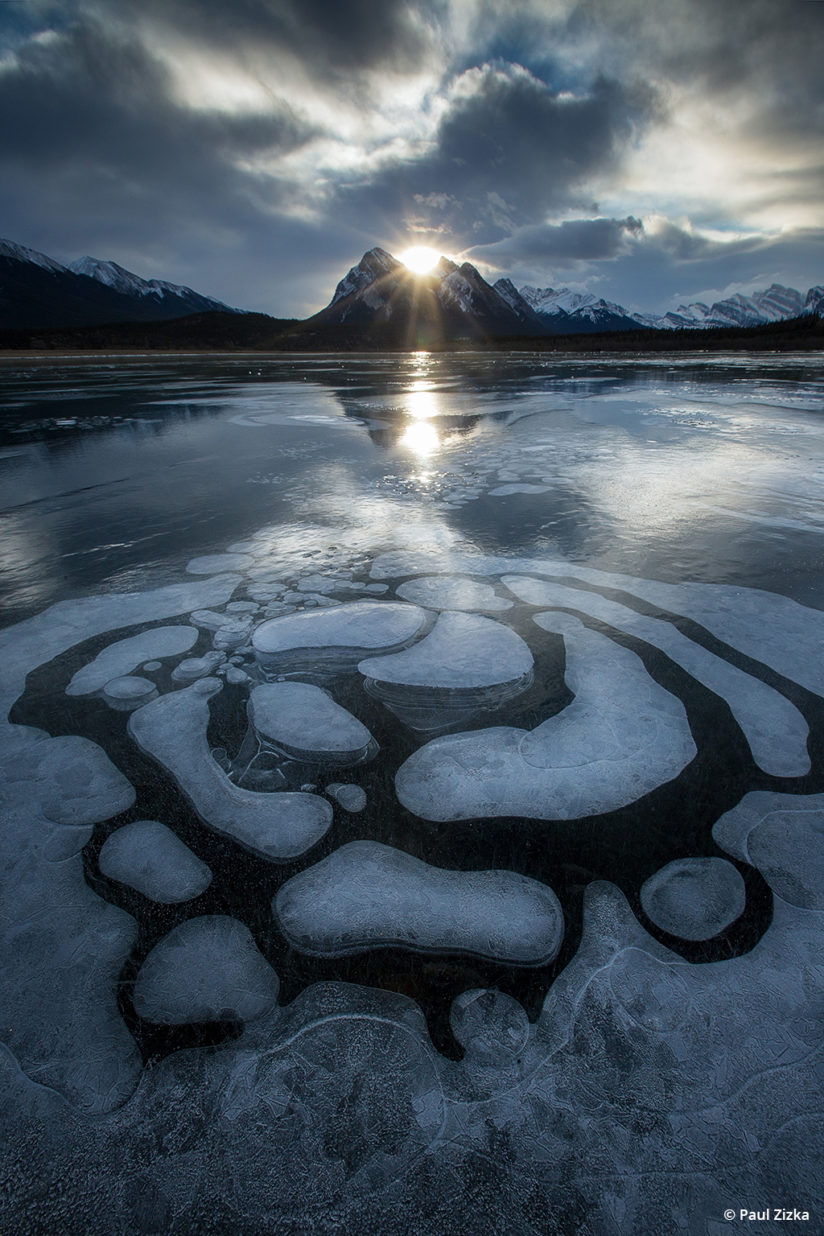
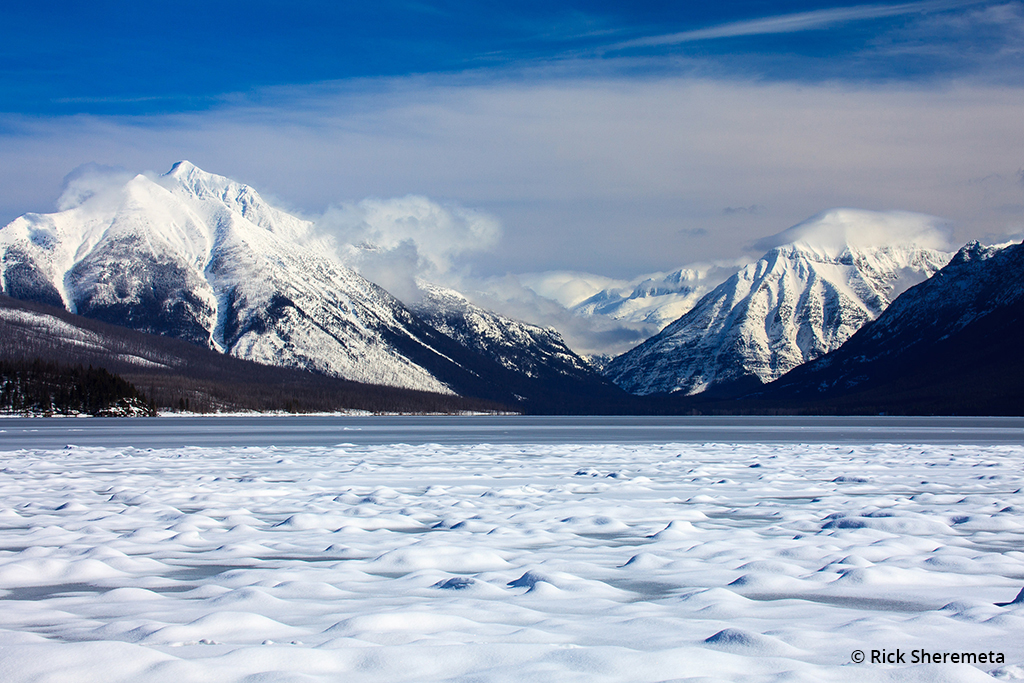
I’m also a winter enthusiast. Where I live in the heart of the Canadian Rockies, I find that, most of the time, the landscape looks better at -20 degrees Celcius than at 0 degrees. It’s magical out there in mid-January, even when it’s so cold out your pants remain standing when you take them off. Under a fresh blanket of snow, everything looks pristine and, wherever there is open water, rare snow and ice features present themselves, creating exceptional conditions for photography.
So, the bad news is Old Man Winter and the subpolar regions mean you have to deal with the cold, and photographers know that cold is no friend to cameras. The good news? These days, there are ways to make cold-weather photography more than bearable—I’d say downright enjoyable. How? Here are some cold weather photo tips I’ve gathered over a few years of shooting the Arctic and Antarctic regions, and the long white stretch here at home.
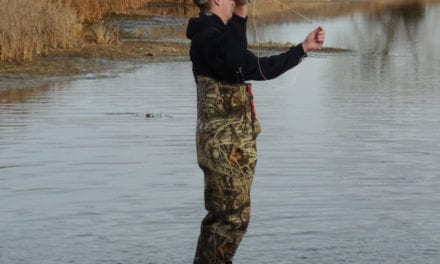
Bundle up. With high-performance gear on the market, it’s becoming much easier to be reasonably comfortable out there in the cold. Layer your clothing, buy a box of cheap heat packs and keep a box in the car. Activate the heat packs 10-15 minutes before you need them. And it doesn’t matter how warm your body is, if your feet are cold, you won’t last very long out there. Invest in a good pair of well-insulated boots, as well as warm socks. Don’t worry about what you look like—just stay warm. Avoid sweating at all costs. Trust me, discomfort leads you to rush through your process, and it can show in your images.
Battery power. It’s one of my main concerns out there. I always keep two spare batteries in an inner pocket. If you’re doing time-lapses or long exposures, I’d recommend carrying tape or rubber bands so you can place hand warmers close to your battery compartment. Also, consider investing in a battery grip to keep the power going. Put the depleted battery in a different pocket than the full batteries so you don’t get confused.
Know your gear. Bone-chilling temperatures are not ideal for figuring out how to bring up your histogram, changing aperture or operating your tripod. It’s all about efficiency out there, and it really helps if you’re familiar with your gear and can operate it with gloves on. If you have to, practice changing settings with mitts on in the comfort and warmth of your home.
Watch for moisture. When taking a shot, take care not to exhale near the lens. Look away from the camera, or take a step back, before exhaling. Otherwise, condensation will freeze to the surface of your lens instantly. Some companies make dehumidifying lens caps, which can help with that problem. It’s not a bad idea to keep silica packs in your camera bag at all times and change them occasionally.
Bracket your images. Whenever I find myself in a situation where time is of the essence, I bracket. It’s a huge help to not have to mess with auto-exposure compensation when it’s really cold out. That, and often cold means there’s bright snow around that’s hard to expose properly anyway, so you might be very glad you have the extra frames. Try to rely on your histogram as much as possible to get a clear idea of how bright your image really is.
Insulate metal parts. Touch an aluminum tripod with bare hands in cold weather, and you’ll quickly learn you never want to do it again. If you’d like to save your fingerprints, prep the metal parts of gear that you might be handling without gloves. It’s helpful, for example, to cover your tripod legs with some sort of insulation, such as hockey tape or foam.
Keep food and hot drinks handy. Eating a lot will keep you going for much longer. But if the food is hard to access, you might not bother to dig it out. I like to keep something energy-rich in an easily accessible pocket, such as nuts, dried fruit and (my favorite) chocolate. A thermos with something hot and sweet will keep you warm from the inside out and help you to avoid some serious consequences of cold, such as hypothermia.
Use two camera bodies. Changing lenses can be a real challenge in cold, wintery conditions. Handling gear in the cold is hard enough, but when you change lenses you also risk exposing your sensor to moisture. If you have a backup body, consider going out with two cameras so you can shoot at different focal lengths without having to switch lenses.
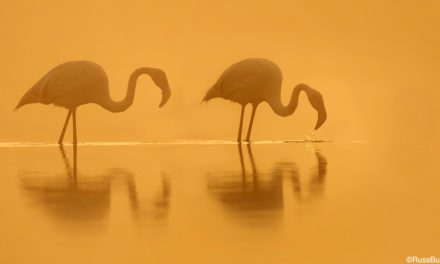
Take advantage of conditions. Some unique features come out only in cold weather—keep an eye out for them! These include methane bubbles in lakes, hoar frost, the interplay of sidelight and dramatic temperature differences (such as fog over open water), icicles, long shadows and the softening effects of an untouched blanket of snow. Sometimes this means venturing out in the coldest temperatures imaginable, but I promise you’ll go home with images you’re proud of.
Seal it. Depending on your gear, you may need to be cautious about drastic temperature differences, such as when you return to heat blasting in your car or go back indoors. Before exposing your gear to that warmth, it’s recommended that you place it in a sealed bag (such as a Ziploc) until it has reached room temperature. This will prevent condensation forming on the camera and lens. Add a silica gel pack to the bag to further cut down on moisture.
Give it time. It’s easy to throw in the towel when you’re facing super cold conditions. But take it as an opportunity to refine your system. Fingers got too cold? Make a mental note to bring the heat packs next time. Fiddling with your camera’s menus too much? Get more familiar with your gear. To help motivate you, make micro goals in getting out in the cold on a regular basis.
Embrace discomfort. No matter what you do, photographing in freezing temperatures will never feel like shooting a sunset on a beach in Hawaii. But often the difference between a good photographer and a great one is the willingness to go through some discomfort to get your images. Work toward spending more and more time out there, and, as you walk away with images you like, you’ll be more inclined, maybe even excited, to face the cold again.
The bottom line is some of the best photo ops happen when it’s brutally cold out, and some of the most magical places on Earth never get all that warm. Instead, they give us the opportunity to not only stretch our creative limits but also our personal comfort zones. Set yourself up well, and you’ll find that you—and your photo gear—are able to withstand even the coldest of temperatures. That warm blanket and hot coffee will feel that much better when you get into the editing room.
Paul Zizka is a mountain landscape and adventure photographer based in Banff, Alberta. See more of his work at zizka.ca.
YOU MIGHT ALSO LIKE
Tips For Winter Photography
Essential considerations for safe and successful photo shoots in cold and wet conditions. Read now.
The post Cold Weather Photo Tips appeared first on Outdoor Photographer.