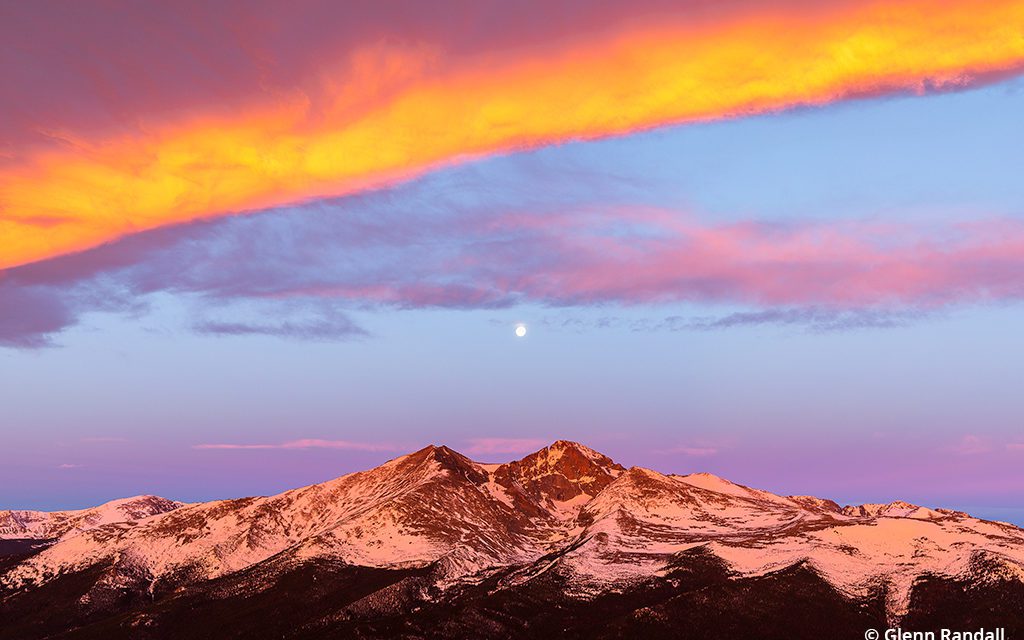
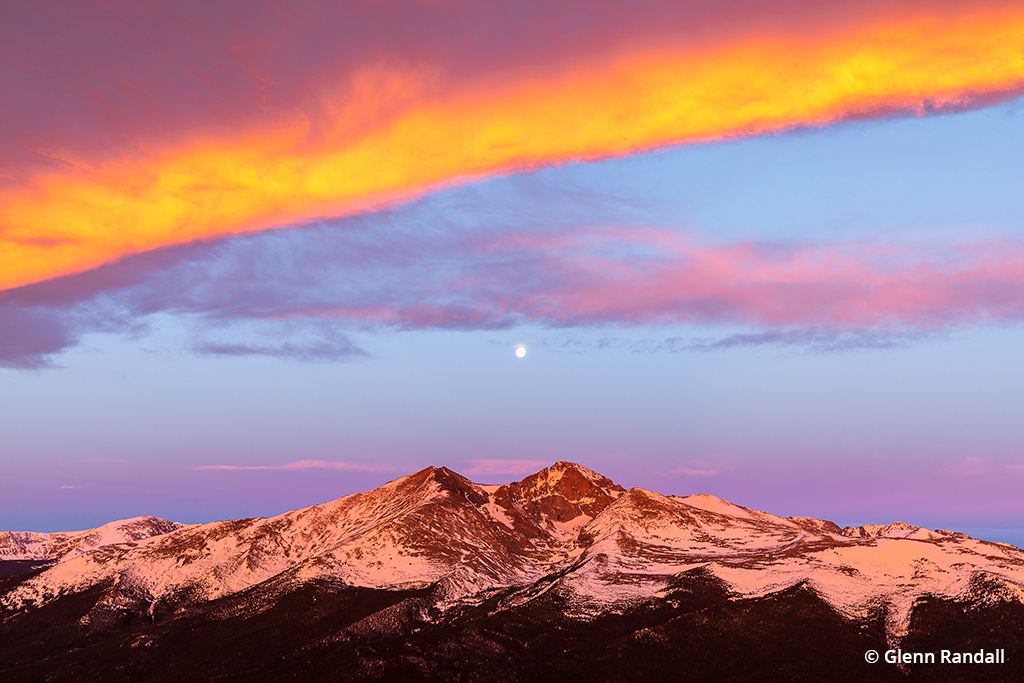
The full moon setting over Longs Peak from the summit of Twin Sisters, Rocky Mountain National Park, Colorado.
We all make mistakes and ruin our photos, particularly when we’re in a hurry and sleep deprived, as nature photographers often are. And we all try to learn from our mistakes. Sometimes the best I can do is to echo nature photographer John Shaw, who said, “I have learned from my mistakes, and I can repeat them with precision.” And sometimes I come up with a creative new mistake that I never imagined was possible.
SAFE-D-WINS To Avoid Photo Mistakes
To avoid repeating common photo mistakes and making new ones, I’ve developed a checklist of crucial camera settings to review before hitting that shutter button. I remember the checklist with this acronym: SAFE-D-WINS.
S Is For Shutter Speed
Is my shutter speed fast enough to handhold the camera? A good rule of thumb is that the slowest safe handholdable shutter speed is the reciprocal of the lens’ focal length. For example, if you’re shooting with a 200mm lens on a full-frame camera, the slowest handholdable shutter speed is about 1/200 sec. If your lens or camera body has image stabilization, you may be able to shoot a few stops more slowly, depending on the system. If the subject is moving—when you’re shooting sports or wildlife—then consider if the shutter speed is fast enough to stop both subject movement and camera movement.
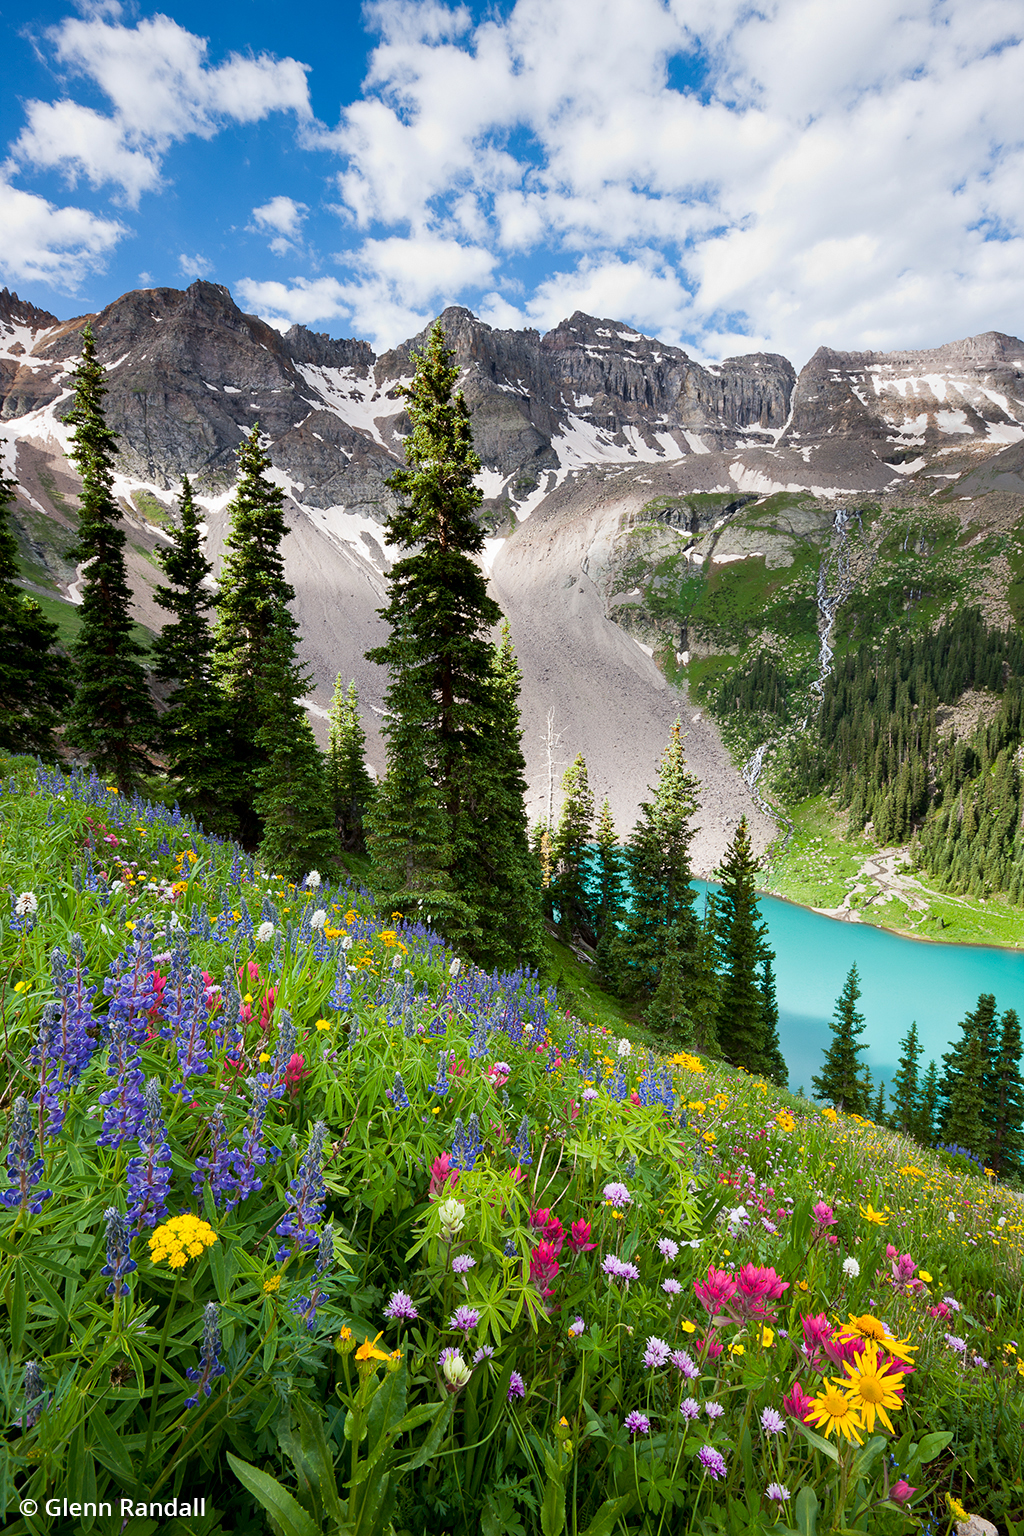
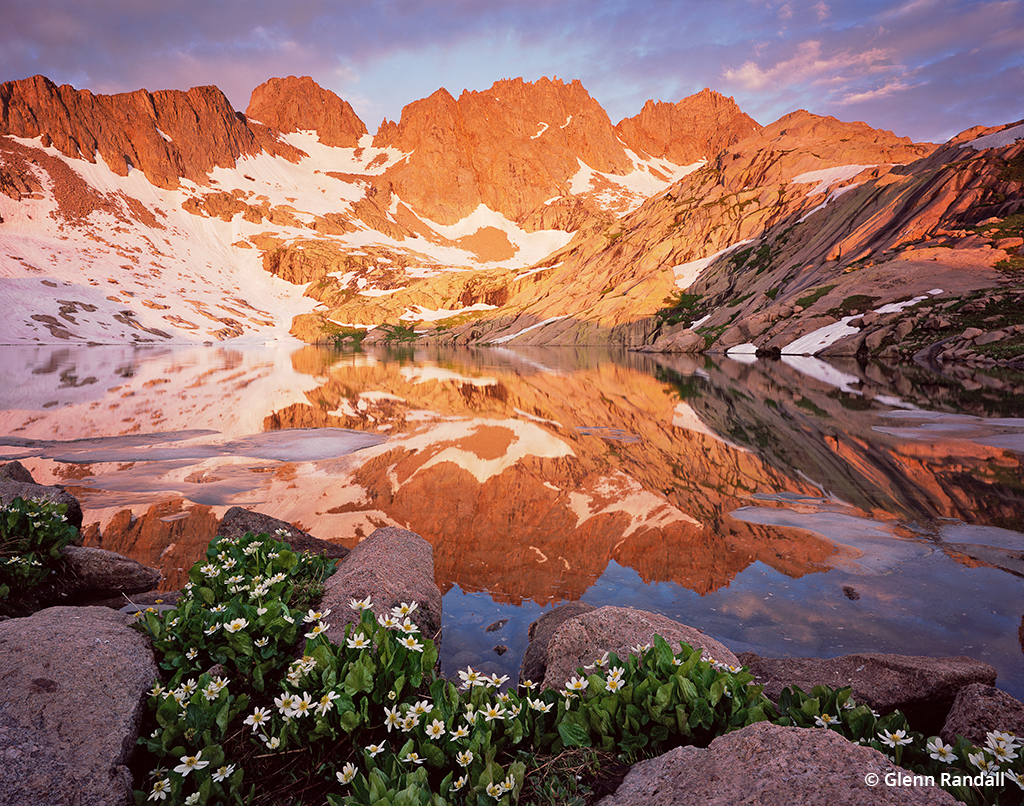
Wildflowers, Dallas Peak and Blue Lake, Mount Sneffels Wilderness, San Juan Mountains, Colorado.
Conversely, you may be wanting to use a slow shutter speed to blur flowing water or breaking waves in a pleasing way. I find a shutter speed between 0.25 sec. and one second usually works well if I’m using a wide-angle lens. Shorter shutter speeds work well with longer lenses, which magnify subject movement.
A Is For Aperture
A large aperture such as f/2.8 creates shallow depth of field, which is often pleasing for portraits of people and animals. A small aperture such as f/16 creates deep depth of field, which is usually the best choice for landscapes. Most lenses are at their best in the middle of the aperture range. If depth of field is not an issue because every part of your subject is at infinity, then choose a middle aperture (ƒ/8 or ƒ/11) to get the best possible performance from your lens. By “at infinity,” I mean the distance beyond which it makes no difference where you focus. For a 16mm lens, that’s about 100 feet. For a 200mm lens, that’s several hundred yards.
F Is For Focus
First, doublecheck whether you’re set to autofocus or manual focus—remember that your lens may have an AF/M switch that overrides camera settings.
Next, if you’re using autofocus, check if you are set to continuous AF or single-shot AF. Continuous autofocus is appropriate for tracking wildlife or people in motion. In continuous AF, the shutter will fire regardless of whether the subject is in focus when shooting in continuous drive mode (more on that later). You’re hoping that your camera’s AF system is sophisticated enough to track and maintain focus on your moving subject or that depth of field will cover any minor focus errors. Single-shot AF helps prevent focus errors with stationary subjects by locking the shutter if the lens has not achieved focus. It can trip you up, however, if the focus point is on such a low-contrast part of the scene, such as plain blue sky, that the camera can’t achieve focus.
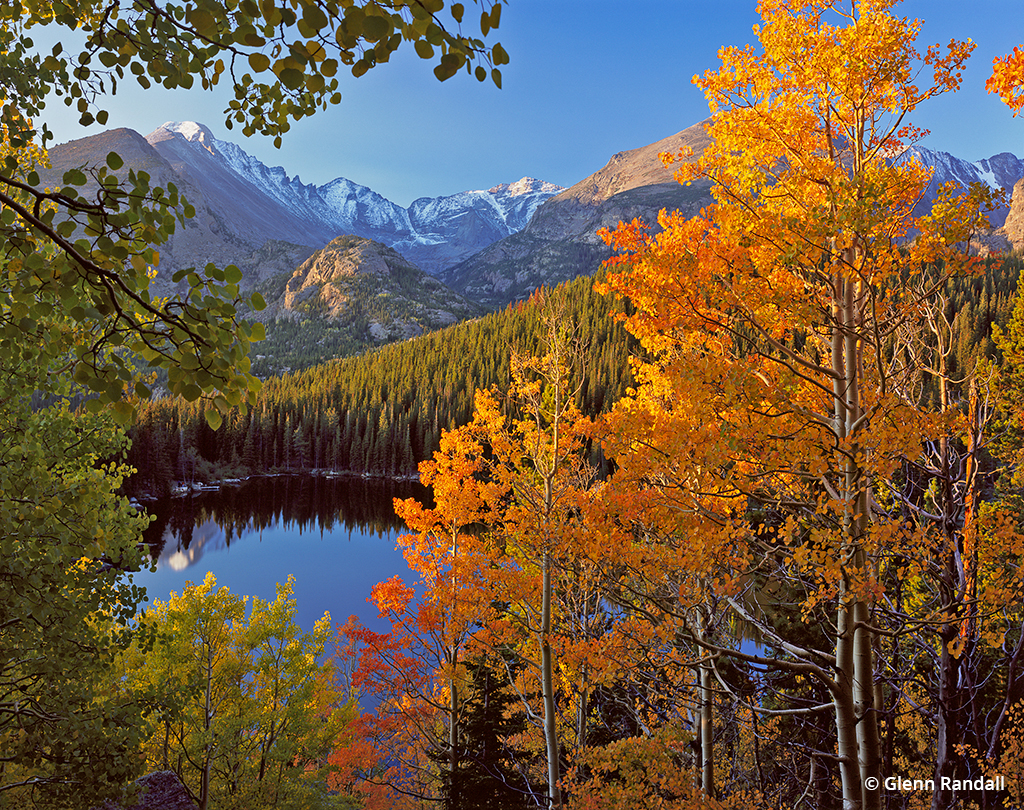
Longs Peak, Glacier Gorge and Bear Lake at sunrise, Rocky Mountain National Park, Colorado.
Many cameras let you transfer control of autofocus from the shutter release button to a button on the back of the camera that you can press with your thumb, commonly referred to as back-button AF. This setup allows you to set focus on your subject using the back button, then reframe your composition and release the shutter without the shutter button refocusing the image on something you didn’t intend.
E Is For Exposure
There are four things to consider when making your exposure settings. The first is your exposure mode: Are you using manual, aperture priority, shutter priority or an automatic mode? If using manual, you must continuously monitor the light level as shown by your meter and adjust your aperture, shutter speed or ISO or a combination of them to maintain correct exposure. If using shutter priority, you must ensure that your camera can choose a matching aperture that will give correct exposure at the ISO you set. For example, if you choose a fast shutter speed in low light, the largest aperture of your lens may not be enough to achieve correct exposure unless you bump up the ISO. Aperture priority is generally the safest and most convenient exposure mode unless you know you’re going to have to override the meter reading (e.g., if you’re shooting on snow).
The second consideration for exposure is your metering mode. Most cameras today offer an intelligent automatic metering mode that evaluates the entire field of view and selects what it thinks is the right exposure. This is usually the best metering mode to use. Depending on your camera, there may be several modes to choose from, each tailored to a specific shooting situation, and every camera will have a Spot mode that uses a single spot in the frame. Spot metering is precise, but it’s tricky to use quickly and accurately in changing light. Read your camera manual to understand the available metering modes, so you’ll know which is right for the scene when you’re in the field.
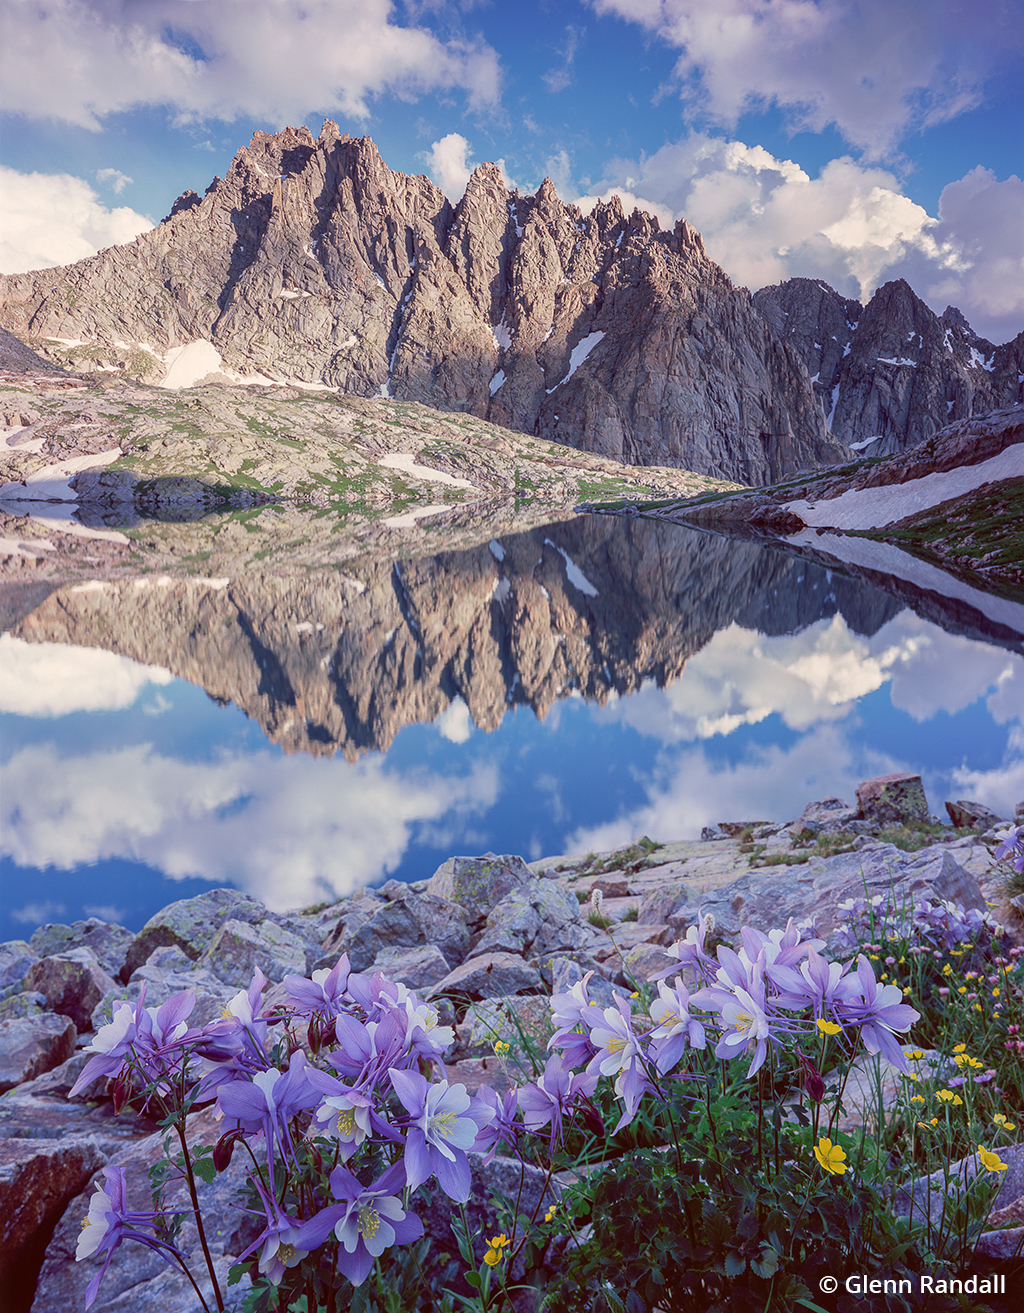
Jagged Mountain and columbine along the shore of an unnamed lake, Weminuche Wilderness, Colorado.
The third aspect of exposure to remember is exposure compensation. If you use exposure compensation, get in the habit of setting it back to 0 after you’re done with a scene and checking it every time you pick up your camera. You can ruin a whole shoot if your EV was left set to +2 when it should be set at 0 for the scene in front of you.
The last exposure consideration is whether to use auto-exposure bracketing (AEB)—and make sure you haven’t accidentally left it activated. I routinely bracket images if I’m shooting landscapes from a tripod. More than once, however, I’ve neglected to turn AEB off when I was shooting wildlife or one-off compositional study frames. Instead of a perfect exposure every time, only one frame out of three or more was the metered exposure. The rest were the brackets, either too light or too dark. I’ve also made the opposite mistake: assuming AEB was on when it was off, setting the frame advance to continuous high, then mashing the shutter-release button and getting seven completely identical frames before I realized my mistake.
D Is For Drive Mode
Most cameras have single frame and perhaps a few continuous drive options such as continuous low and continuous high. Continuous shooting is measured in frames per second (fps), and the maximum rate depends on your camera. I use single mode for one-off compositional study frames and continuous when shooting wildlife or sports. I also use continuous when bracketing to minimize subject movement in between frames.
Sunrise at South Sunlight Lake, Weminuche Wilderness, Colorado.
W Is For White Balance
If you’re shooting RAW files (and I recommend you do), you can change the white balance of an image during post-processing, but I still prefer to set white balance so the images I see on my camera’s LCD capture something close to the actual color. I use daylight white balance for virtually all images shot outdoors so that the camera doesn’t shift colors automatically.
Auto white balance is a great tool for wedding photographers who need to keep white wedding dresses white regardless of the color of the light, which is white outdoors in full sun, blue in deep shade, orange at the altar under tungsten light and green under fluorescent bulbs at the reception hall. By keeping white wedding dresses white, the photographer ensures the bride’s skin tones will look natural—no cold blue dead brides, badly sunburned brides or green sea-sick brides, thank you very much. Using auto white balance when shooting landscapes, however, tells the camera to make the scene look like it’s lit with white light. If the scene is actually bathed in golden light at sunrise, you’re likely to be disappointed when you first examine the photo.
I Is For ISO
Use your camera’s lowest native ISO for best quality. Increase it as necessary to stop movement or to create a hand-holdable shutter speed for moving subjects. Don’t make the mistake one of my students made of shooting every frame during an entire workshop at ISO 1600 even though his camera was on a solid tripod.
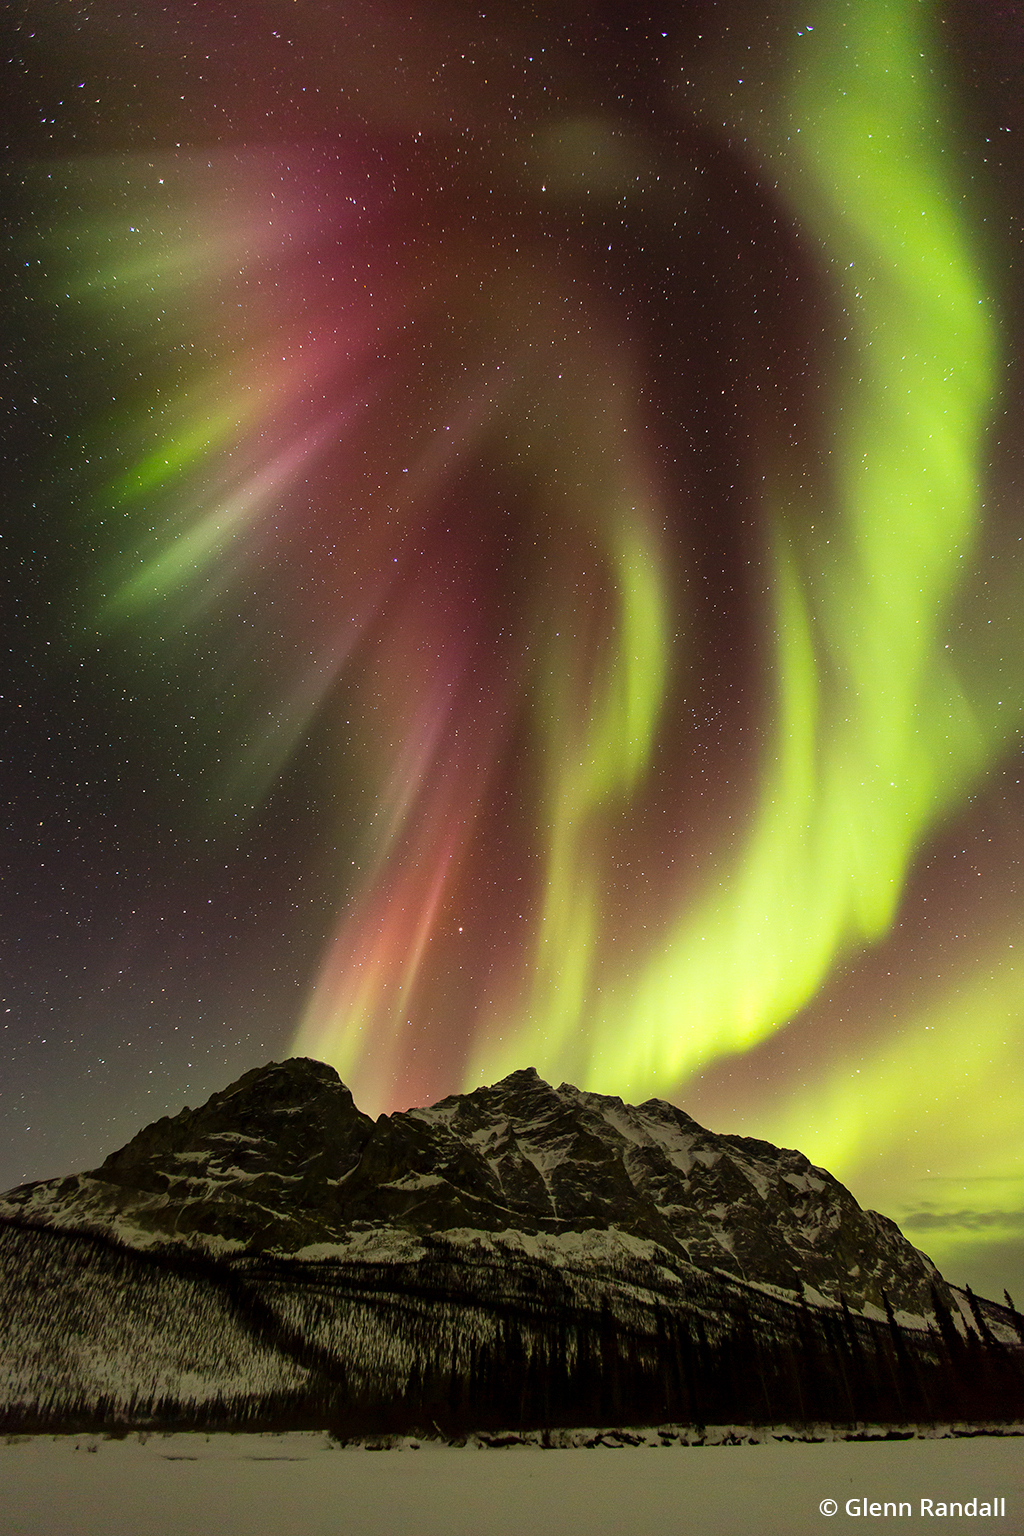
Aurora over Sukakpak Mountain and the Middle Fork of the Koyukuk River, Brooks Range, near Wiseman, Alaska.
NS Is For Number Of Shots
Actually, I use NS to remind me of two items to check. The first is the number of shots in the bracket set if I’m using AEB. Is a three-frame bracket set, two-stop bracket interval sufficient for a wide panorama with the sun in the frame? Shoot a test sequence, then check the histogram for each frame in each bracket set, ensuring that the darkest frame in each set has adequate highlight detail and the lightest frame in each set captures adequate shadow detail.
NS also stands for the correct position of the nodal slide if you’re shooting a panorama—a subject for another article.

Dinosaur Mountain and the Flatirons from Bear Mountain at sunrise, Boulder Mountain Parks, Colorado.
It’s all too easy to get excited when the light is peaking and the action is hot and neglect to check the basics. By quickly running through my SAFE-D-WINS checklist before you start shooting, you’ll greatly increase the odds that you’ll make the perfect image of that once-in-a-lifetime moment.
The post Avoid Common Photo Mistakes appeared first on Outdoor Photographer.