There are a multitude of options in the Apple App Store for photographers, some of which combine photo editing tools and camera controls for shooting with the device itself. We’ve used many of them, and ACDSee Pro For iOS stands out among the very best of these apps. You don’t need to use ACD’s desktop photo applications, like Photo Studio Ultimate, to fully appreciate this mobile app, but if you do, a companion app, ACDSee Mobile Sync makes it easy to keep everything up-to-date between your mobile device and your desktop.
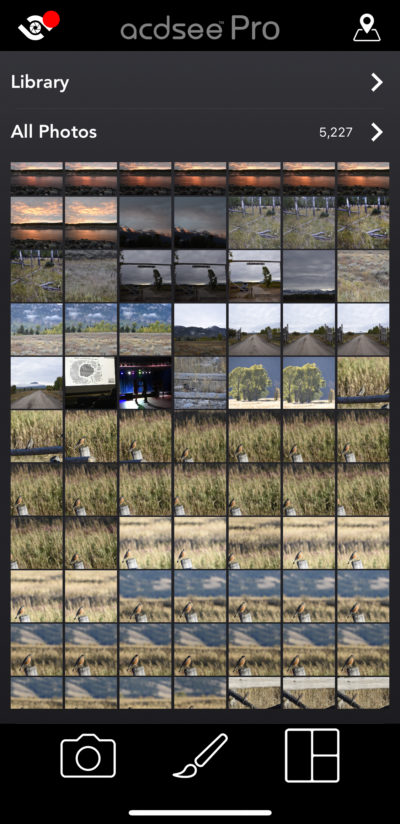
We used ACDSee Pro For iOS on both iPhone and iPad. Photo review and editing with any app is typically a better experience on a tablet with its larger screen size. And that’s true in this case, but we were very impressed with the app’s usability on the iPhone as well. The controls are intuitive, making it easy to jump right into edits and enhancements.
File Handling In ACDSee Pro For iOS
When you first launch the app, you’re prompted to allow ACDSee Pro access to your Apple Photos library. The two are tightly integrated so that edits you make to images in ACDSee Pro are saved to the original file in your Apple Photo library. Because the edits are non-destructive, you can always reset all of your adjustments, even after you’ve saved changes back to your Photos library. To reduce chances that you’ll accidentally save changes you don’t want, you’re prompted twice to approve saving the file, once by ACDSee Pro and then by iOS.
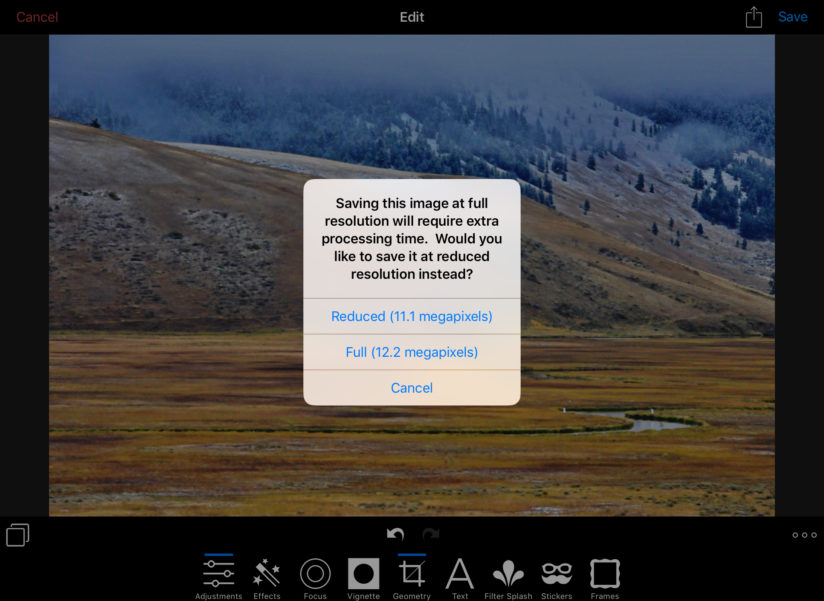
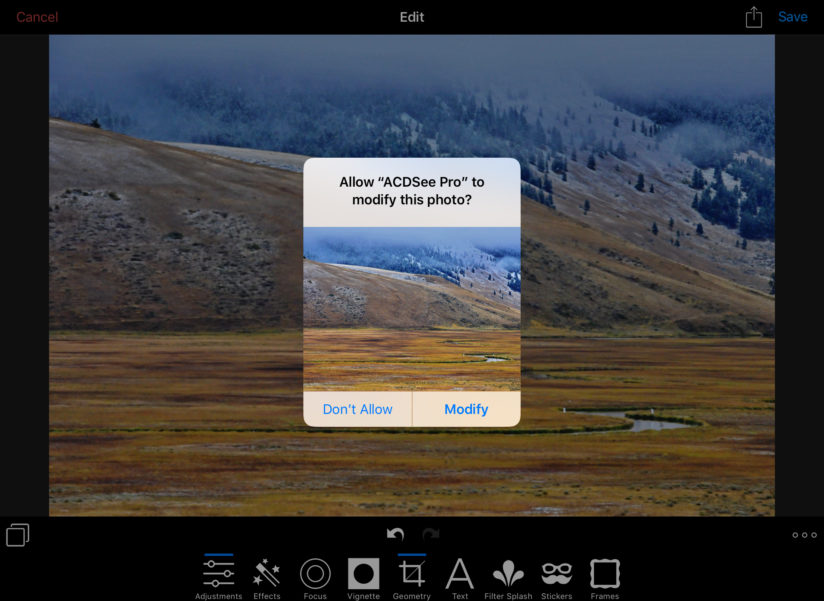
Image Editing
There are nine editing modes in all available in ACDSee Pro for iOS. The first five are for traditional photo edits: Adjustments, Effects, Focus, Vignette, and Geometry. The four additional modes are more for design tasks than photo processing, with tools to add text, frames, and borders, filters and even “stickers” if you’re feeling silly and want to add a mustache to your selfie.
In Adjustments, you’ll find several familiar tools for the most common image enhancements, everything from exposure and color to sharpness and noise reduction. Three of these tools are unique and were particularly impressive to us: Light EQ, Tone EQ, and Color EQ. As the EQ label implies, the controls for these have a skeuomorphic design, suggesting the dials on an audio mixer.
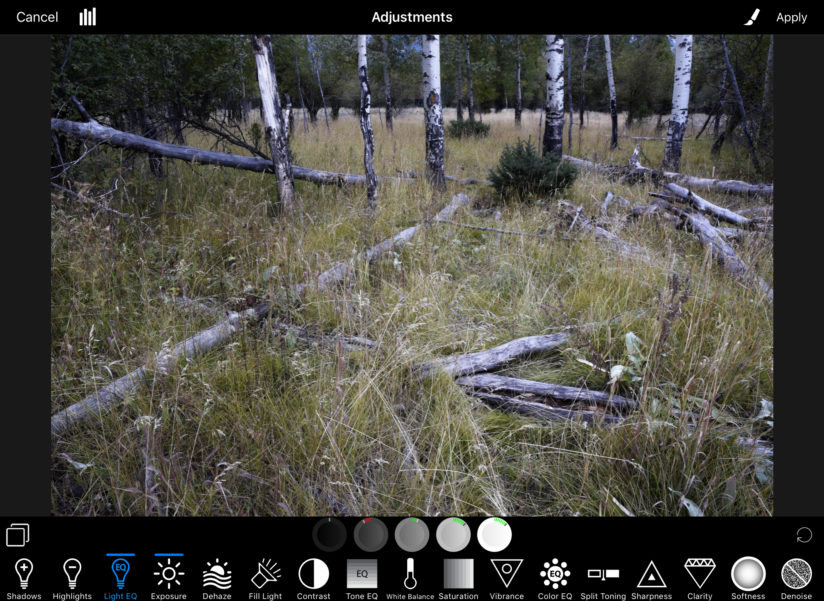
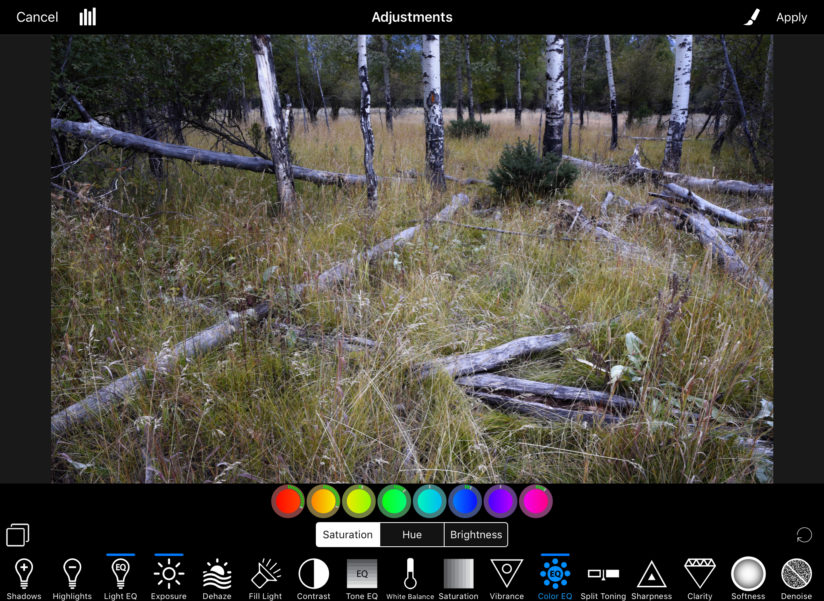
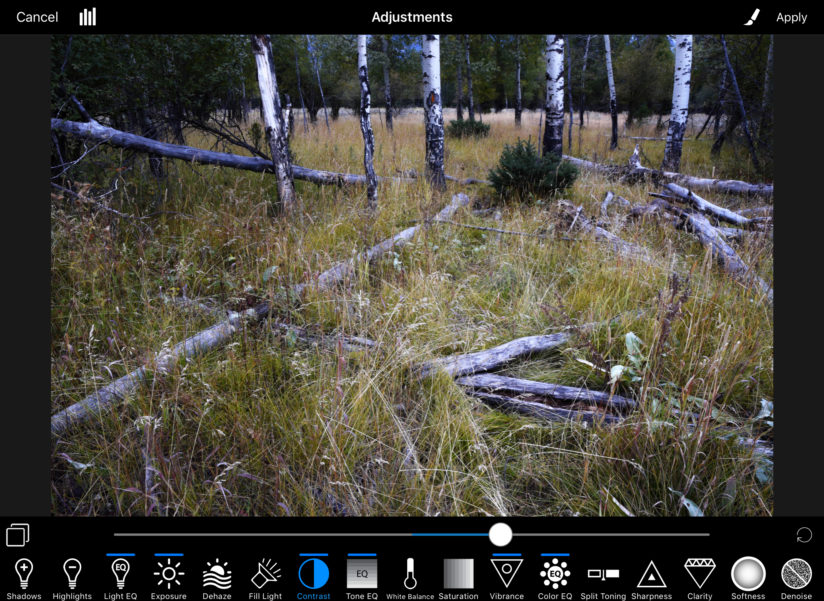
Each “dial” affects a specific tonal range or color value in the image. Tap and hold on the dial you want to adjust, then drag right to increase the effect or left to decrease it. We found these three adjustments to be very useful for making precise refinements to global adjustments like Exposure and Contrast, which are applied with simple sliders.
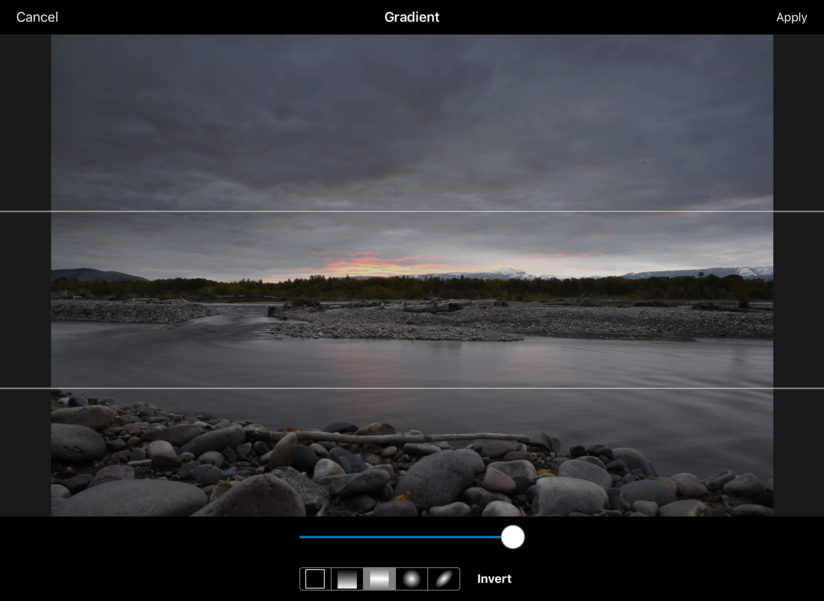
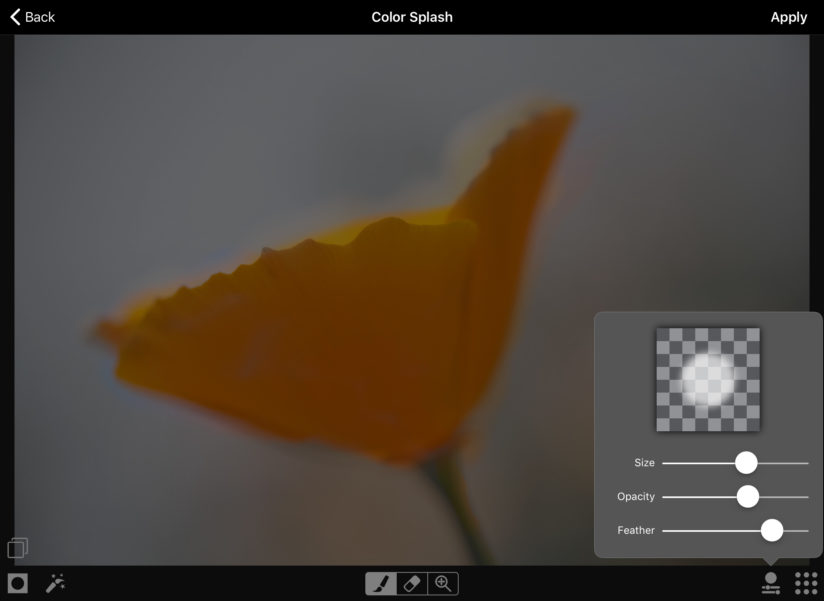
If you prefer to make local, selective adjustments rather than affect the image globally, that’s possible too. First, apply the adjustment globally, then, with that adjustment still selected, tap the paintbrush icon at the top right of the screen. You’ll be presented with two options for refining the area of effect, and a third option, Flat, which applies all current adjustments and returns you to the main editing screen.
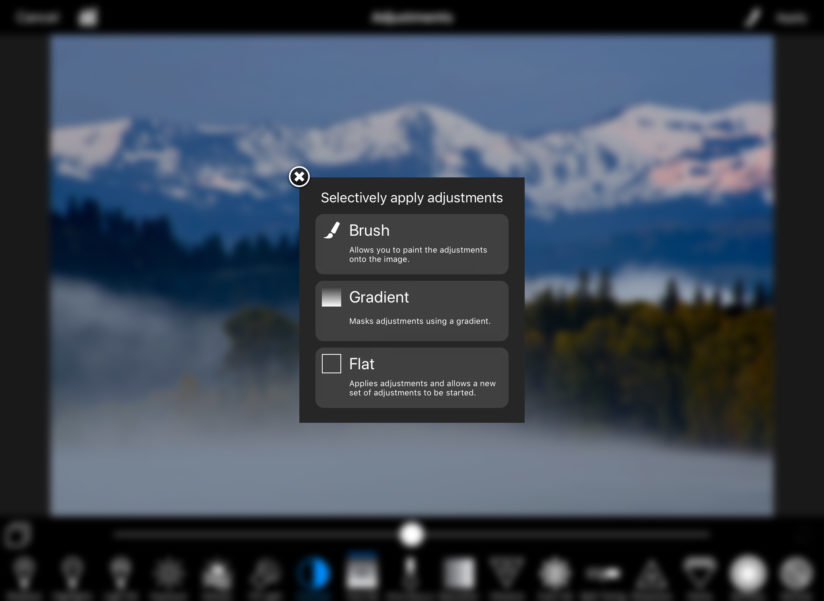
The Brush is useful for painting the effect on smaller, specific areas. This is essentially a masking tool. In this mode you have controls to hide or reveal the mask, paint or erase areas of the mask, and set the opacity, size, and feather of the brush.
The Gradient option is perfect for replicating the effects of a graduated neutral density filter. Here there are options for both linear and radial gradients.
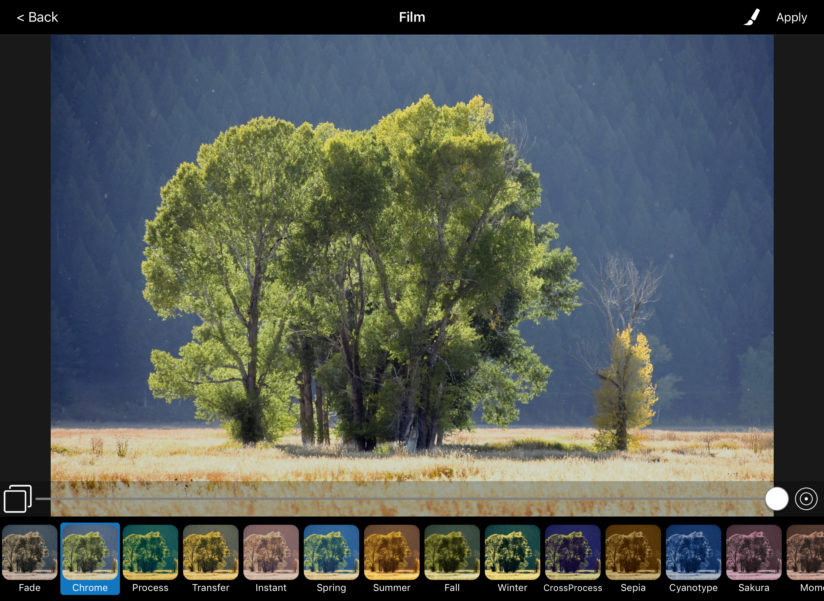
In the Effects editing mode, you’re presented with several groups of presets you can apply to your image, from classic film looks to quirky touches, like light leaks and wilder effects that distort the image. Most of these are more applicable to graphic design use than strict photography, but for those of us who wear multiple creative hats, there are some interesting options here. In the film presets, you find choices like Chrome, Cross Process, Cyanotype, and Sepia toning.
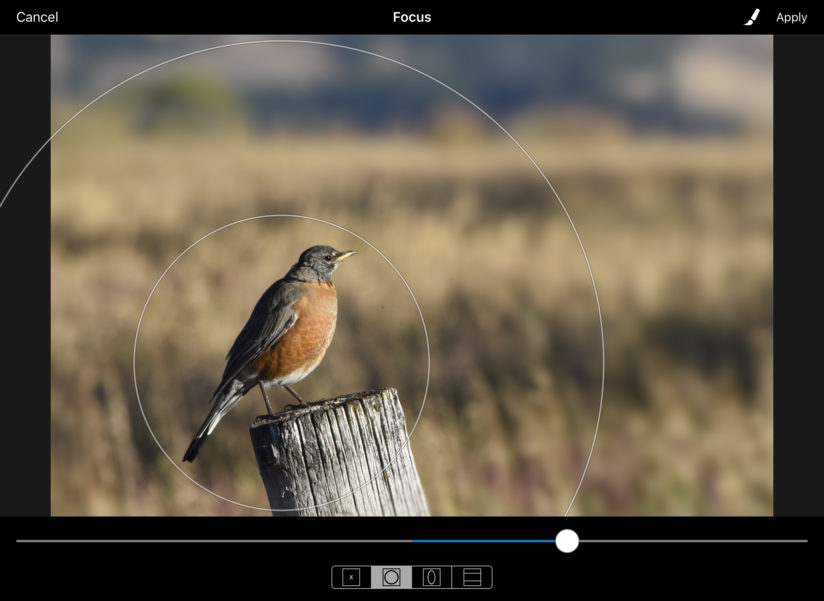
In Focus mode, you can create selective focus effects to enhance a shallow depth-of-field, or replicate the look of specialty lenses. Circular, elliptical, and linear options are available.
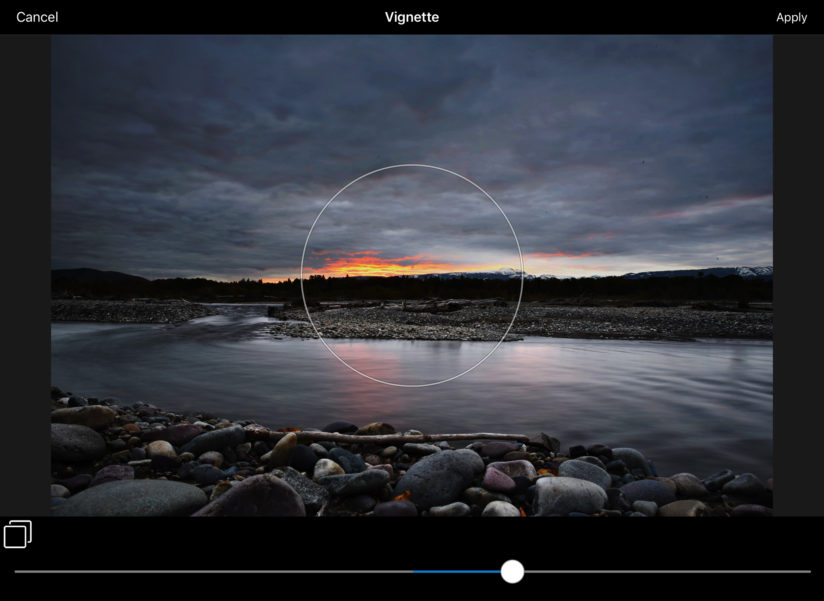
Vignette mode likely needs no explanation, as it’s very straightforward. A single slider controls the intensity of the darkening. You can also move the center point of the effect, and pinch or push with two fingers to decrease or increase its size.
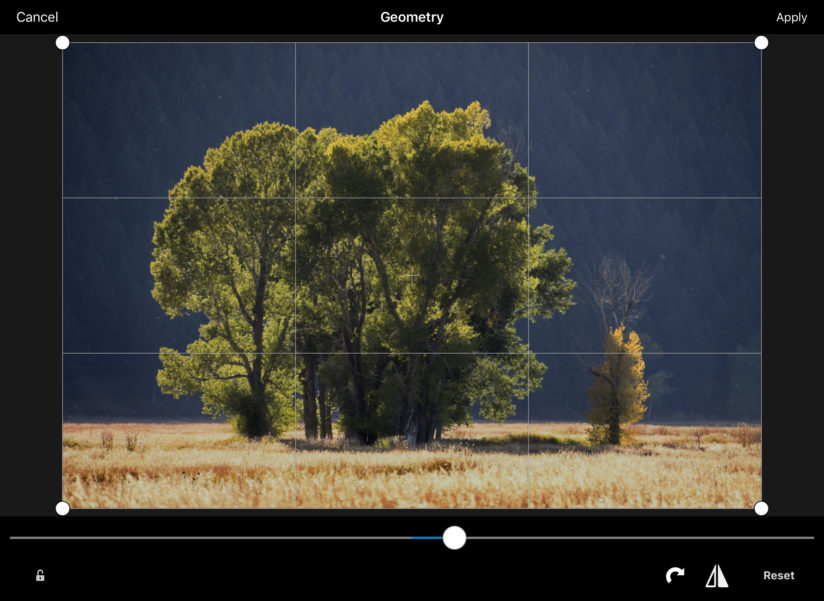
Geometry mode is where you can crop, straighten horizons, rotate, and flip the image. As you move the slider to slightly rotate and straighten, a detailed grid overlay appears to help you judge your adjustment. When cropping, tap the small lock icon at the bottom left of the screen to constrain the aspect ratio to common proportions, including golden mean.
Additional Processing Modes In ACDSee Pro For iOS
The previous modes we’ve looked at—Adjustments, Effects, Focus, Vignette, and Geometry—are those that will be used most often by photographers processing their RAW images. The four remaining modes, Text, Filter Splash, Stickers, and Frames are really more for designers or just playing around. Though one, Filter Splash, merits at least a quick look from an enthusiast photographer’s perspective.
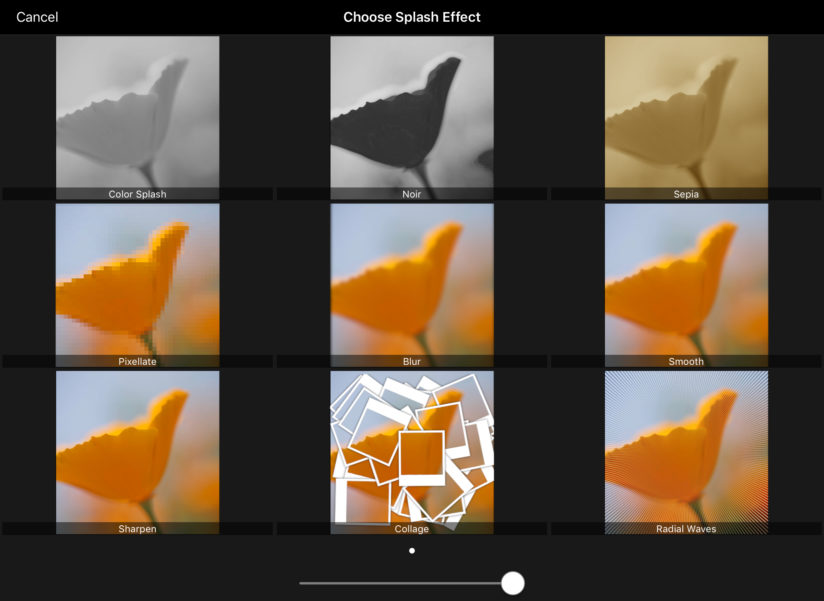
In this mode, you can apply one of nine effects, adjust its intensity, and then edit its mask. If you’ve seen the trendy look of a black-and-white image with selected elements in color, this tool enables you to achieve that.
ACDSee Pro For iOS In Camera Mode
In addition to its robust RAW processing capabilities, ACDSee Pro for iOS also offers a camera mode with advanced controls and some of the enhancements found in the image processing tools.
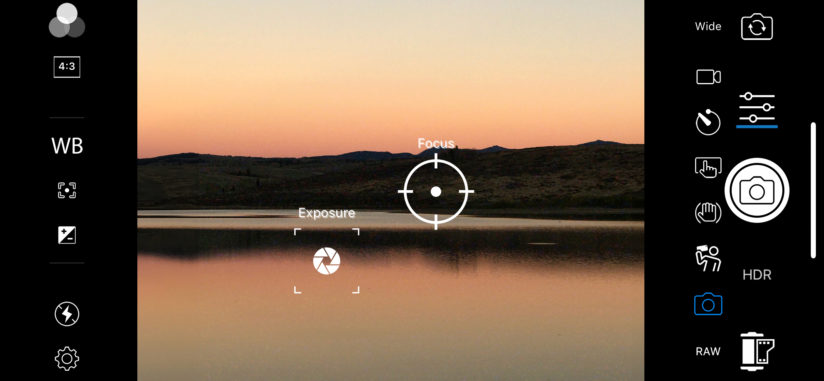
When you switch to camera mode, the default controls displayed (pictured above) include a toggle to switch between the iPhone’s dual lenses, video mode, self-timer, image stabilization, and file format. On the opposite sidebar are special effects, aspect ratio, white balance, a focus distance limiter, exposure compensation, flash controls, and general app settings.
One difference you’ll immediately notice with this app versus the iPhone’s native camera app is that the pinch gesture used to zoom in or out is not enabled by default. Instead, placing two fingers on the screen at once sets distinct points for focus and exposure, which you can then move to optimize. If you want to use the pinch gesture for zooming, tap on the lens selector (displaying “Wide” in the image above) until it displays “Dual.”
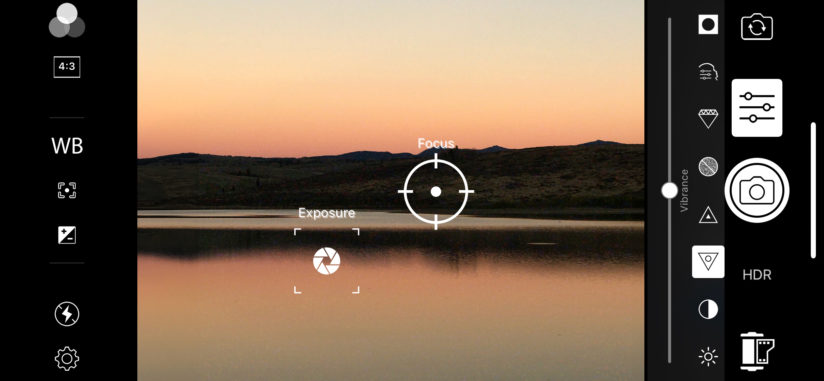
Tap on the slider icon next to the shutter release button and enhancement controls are revealed, which include basics like Brightness, Contrast, Sharpness, plus Vibrance, Clarity, and Vignette. Using these adjustments at the time of capture can save time in post processing, and if you’re shooting in RAW mode, remain changeable later if you choose.
ACDSee Pro For iOS Is A Terrific Package & Value
ACDSee Pro for iOS offers extensive capabilities to enhance any photo in your library, and also provides an expanded toolbox when capturing images with your iOS device. At just $6.99, it’s a bargain for the breadth of its features and its smart, intuitive interface. For more information, contact ACDSee, acdsee.com, or find it in the Apple App Store.
The post ACDSee Pro For iOS appeared first on Outdoor Photographer.