By Todd Corayer
Special to Outdoor Enthusiast Lifestyle Magazine
Long before slick no stick surfaces and chemical compounded sauté pans filled our kitchens, cast iron pans and Dutch ovens were the backbone of backwoods and home cooking. There are plenty of reasons for their usefulness, not the least of which is that they last for decades when properly seasoned before the first use. Seasoning cast iron ensures it won’t rust and will lend itself to cooking a wide variety of foods with easy clean up.
 For reasons of pure patriotism and superior quality, there are a few American makers of cast iron cookware that should be considered first. Lodge has been crafting cast iron since 1896 and remains the oldest manufacturer today. The Field Company crafts lighter cast iron cookware and the Smithey Ironware Company in North Carolina makes a full line of pans and accessories. There are other makers as well sprinkled throughout the county.
Seasoning a pan means you’re building a layer, a patina almost, over the ridges on the iron, with oils that bond with the iron to form a new layer. These layers increase over time as you cook more meals. Additionally, that patina serves two more roles besides preventing rust. It adds flavor. Over time, so many delicious meals will be prepared in your pans that they share essences. The other benefit is their ease of cleanup. We’ll get to that in a few paragraphs.
Seasoning takes a few hours.
- Start by turning your oven on to 200F.
- This will be the only time you’ll get to do this so wash your new pan with warm soapy water. It’s important to dry it completely and even set it in the warming oven for five or ten minutes to ensure all water is evaporated.
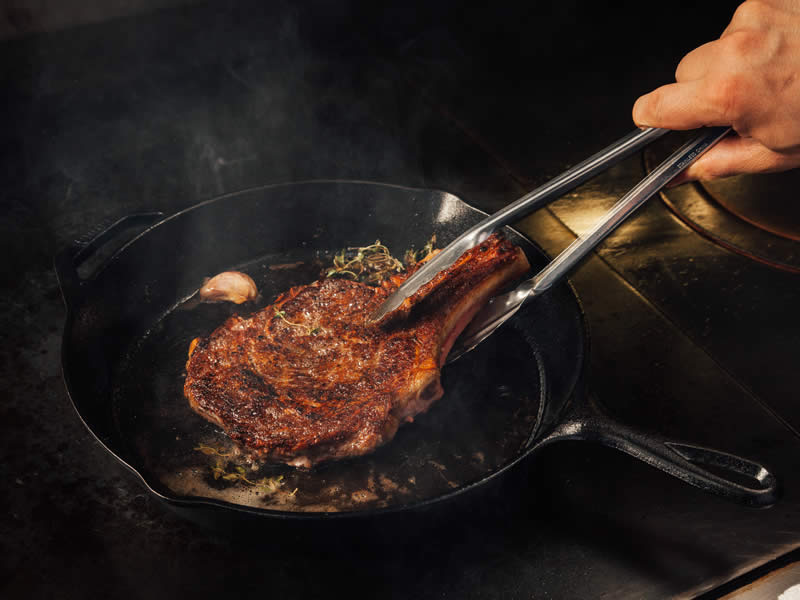
- Now oil the entire surface, including the handle. Grapeseed or canola oil will work as will going old school and wiping it with vegetable shortening. It’s important to cover everything using clean paper towels or a kitchen cloth. Don’t use olive oil or butter. These first few steps are building the base, the shine you’ll see on your finished, seasoned pan so butter won’t cut it here. Wiping in the oil well ensures you’ll be filling those natural ridges in the cast iron, allowing the oil to break down with heat to fill them in, creating a smooth cooking surface, which is precisely what we’re after here.
- For the next hour and half, bake the pan at 400. It’s important to let science do its thing and leave the stove closed the whole time. Heat is bonding oil to the iron so please, let it ride. After 90 minutes, shut the oven off and leave it until it’s cooled.
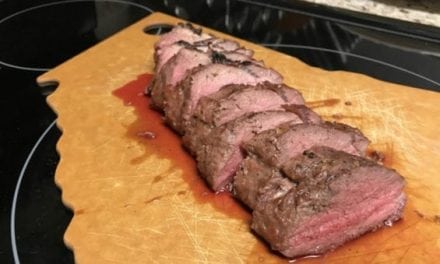
- Start cooking amazing meals. Avoid acidic foods like tomatoes for a while until you have increased that patina to avoid the new surfaces being stripped away.
Care should be taken to clean your pan with a paper towel or if necessary, some warm water and a plastic scrubbie or chain mail scrubber. Soap should never be used nor should steel wool. The hard work you put into establishing the seasoning will be erased and the cast iron might be damaged by scraping away the shine or exposing high heat and soap.
If you cooked a messy recipe, like chocolate mouse pie (yes, you can do that), add some hot water to the pan with a dose of kosher salt. Scrub it with the brush, empty it then wipe every bit of the pan with an oiled paper towel or cloth. For basic meals, wipe the pan clean with the brush and paper towels. It’s often helpful to heat the pan a little to remove some food bits. When it’s clean, wipe it again with grapeseed oil and store it in the oven.
Properly seasoned cast iron pans with that hard earned patina, can be used for generations when handled with a little care and common sense.