A shadow is the result of the relationship between the subject’s location and the direction of the light source. With front light, the shadow falls behind the subject. When side lit, it appears on the opposite side that’s lit. When the sun is directly overhead, the shadow is revealed under the subject. The more intense the source of light, the deeper the shadow and higher the contrast. When working with shadows, incorporate these tips for successful images.
Shadows form anchor points and add compositional elements. When they’re very intense, a shadow can be the primary element of the composition. The introduction of a shadow into the image immediately adds a dimension of creativity and makes the photo more graphic. It adds depth and dimension, which gives a two-dimensional image a third dimension. It provides an avenue that allows us to reach into the photo and touch the elements. This is powerful.
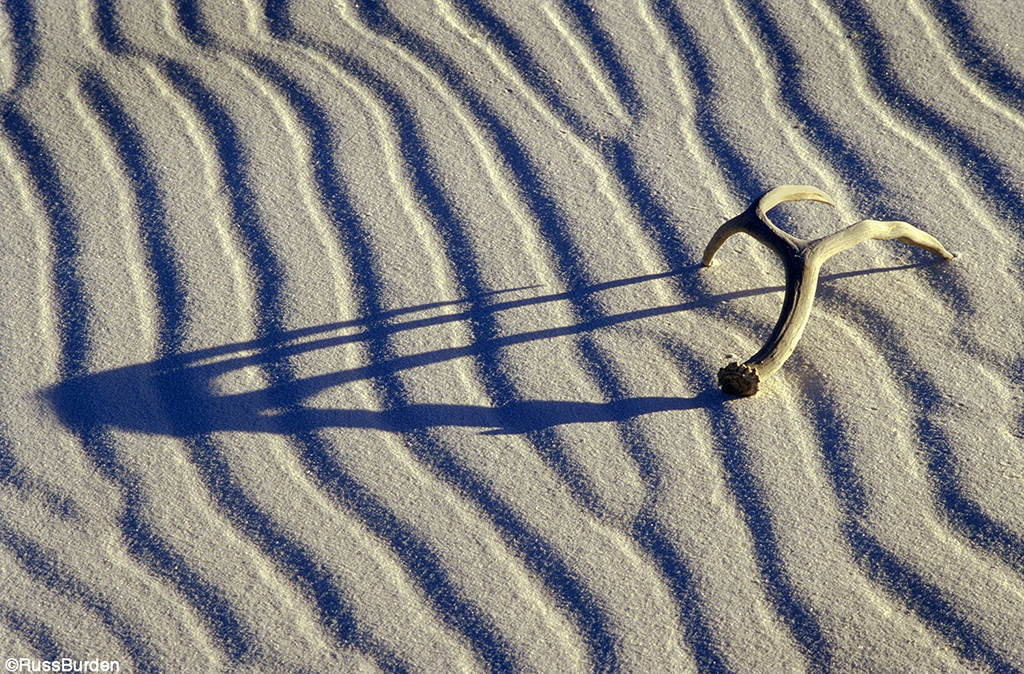
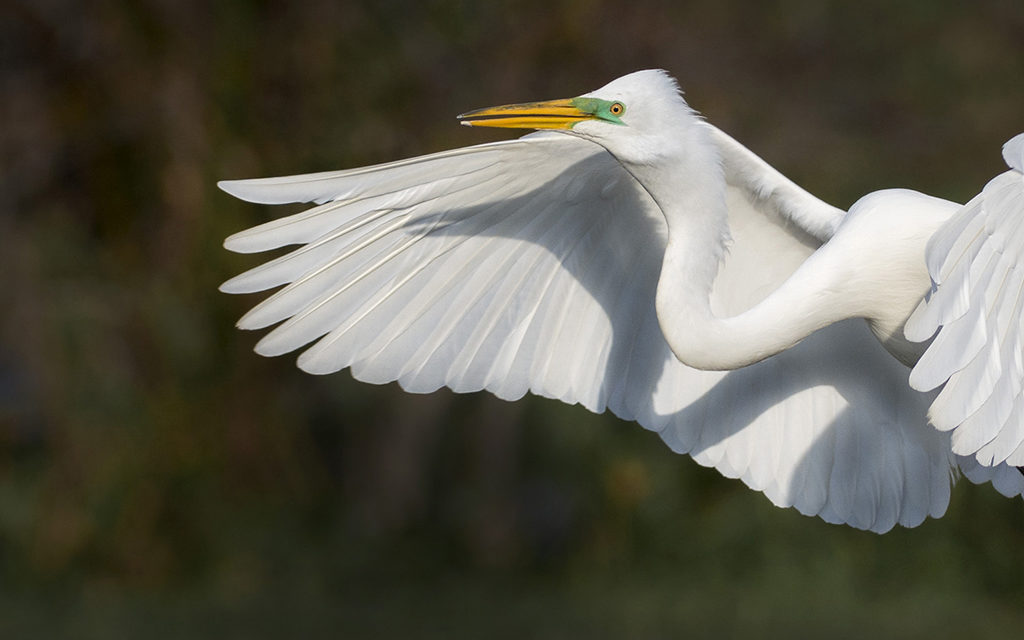
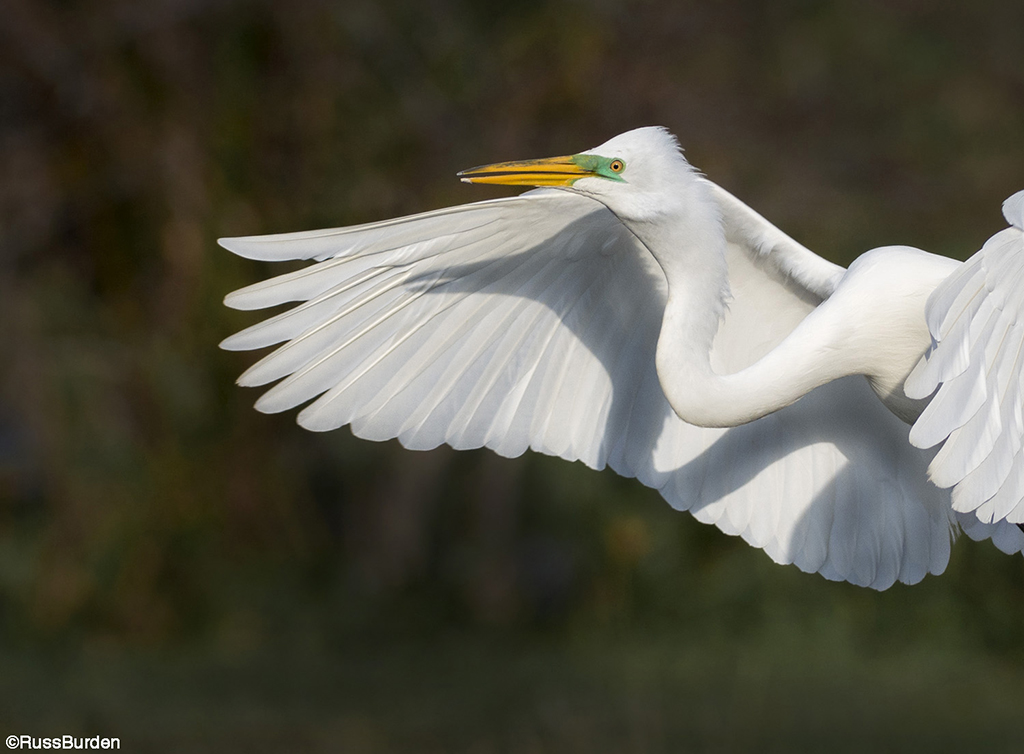
When working with shadows, treat it with as much respect as you do the primary subject. Use the rule of thirds to decide where the shadow should be positioned. In the image of the antler on the gypsum, I purposely positioned the primary subject in the right third, which allowed the low angle of light to create a shadow that encompassed two-thirds. The shadow became a primary component in that it formed a multi-layer arch offset against the strong diagonals of the ripples. In the image of the great egret in flight, a bit of serendipity occurred given the wing position and the shadow of the bird’s head that fell upon it.
To produce a technically perfect shadow, bias your exposure so the shadow density is rich and dark. But be careful to not underexpose too much or else you’ll muddy up the other tones in the photo. Be sure you check your histogram at the time of capture. In post-processing the file, use Levels or Curves to tame the highlights and work the blacks to deepen the shadow.
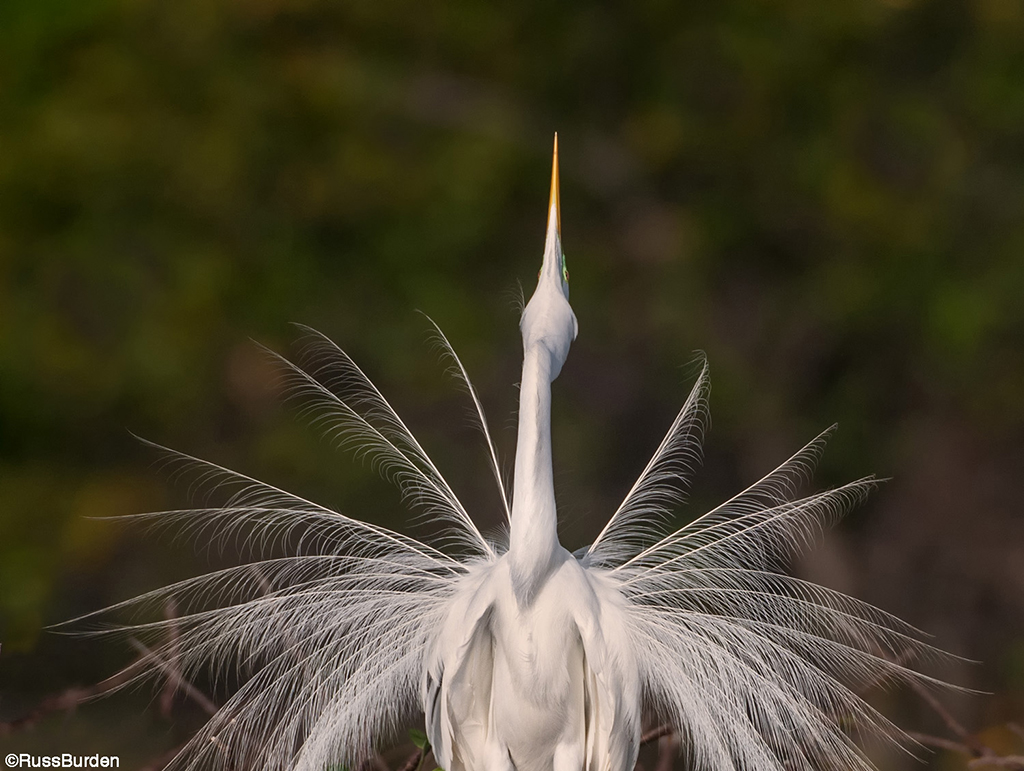
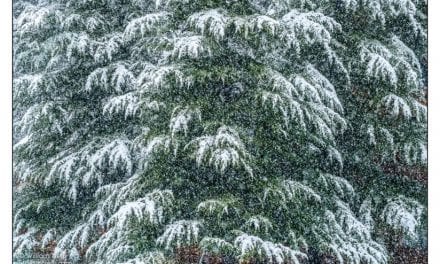
Look for shadows that create dark backgrounds in your images. When a lit subject is offset against a dark background in deep shadow, the subject comes forward and pops off the page. If a background is distracting, wait for a shadow cast by a cloud to darken it naturally. Bright highlights will be tamed. This acts in your favor as they won’t become eye sores in the final image. In the photo of the egret displaying its breeding plumage, a cloud cast a shadow on the background foliage and when the bird displayed, I took advantage of the improved lighting situation.
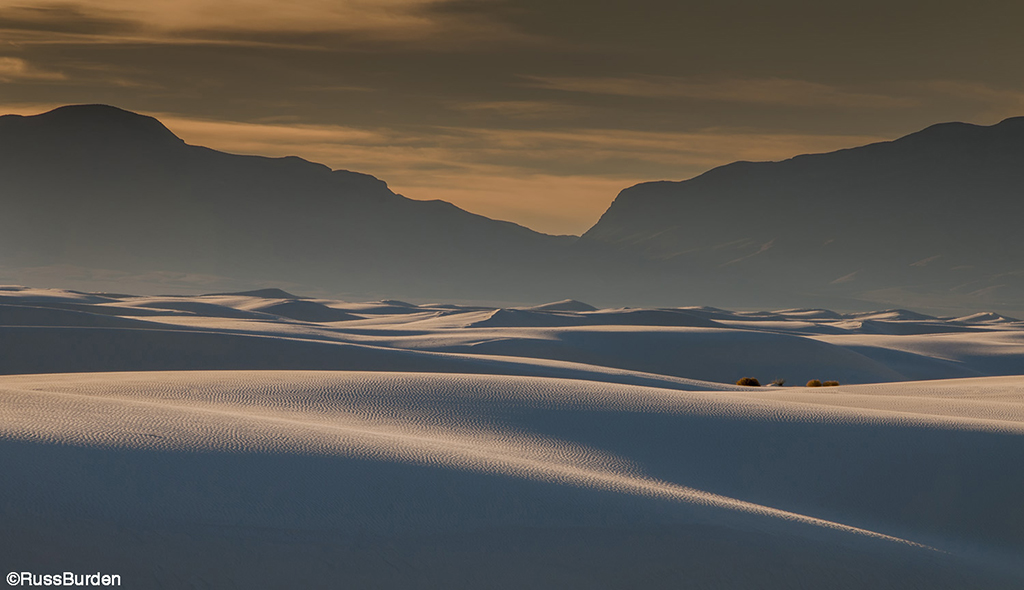
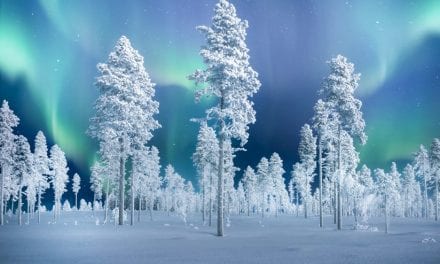
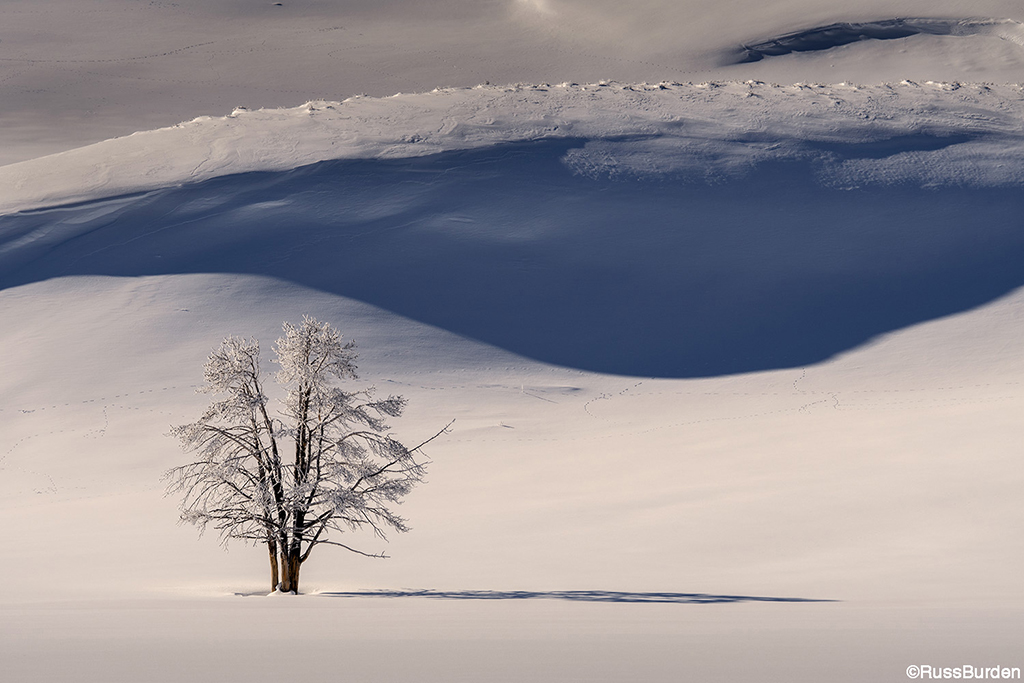
Scenics are best photographed early or late in the day when the sun is low on the horizon. The color is warm, and there’s a quality to the light that’s unachievable at any other time of day. The low light angle creates side-lit conditions that enhance shadows and highlights. In the wide-angle scenic made at White Sands National Park in New Mexico, the light just crested the horizon and the shadows that were created were spectacular. Be sure to exploit this time of day to make the shadows in your scenics iconic.
The next time you’re out in the field, if you’re not already a shadow shooter, take note of them and work them into your compositions.
To learn more about this subject, join me on a photo safari to Tanzania. Visit www.russburdenphotography.com to get more information.
The post Working With Shadows In Your Photography appeared first on Outdoor Photographer.