Don’t just take a picture, make a picture. Take charge of the settings on your camera so your images turn out the way you envision them. Don’t let the camera make decisions for you. While the “P” on your camera dial, which stands for Program Mode, often provides a perfect exposure, it doesn’t know that in Situation A, it’s more important to create shallow depth of field or in Situation B, it’s more important that the depth of field extends from the most foreground part of the composition to infinity. Even though the technology in today’s cameras is amazing, manufacturers still haven’t figured out how to get them to interface with your brain so the final image turns out the way you desire. This being the case, it’s time to take charge of your settings to get the end result you envisioned when you pressed the shutter.
Aperture Priority
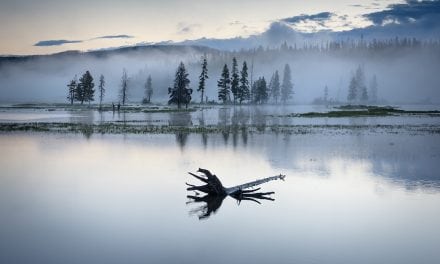
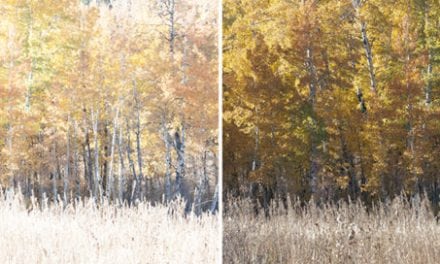
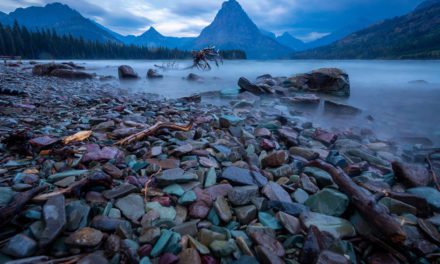
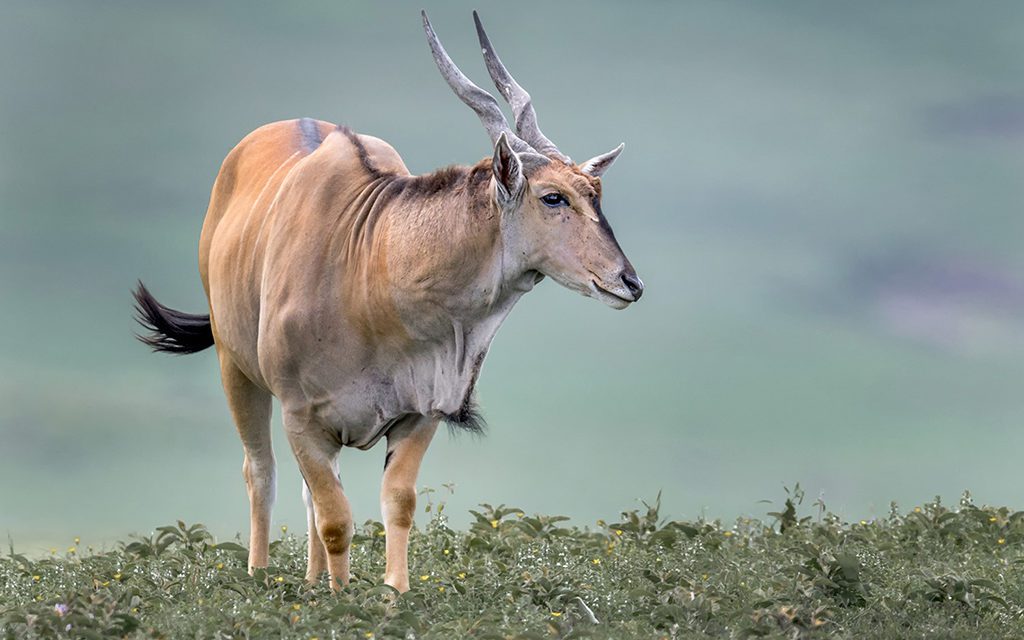
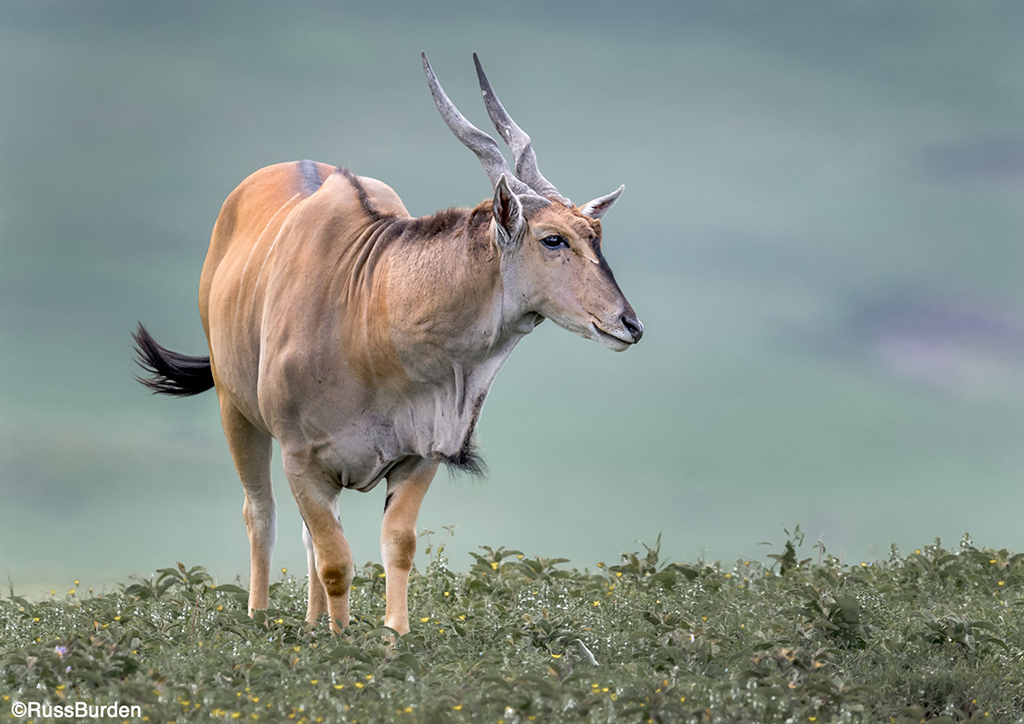
Unlike Program Mode, the “A” setting on your camera gives priority to the aperture. Based on the ƒ-stop at which it’s set, the camera chooses a corresponding shutter speed to provide a good exposure. The chosen aperture determines the amount of depth of field in the photo. The lower in value the number, for instance ƒ/2.8 or ƒ/4, the less depth of field. The higher in value the number, for instance ƒ/16 or ƒ/22, the more depth of field. The more depth of field there is in an image, the greater the range of focus from the foreground to the background. Knowing how to control this range of focus is important when photographing subjects such as landscapes, people, animals, cityscapes and macro shots. In a landscape, the guideline is to have everything in focus from the closest point in the foreground out to the farthest point in the distance. Conversely, when you photograph wildlife, the common guideline is to have the background out of focus so the viewer’s attention is drawn to just the animal.
The amount of depth of field that’s achieved is dependent upon a number of variables that must fall into place. When the lens is set to ƒ/16 or ƒ/22, the opening through which the light passes is small. Not a lot of light gets to the sensor. This means the corresponding shutter speed to produce a proper exposure will be slow, which often necessitates the use of a tripod. It also means that if the subject is moving or wind is blowing and the subject is delicate, motion may be recorded. When all the variables fit together, it’s great. When they don’t, experiment with raising the ISO to obtain a faster usable shutter.
Shutter Priority
In Situation A, it may be more important that the shutter freezes the action or in Situation B, it’s more important that the shutter speed is slow to emphasize movement. This being the case, it’s time to take charge of your settings to wind up with the end result you envisioned when you pressed the shutter.

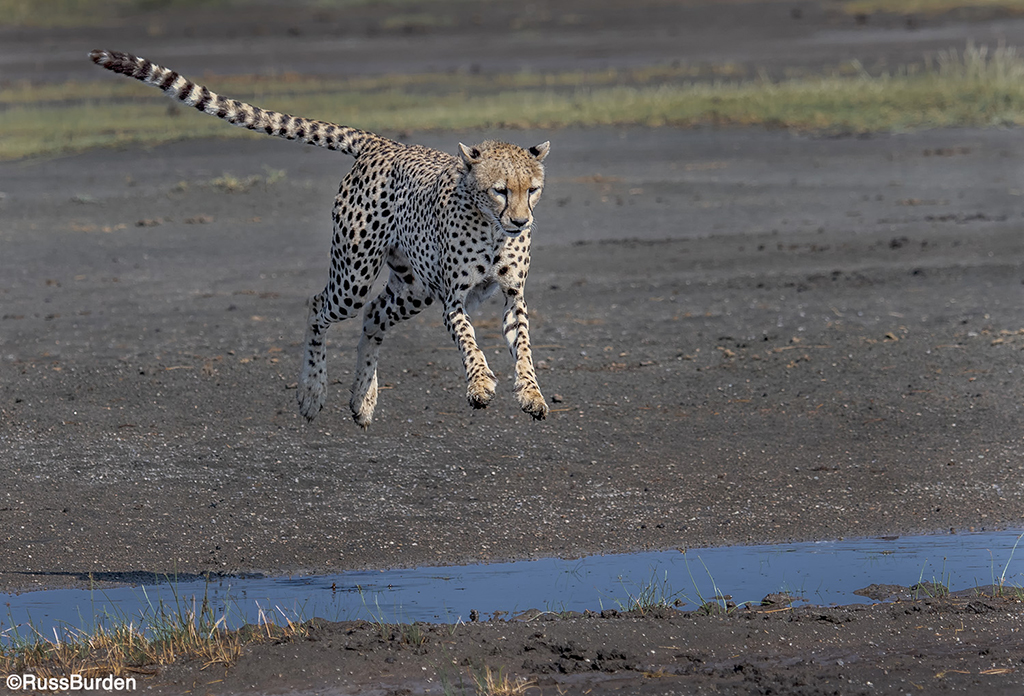
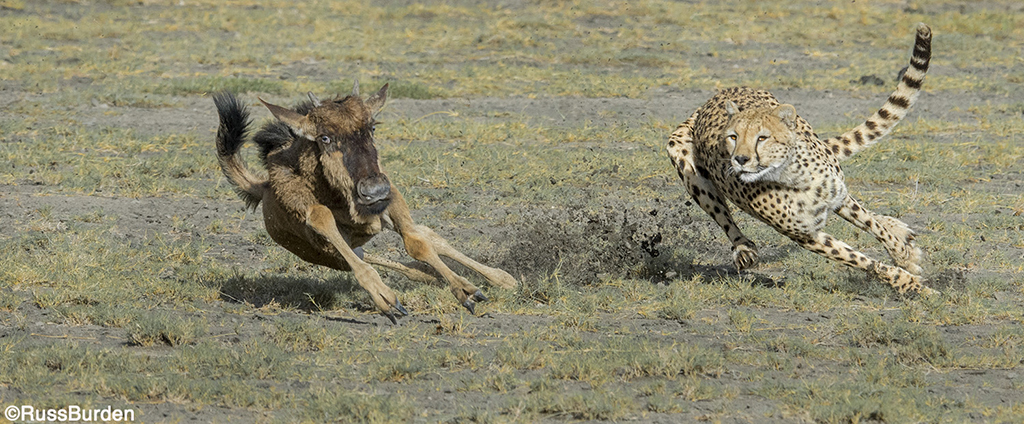
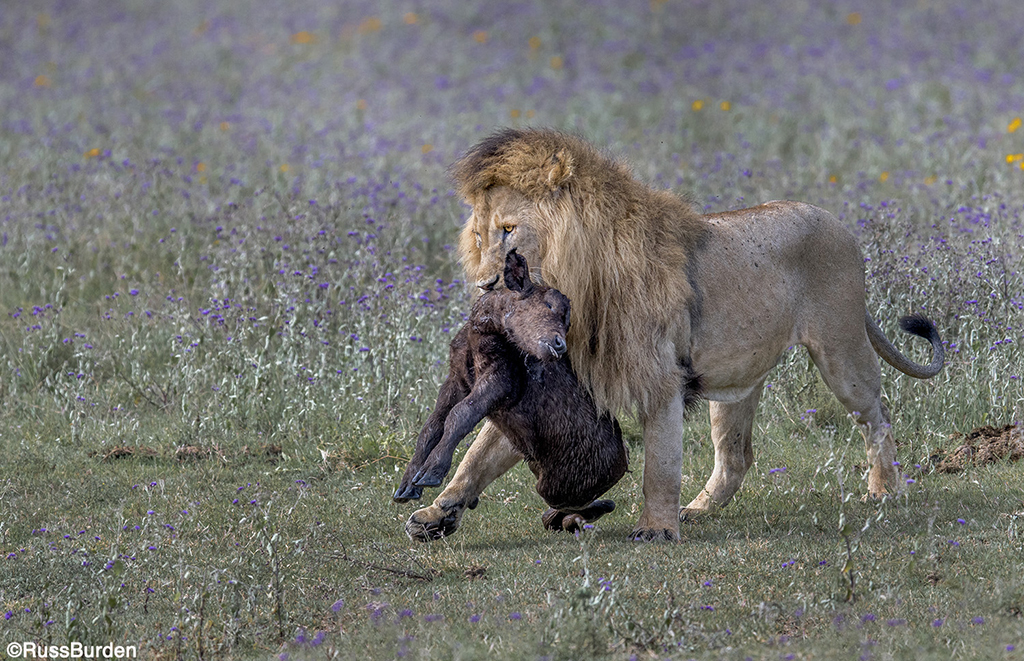
Unlike Program Mode, the “S” setting on your camera gives priority to the shutter speed. Based on where it’s set, the camera chooses a corresponding aperture to provide a proper exposure. The given amount of time the shutter remains open determines the amount of motion that gets recorded. It can be either stopped or exaggerated. Logically, the faster the shutter speed, the more action-stopping potential you have. The longer it stays open, the more blur will be recorded. Additionally, the direction in which the action takes place has an effect. For instance, if the action is perpendicular to the camera, a much faster shutter speed is needed to freeze it than if the action comes toward the photographer. An animal that runs across the film plane requires a fast shutter speed to stop the action. If the subject comes directly toward the camera, a slower one can be used to freeze the motion.
The speed of the action along with the amount of available light determines how much action can be stopped. This can be influenced if you raise the ISO to a higher number so a faster shutter speed can be attained. What dictates whether or not it can be frozen is dependent upon how fast the subject moves in conjunction with the intensity of the light.
For instance, if you try to freeze a running cheetah that’s perpendicular to the lens and it’s heavily overcast, there simply won’t be enough light to accomplish this unless very high ISOs are utilized. The drawback is the quality of the image suffers. On the other hand, if it’s bright, very usable ISOs can be dialed in and shutter speeds that are fast enough to stop the motion of the cheetah can be utilized. What it comes down to is you need to learn how the variables play into a given lighting situation and set the optimal shutter speed to try to achieve the effect you desire.
To learn more about this subject, join me on a photo safari to Tanzania. Visit www.russburdenphotography.com to get more information.
The post Stop Using Program Mode appeared first on Outdoor Photographer.