The focus of this and last week’s Tip of the Week is sunscapes. A sunscape is a landscape or wildlife image that includes the sun. To make a great sunscape, essential conditions must align for the picture to be successful. Time of day, atmospheric conditions, careful technique and common sense all impact its success. Flare, strong contrast, improper exposures and safety issues need to be addressed. Thankfully, techniques can easily be learned to contend with them. The sun can be on the horizon, high in the sky, diffused by fog or bounced off reflected surfaces. Below are the strategies I share with you that I’ve gained from experience. As you incorporate these techniques into your photography, you’ll look at the sun in a whole new light.
Think about every dramatic sunrise and sunset you’ve witnessed that made your landscape images glow. Reflect upon those times when very first light kissed the horizon and resplendent gold tones bathed your favorite animal. Summon those instances when pastel storm clouds brought you to your knees as you made image after image. Flashback to that time when a double rainbow bridged the sky and framed your favorite landform as your smile grew in immensity.
Pray For Clouds
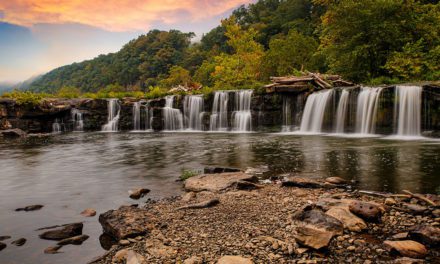
Although contradictory for many photographic situations, soft clouds can be your ally when your camera is aimed toward the sun. They take on color in early or late light and add impact to an image. Those with rim-lit halos make interesting subjects unto themselves. Make photos just as the sun dips behind their perimeters. Whenever you encounter a contrasty light situation, meter the scene carefully and check the luminosity histogram. If the contrast range exceeds what the sensor can capture, make a bracketed series and merge them when you post-process the images. For safety’s sake, never look directly at the sun through the viewfinder, especially when using a telephoto lens.
Alpenglow
Although the sun doesn’t appear in alpenglow images, I had to include this info as it creates some of the softest and most elegant light you’ll ever encounter. On clear mornings, about 20 minutes prior to sunrise, the sky takes on a graduated effect from fiery pink and magenta at the horizon to cobalt blue at its high point. The same phenomenon occurs about 20 minutes after the sun goes down. The sun colors the atmospheric particles at the horizon. When used with a strong silhouette, the potential to create outstanding images is high. If there are clouds in the sky, they’ll often turn a pastel color and add more punch to the photograph. Be very cognizant of the red channel when you evaluate the exposure as reds, oranges and yellows are much more sensitive to getting blown out and losing important detail. If the red channel is spiked, use exposure compensation toward the minus side.
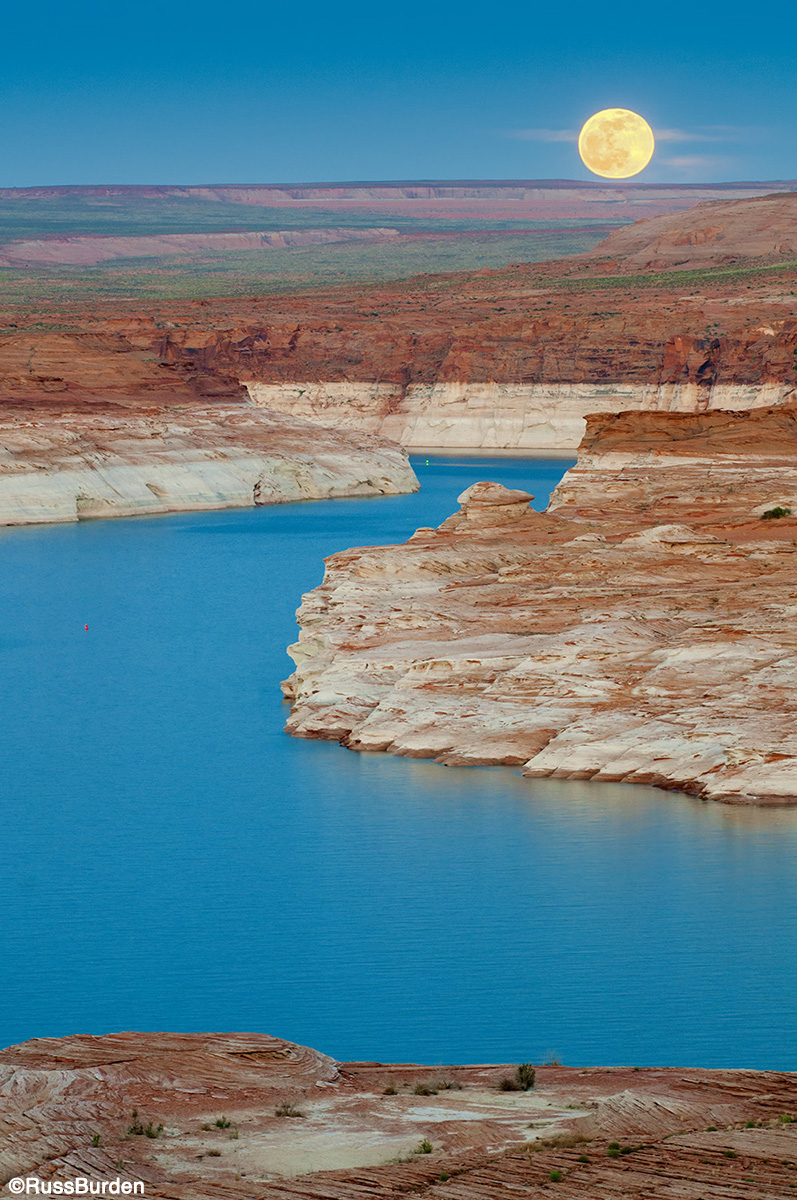
Celestial Body
Moonlight is actually reflected sunlight. The sun shines upon the moon’s surface and its light is reflected back to Earth. Depending upon its phase, the sun illuminates the section not in shadow. When the moon appears in a daylight sky, it makes a strong focal point. I especially like to include the moon the first few days after its full phase as it sets at sunrise. On the day of a full moon, it sets just before the sun rises. I also enjoy shooting at twilight with a bright moon high in the sky. I can use it to double expose into the picture. Be sure your camera has multiple exposure capability. The sky in the base image needs to be dark so its detail isn’t recorded in the moon when it’s double exposed.
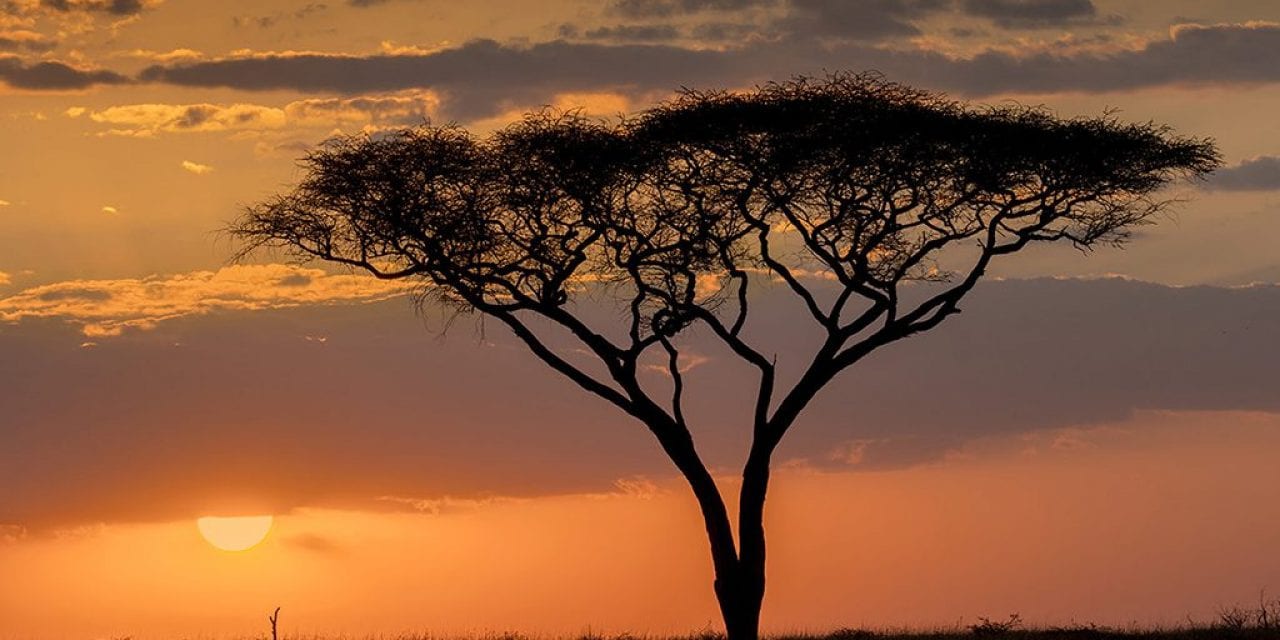
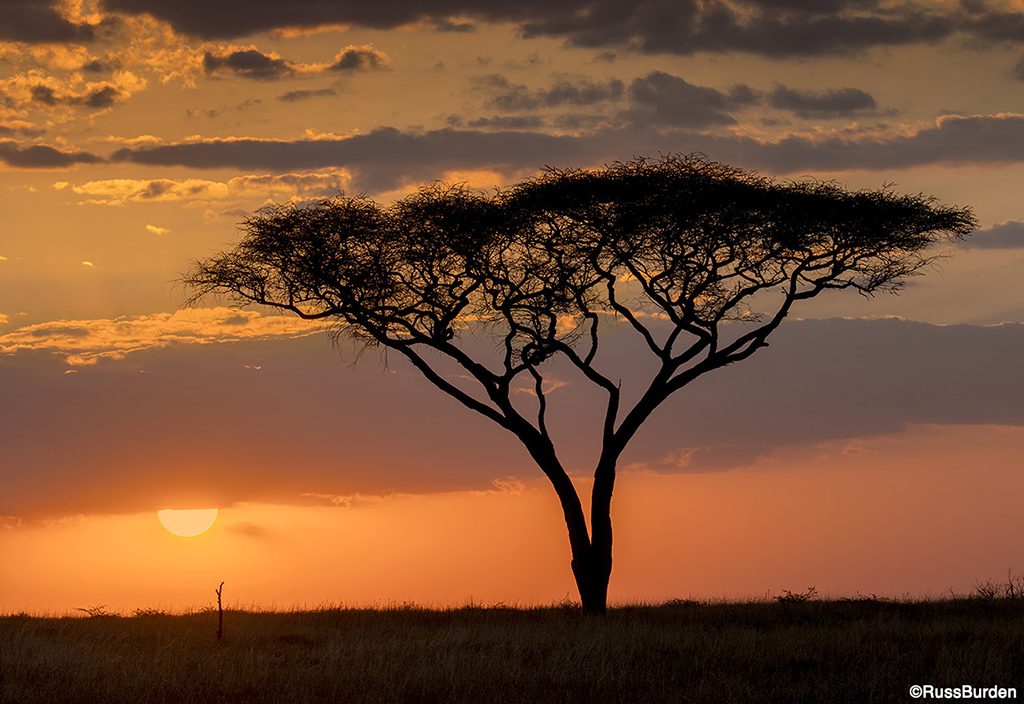
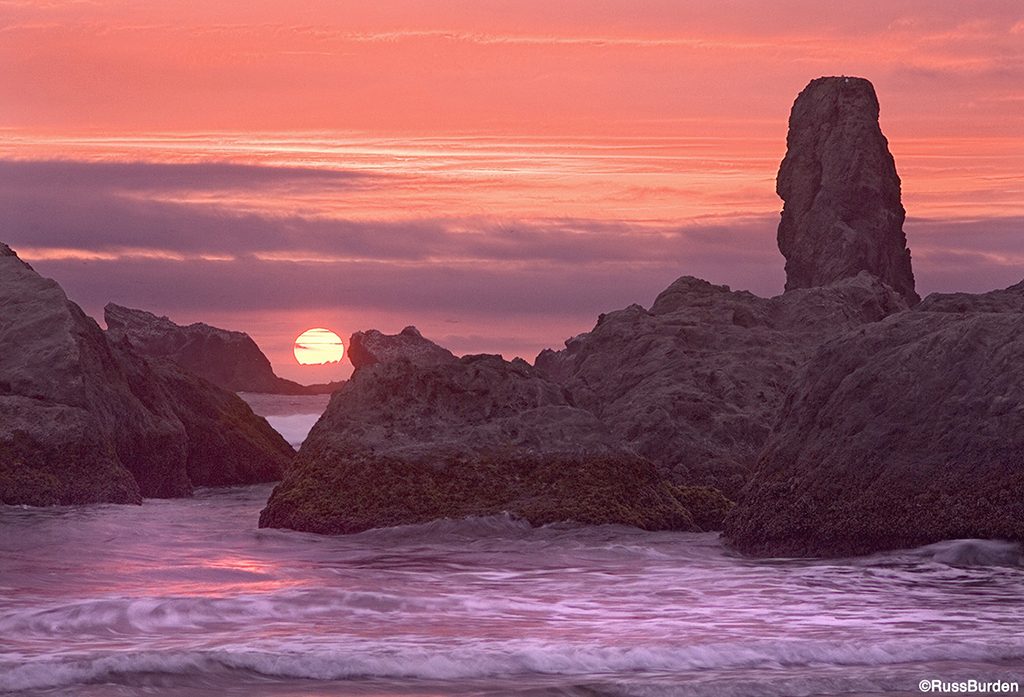
Horizon Time
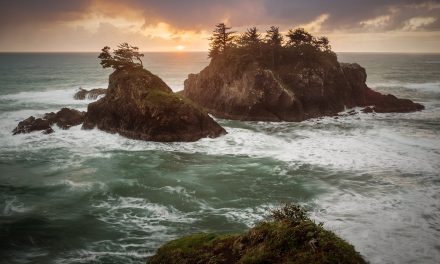
A great time to shoot the sun is when it appears just above the horizon. Unless the sky is void of atmospherics, pollutants or dust particles help tame flare problems. If the sun is not strongly diffused, don’t look at it when you’re creating your composition. You may cause irrevocable damage to your eyes. Try to position the sun using the rule of thirds as it will be the primary subject in the image. Keep it in the upper portion of the photograph if the foreground has interest and place it in the lower portion if the sky has the most interest. This holds true for both verticals and horizontals.
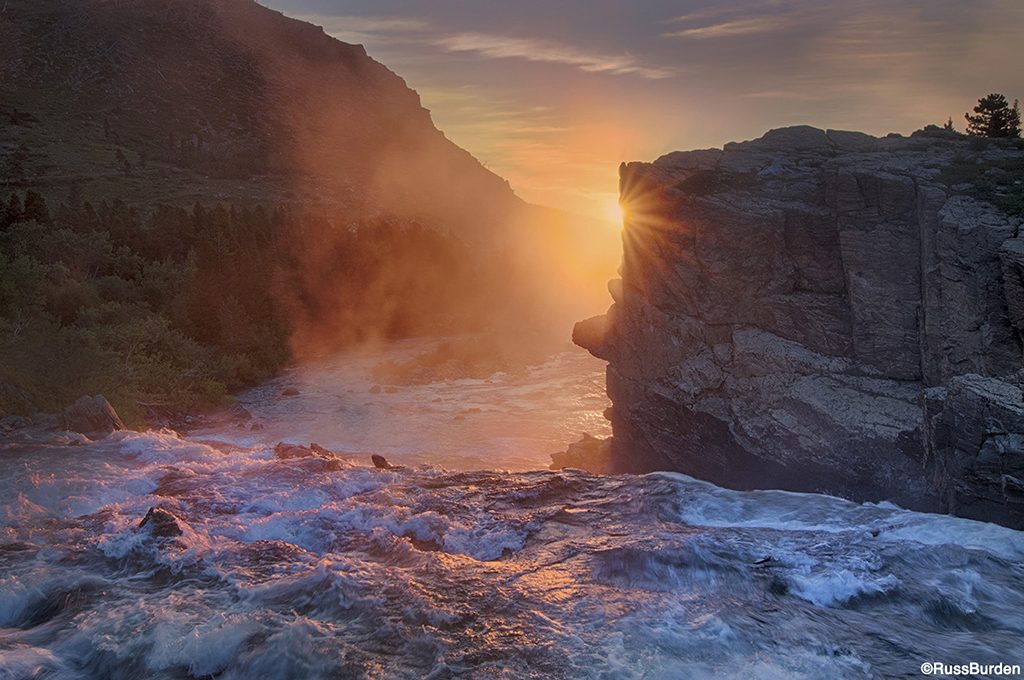
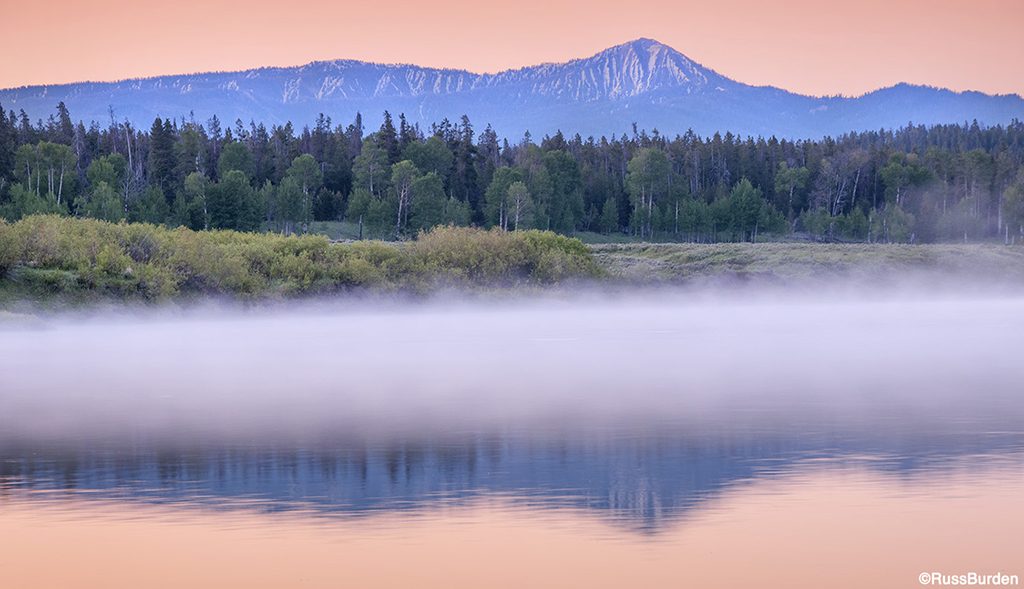
Backlit Mist
Mist, thin clouds or water vapor blocks the sun’s intensity, which allows you to create beautiful backlit images or photos that can show the actual round disk of the sun. When possible, get the sun close to the edge of the mist to produce a rim-lit glow and give the image a divine feel. As in most cases where the sun appears in your sunscapes, it’s necessary to dial in minus compensation depending on the other elements included in the composition. It’s difficult to say by how much in that there are too many variables. Allow each situation to dictate the amount. When in doubt, bracket your exposures.
Visit www.russburdenphotography.com for information about his nature photography tours and safari to Tanzania.
The post Rays Some Hope: Sunscapes, Part 2 appeared first on Outdoor Photographer.