If you’ve never stitched a panorama in Photoshop because you thought it was too complex or you were reluctant to try, follow these easy steps to see how simple it is. Soon you’ll be thinking PANORAMICS on every outing.
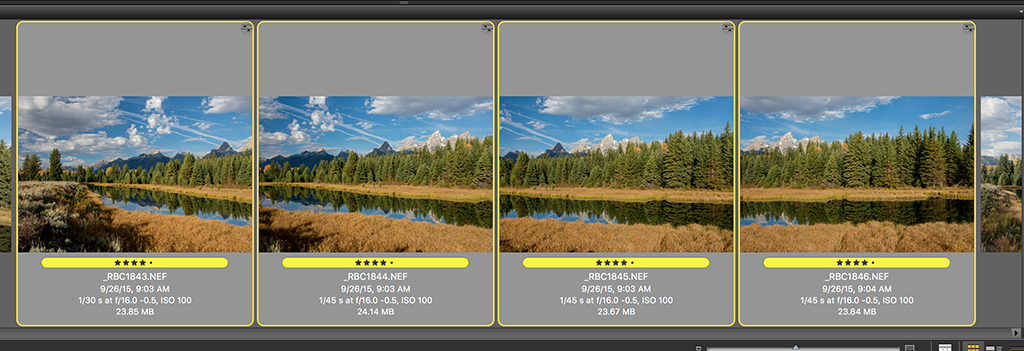
Start with a series of Vertical RAW files in Bridge and go from this:
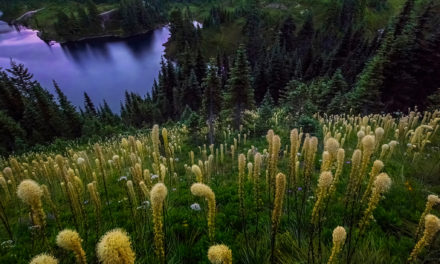
to this:

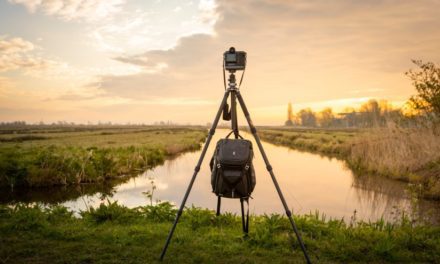
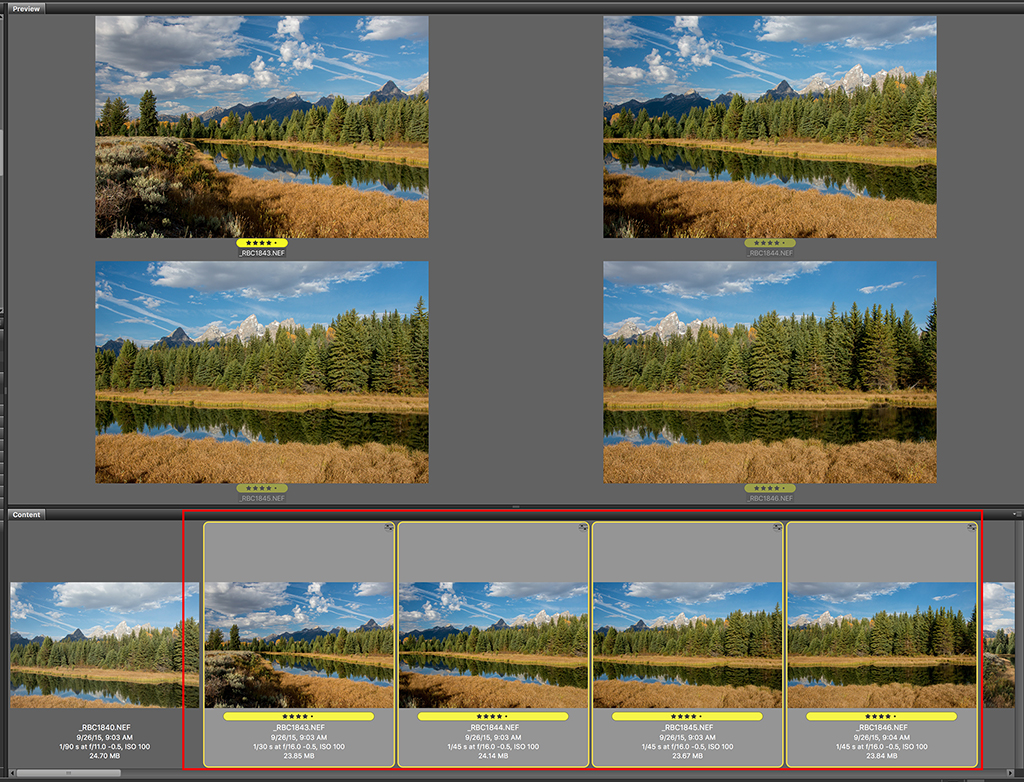
OR start with a series of horizontal RAW captures like this:
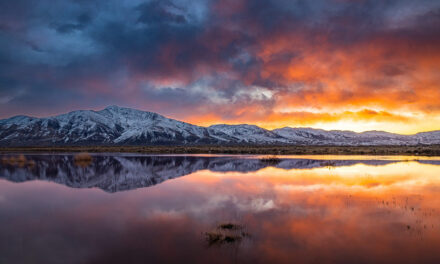
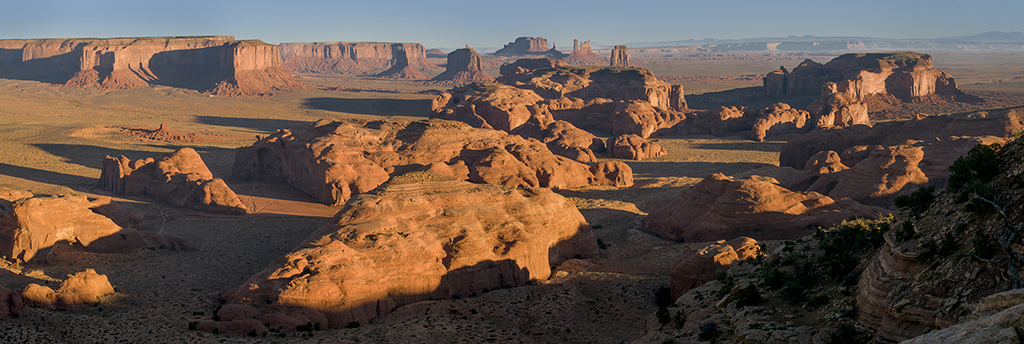
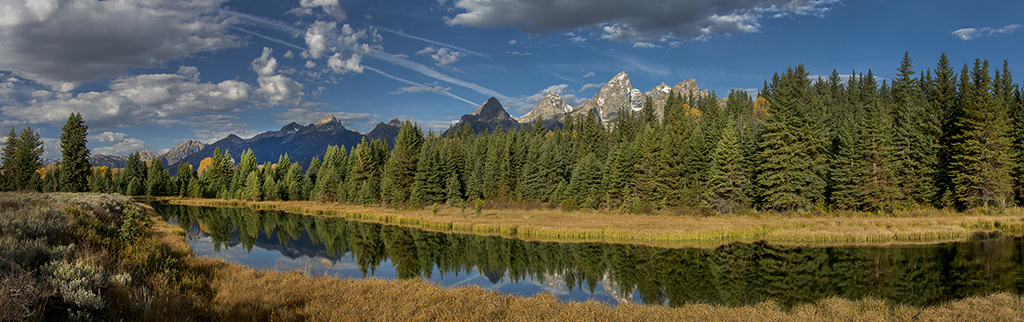
so you can create this:

Panorama Basics – To create the best possible stitched panorama, apply the following at the time of capture:
A) Use MANUAL exposure to meter the scene and use that exposure for every photo in the series to maintain consistency.
B) White Balance: Use a preset white balance or set it manually to prevent color temperature variations. (If you shoot RAW, you can correct White Balance in LR or Adobe Camera RAW.)
C) Remove the Polarizer: A polarizer helps darken a blue sky when it’s oriented 90 degrees to the sun. As the angle changes, the sky gets darker or brighter. To avoid uneven sky densities across the finished pano, remove the polarizer.
D) Level the tripod and camera to maintain a perfect horizon line across the stitched files.
E) Overlap your images in the neighborhood of 30% so the software finds like edges when stitching the captures.
F) Aperture: Use the same aperture for all exposures to avoid inconsistencies with depth of field.
G) Avoid Foregrounds as they will distort as you pan the camera.
H) As evidenced in the images at the beginning of this week’s Tip, finished panos can be created from vertical or horizontal files. The preferred format is vertical as verticals provide more head and foot room. The extra pixels may come in very handy when you crop the final product.
Let’s Get Started.
Use Bridge or Lightroom to begin the process. (All screenshots in this Tip were made using Bridge on a MAC computer.)
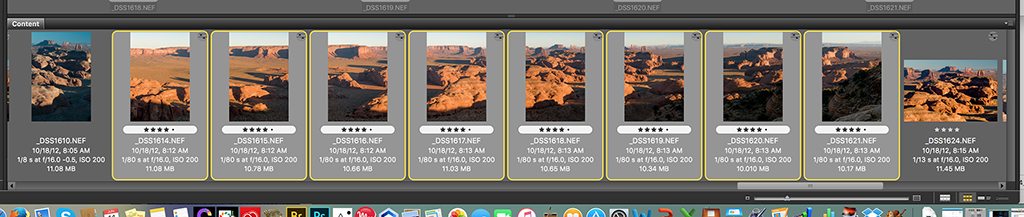
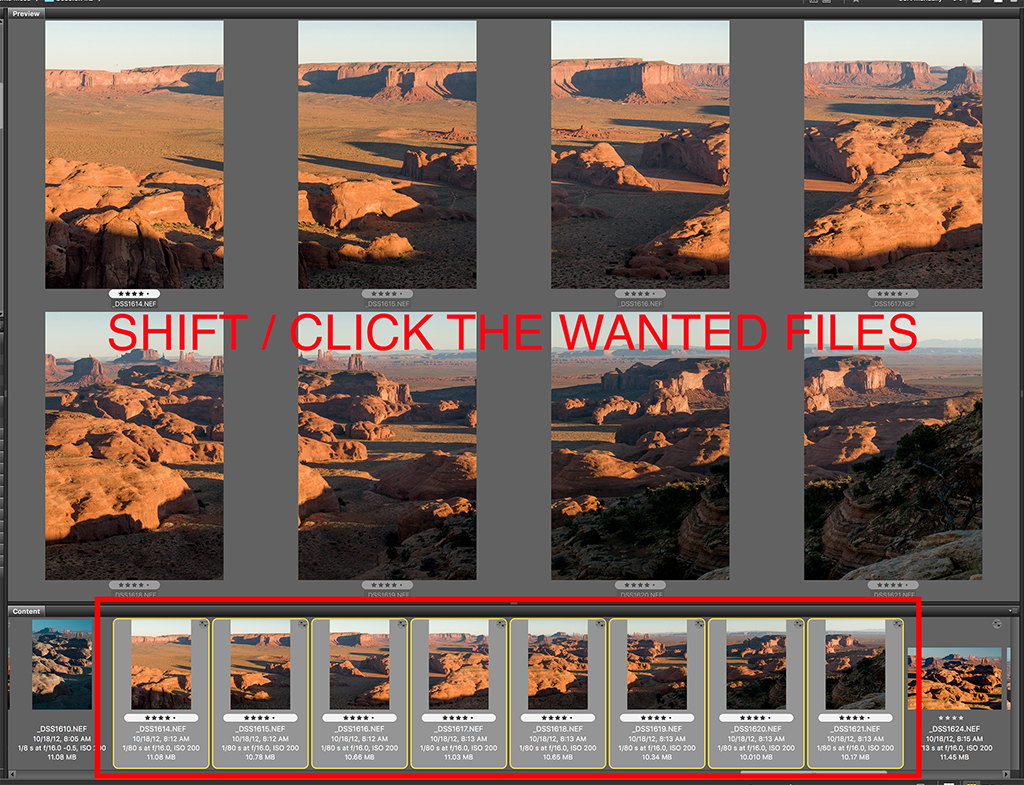
Select the files you want to stitch. Highlight the first file, then hold down the SHIFT key and click on the last file in the series. All files in between will be highlighted. Alternatively, hold down the Command key on a Mac or the Control key on a PC and click on each individual file until they’re all selected.
SHIFT-CLICK to highlight all the files:
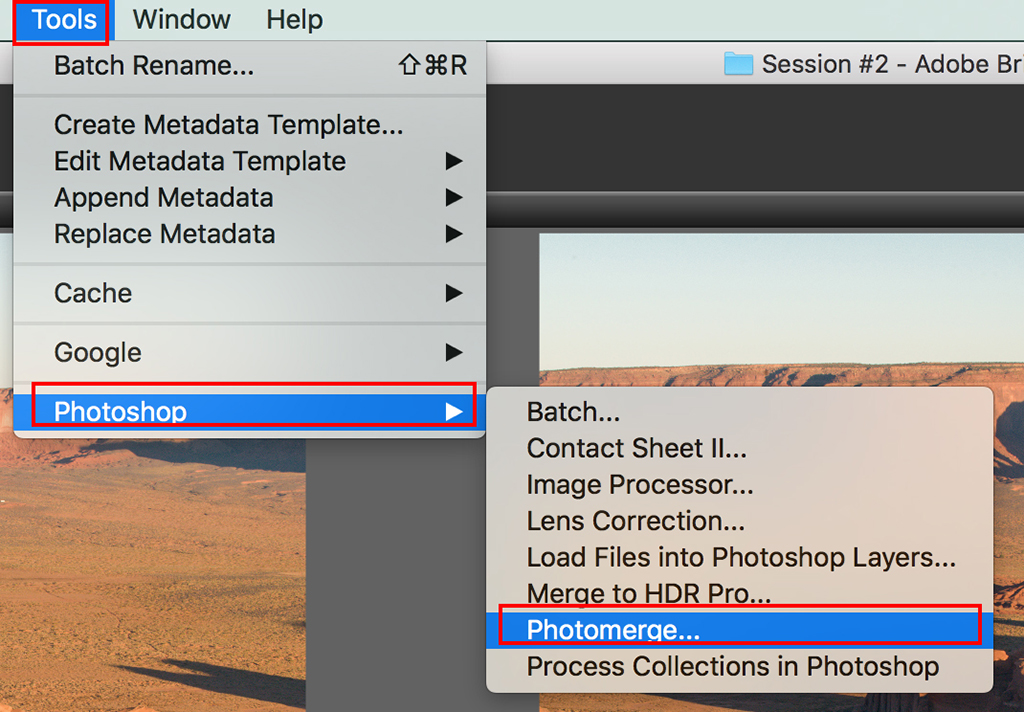
Along the top of the workspace in the OPTIONS bar. Click on TOOLS>PHOTOSHOP>PHOTOMERGE.
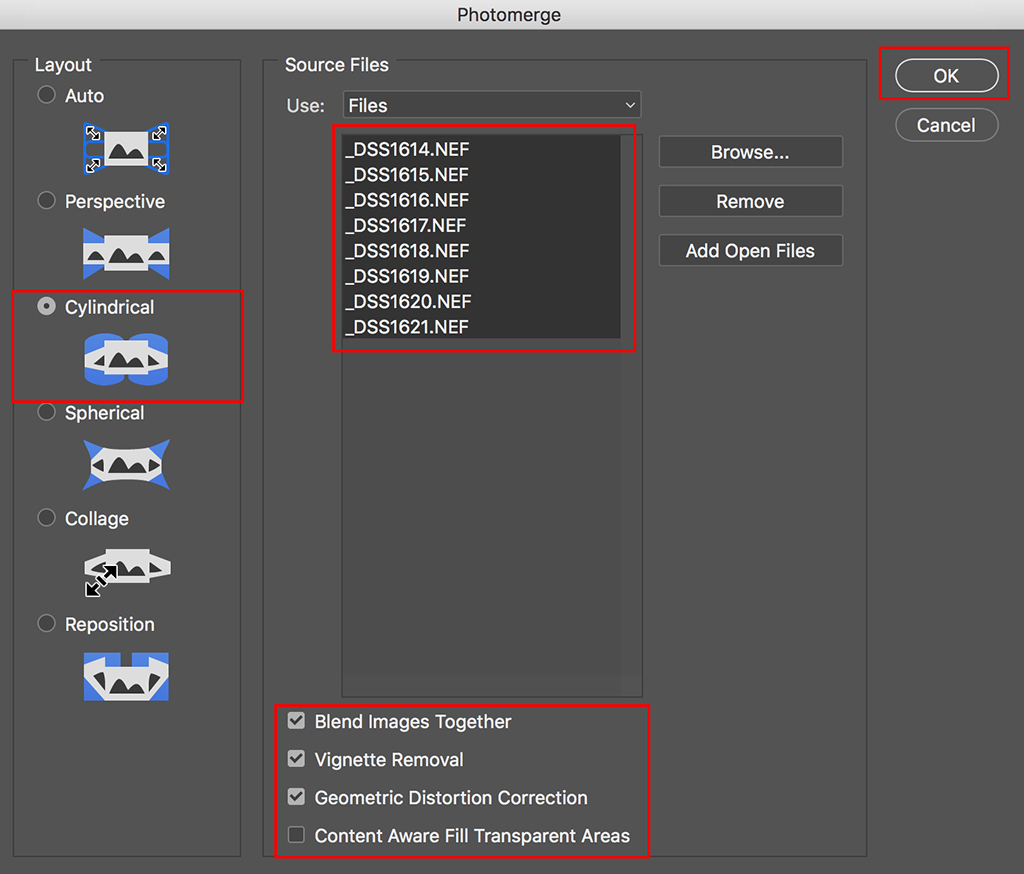
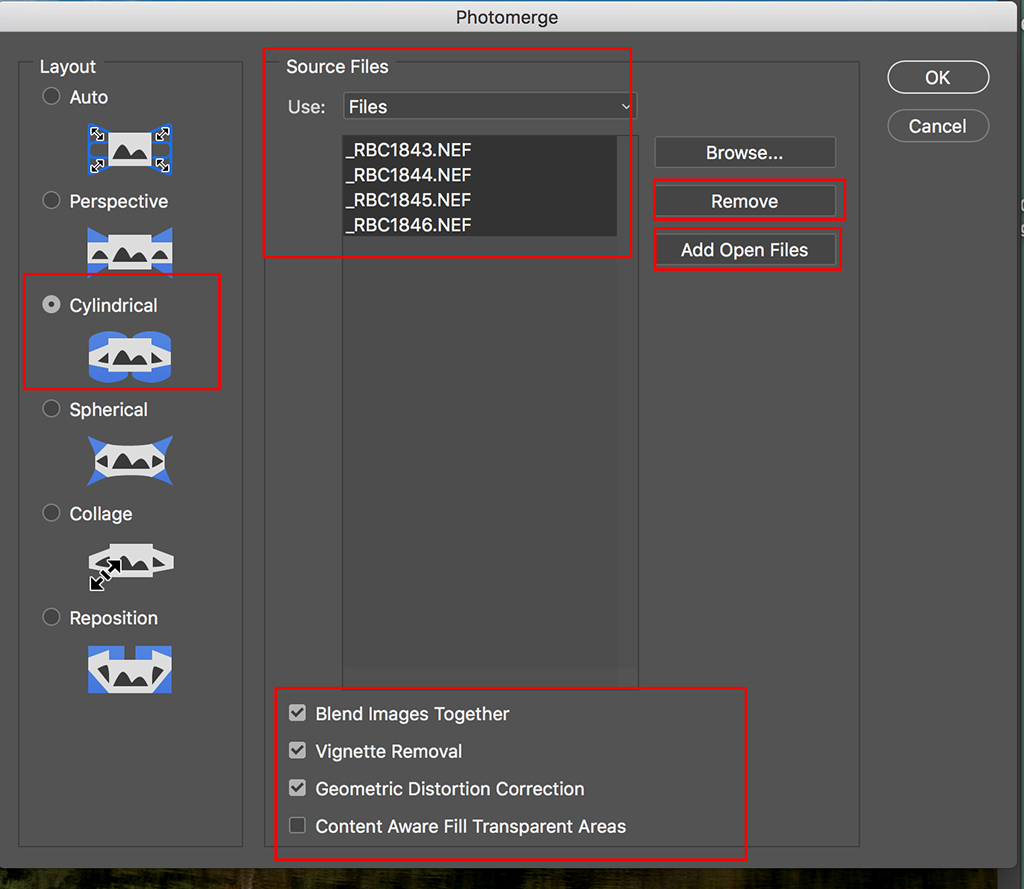
The Photomerge dialog box will appear. Note the areas outlined in red. These will need your attention.
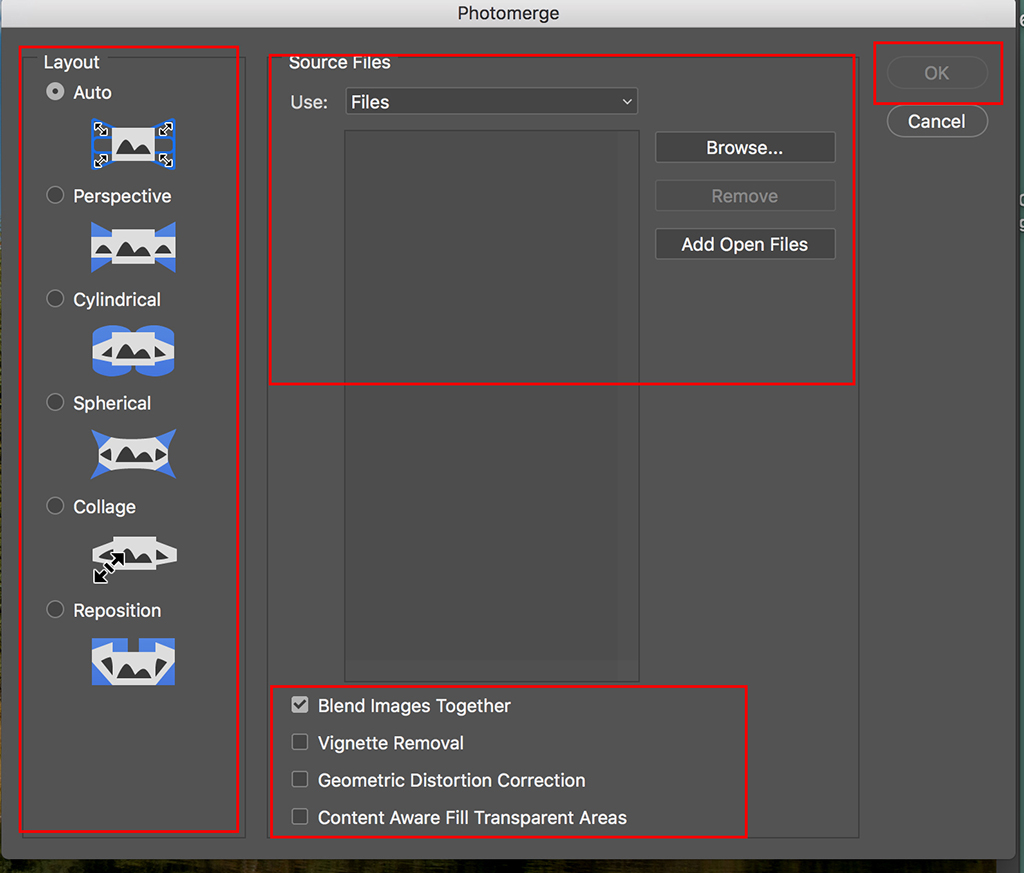
Under LAYOUT, click the radial button that says Cylindrical. Auto tends to arc the stitched pano whereas Cylindrical does a great job. I suggest you experiment using both options—see the differences below.
In Source Files, shift-click the file names in the dialog box so they’re all highlighted.
Be sure to place a check in the boxes next to Vignette Removal and Geometric Distortion Correction. Click OK and Photoshop will begin to stitch the images together. RAW files will take a bit longer to process than jpg images.
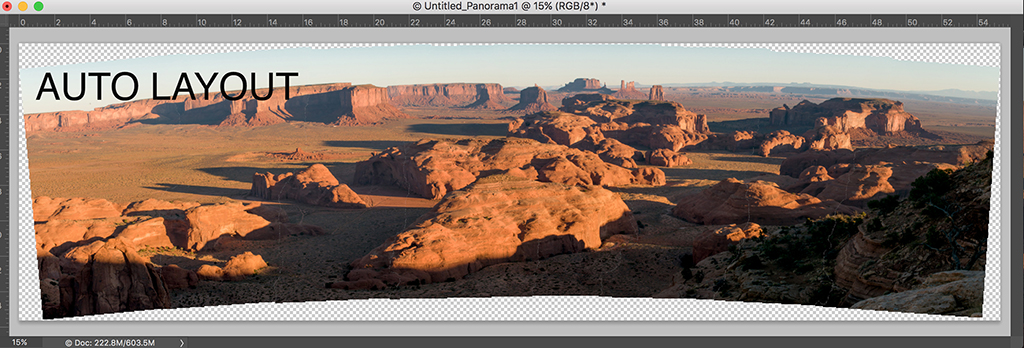
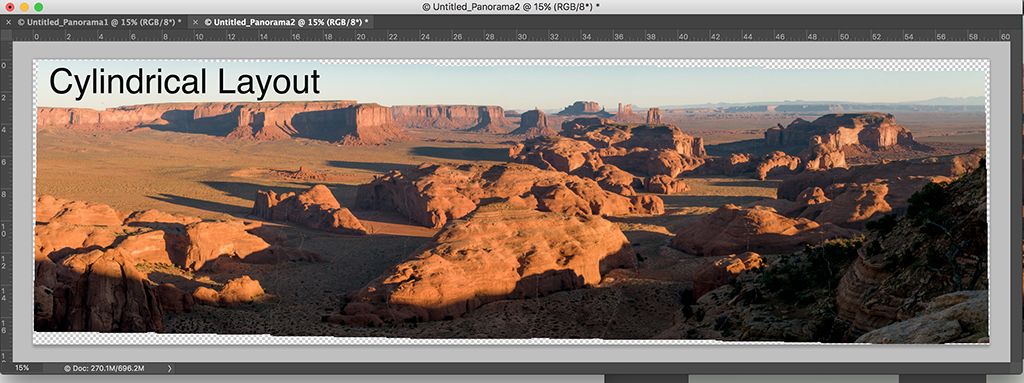
Auto Layout vs Cylindrical Layout:
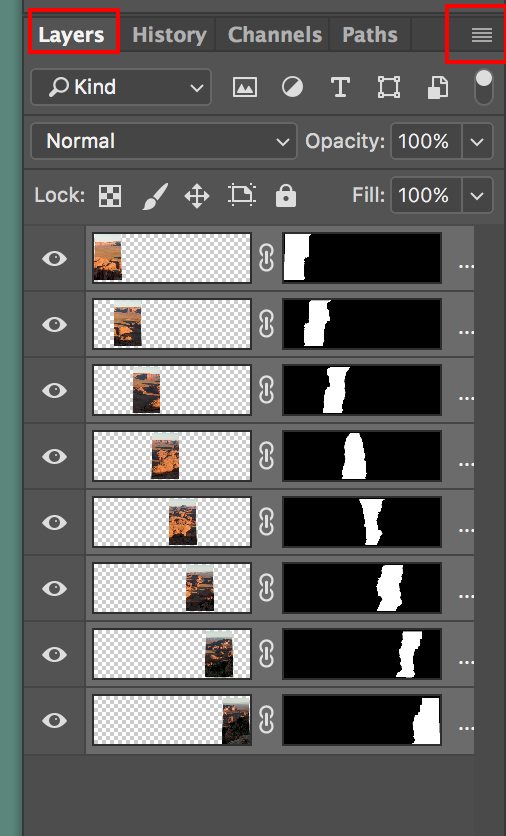
When the processed image appears, crop the file to eliminate empty pixels. The processed pano will be large, so you’ll want to flatten all the layers for two reasons. One is to reduce the file size and the other is to be able to apply local adjustments to the image. Some photographers save the stacked pano with layers and work on a flattened copy. If you have a hard drive with lots of space you may want to do this. If you’re limited, simply flatten the pano and proceed from there.
To flatten all layers, on the upper right side of the Layers palette find the icon with four horizontal lines. Click on the icon and a fly out menu appears. Scroll down to “Flatten Image.” All the layers will be compressed into a single layer called BACKGROUND.

Once the image is flattened, you are free to use whatever tool you want in Photoshop to alter the image both globally and locally. You can clone, dodge, burn, alter the color, etc.
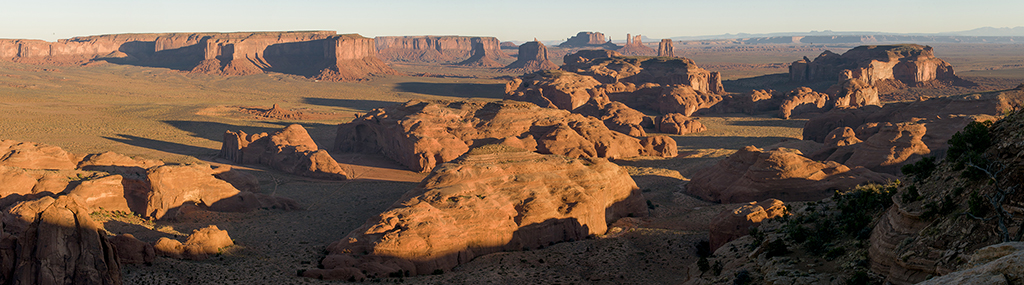
To get to the finalized version seen here, I cropped the photo, darkened the sky, slightly punched up the color, made a levels adjustment and did a small amount of strategic cloning.
If your files are already open in Photoshop because you applied corrections prior to stitching, simply go to the top of the workspace in the OPTIONS bar and navigate to FILE>AUTOMATE>PHOTOMERGE.
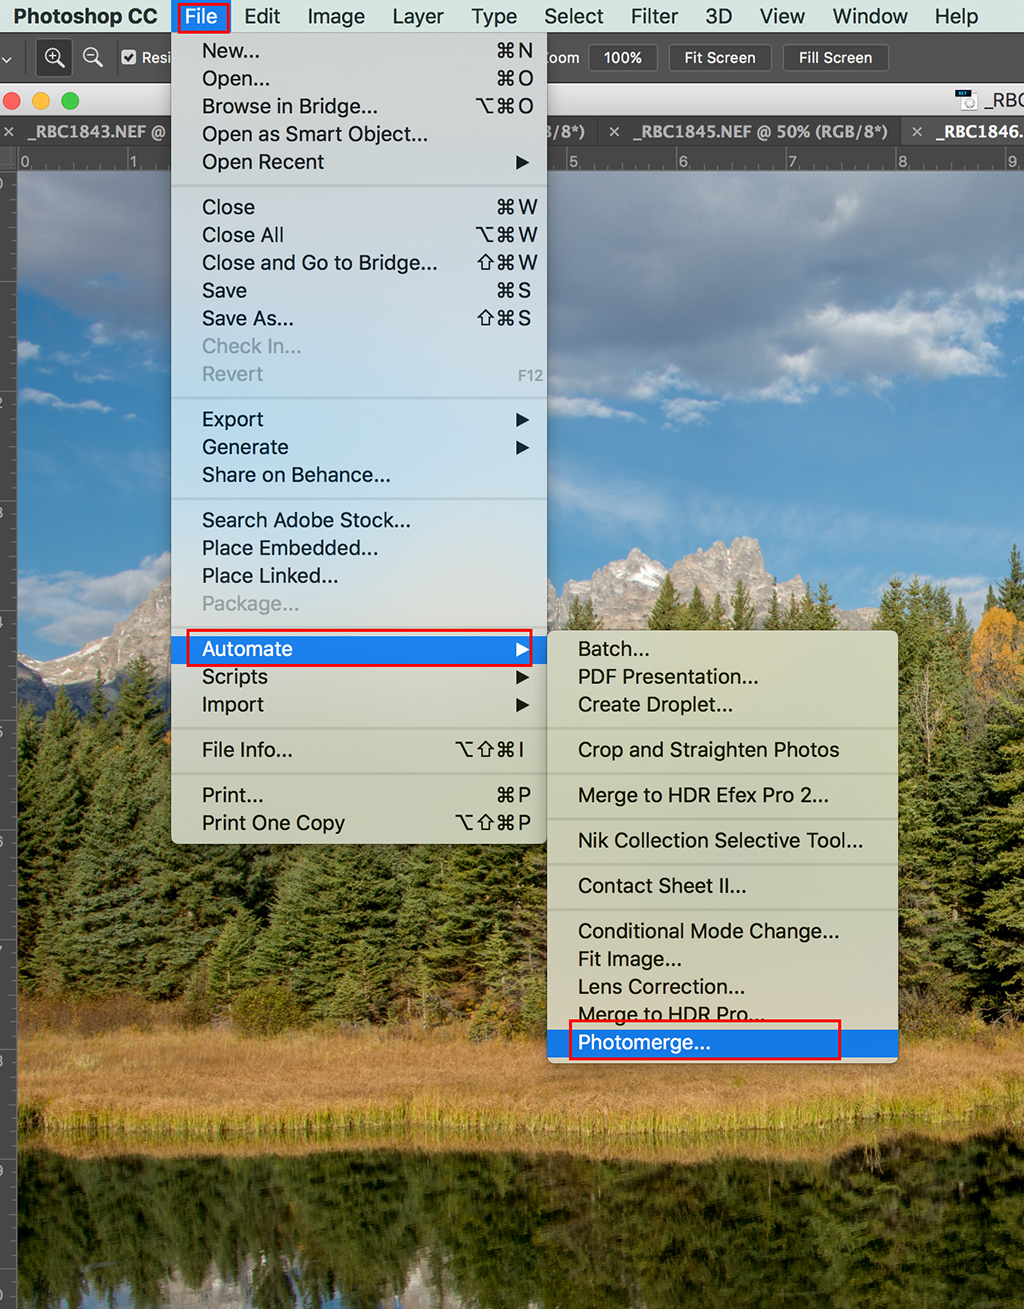
When the dialing box appears, simply click on “ADD OPEN FILES.” The file names will appear in the center Source Files box. If random unwanted files appear, highlight them and click the Remove button to eliminate them from the mix.
When the chosen files are the only ones you want to appear in the pano, perform the steps I described above to create the final version: Shift-Click the files in Bridge or Lightroom, or use the ADD OPEN FILES option, choose Cylindrical, put a check next to Vignette Removal and Geometric Distortion, and click OK to let Photoshop take over. Crop, flatten and optimize the panorama to finalize it.
As stated at the beginning of this Photoshop Tip, a pano can be made from horizontal originals as evidenced here:
Use the same processes as above to create the pano once the files to be stitched appear in the Photomerge Dialog box.
The post Photoshop Photomerge Made Easy appeared first on Outdoor Photographer.