One of the first adjustments I make when developing a RAW file is to set white balance. It’s a good idea to start there before making lots of other adjustments—sometimes a tweak to white balance is all an image really needs, especially if your exposure was correct in-camera.
But what if a global white balance setting doesn’t result in an image that matches your interpretation of the scene?
With Lightroom’s Graduated Filter tool, it’s easy to apply different white balance settings to specific areas of an image, especially when you have a clean, straight horizons like in this example.
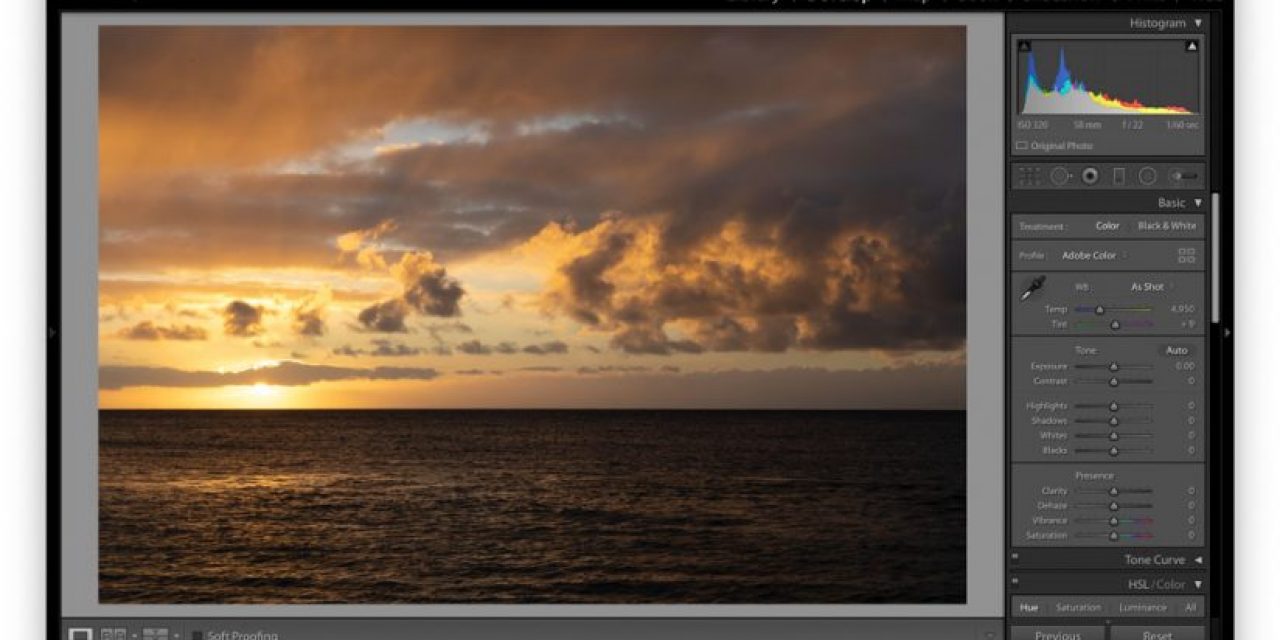
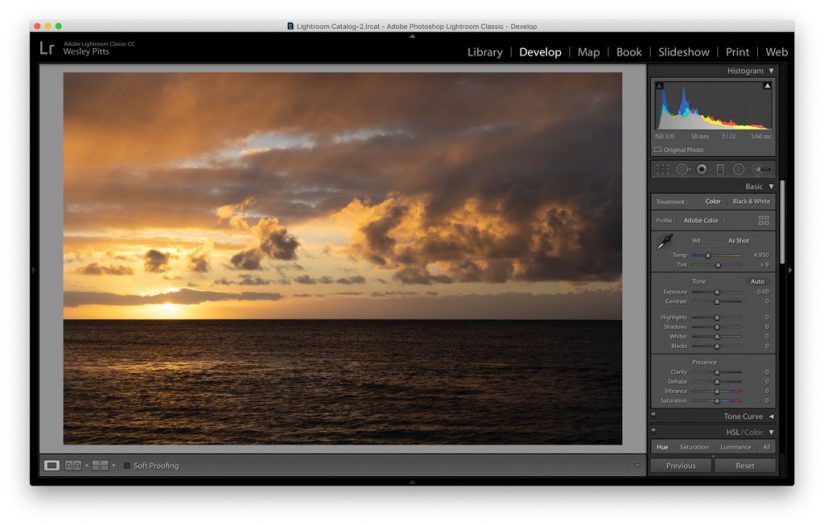
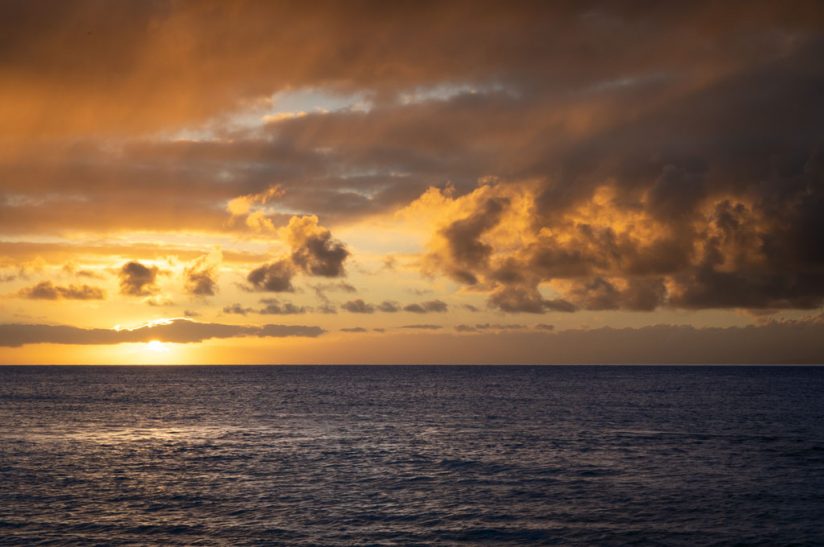
My unprocessed RAW file, taken with a Canon EOS R, is a nice sunset scene, but the ocean foreground feels flat compared to the dramatic sky.
Setting the white balance to “Daylight” added a little extra pop to the sky, but didn’t have much of an effect on the water; for that area, I actually preferred the look of a cooler white balance temperature.
That’s where Lightroom’s Graduated Filter tool comes in.
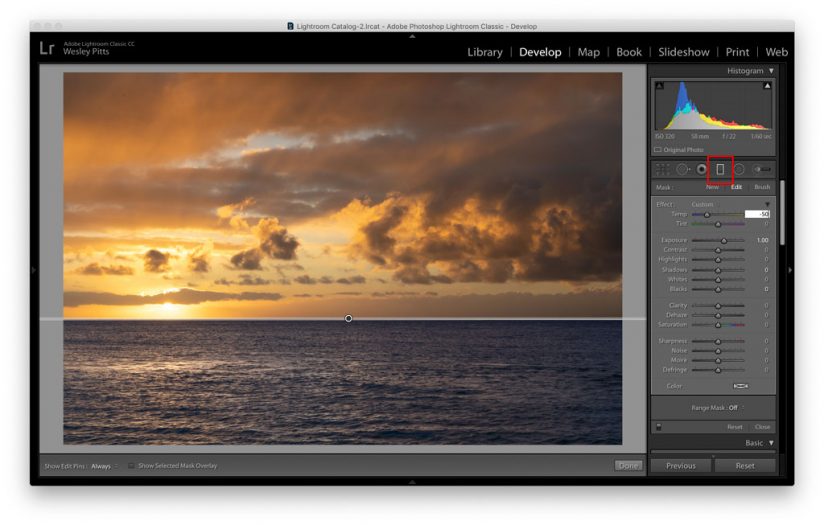
To use this tool in Lightroom’s Develop module, click on its icon in the toolbar just below the Histogram, then click and drag up or down on a point in the image along the transition where you want the the effect to take place. The greater distance you drag, the more graduated the transition will be. In this example, I clicked on the horizon line and dragged upward only very slightly, as I wanted the transition to be hard. Holding down the Shift key when you do this will keep the transition line straight.
You can toggle a Mask Overlay to see which areas will be affected by the Graduated Filter (Tools > Adjustment Mask Overlay > Show Overlay, or use keyboard shortcut “O”).
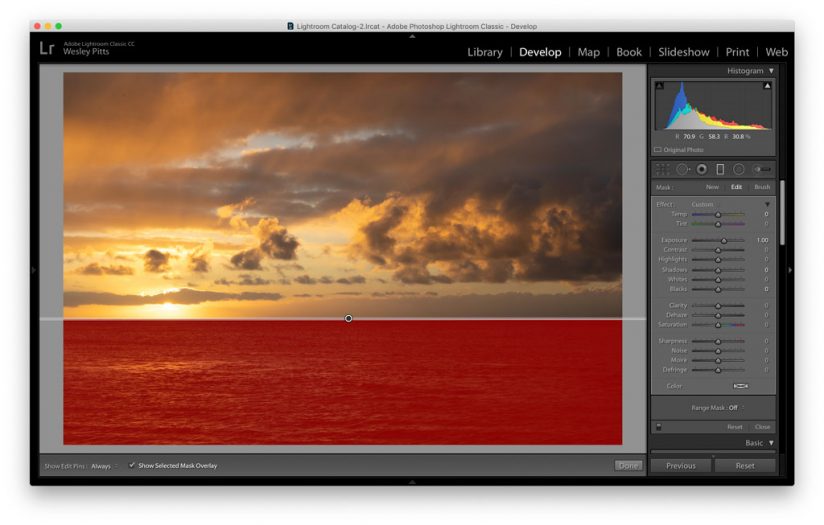
With the Graduated Filter in place, I reduced the color temperature until I liked the look. I also boosted the exposure of the water.
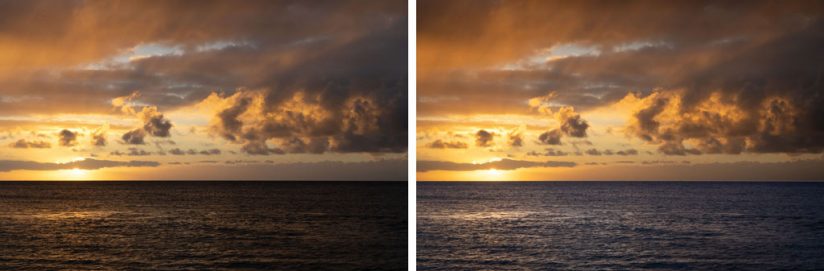
Here’s a before-and-after comparison. The resulting image is an interpretation of the scene that I like much better than what resulted with a global white balance setting.
This is just one of the many ways that Lightroom’s Graduated Filter tool can be used to quickly make localized adjustments.
The post Mixing White Balance appeared first on Outdoor Photographer.