With landscape photography, I’m of the school that less is more. That brings us to part 2 of KISS: Keep It Simple And Splendid (go here if you missed part 1). Judiciously choose beneficial camera angles and be selective about what lens you use. Create images with more impact. Have them stand out from pedestrian landscape photographs. Take into account the background. Take into account the foreground. Look at your subject in the viewfinder, but also note what the camera sees to the left, right, top and bottom. Is there an obtrusive twig that will cause a distraction? Are there bright spots that will be detrimental to the image? Do the elements balance each other or is one side of the composition more heavily weighted? Notice distractions and modify the composition to eliminate them. Here are some other ways to keep your landscape images simple and splendid.
The Intimate Landscape
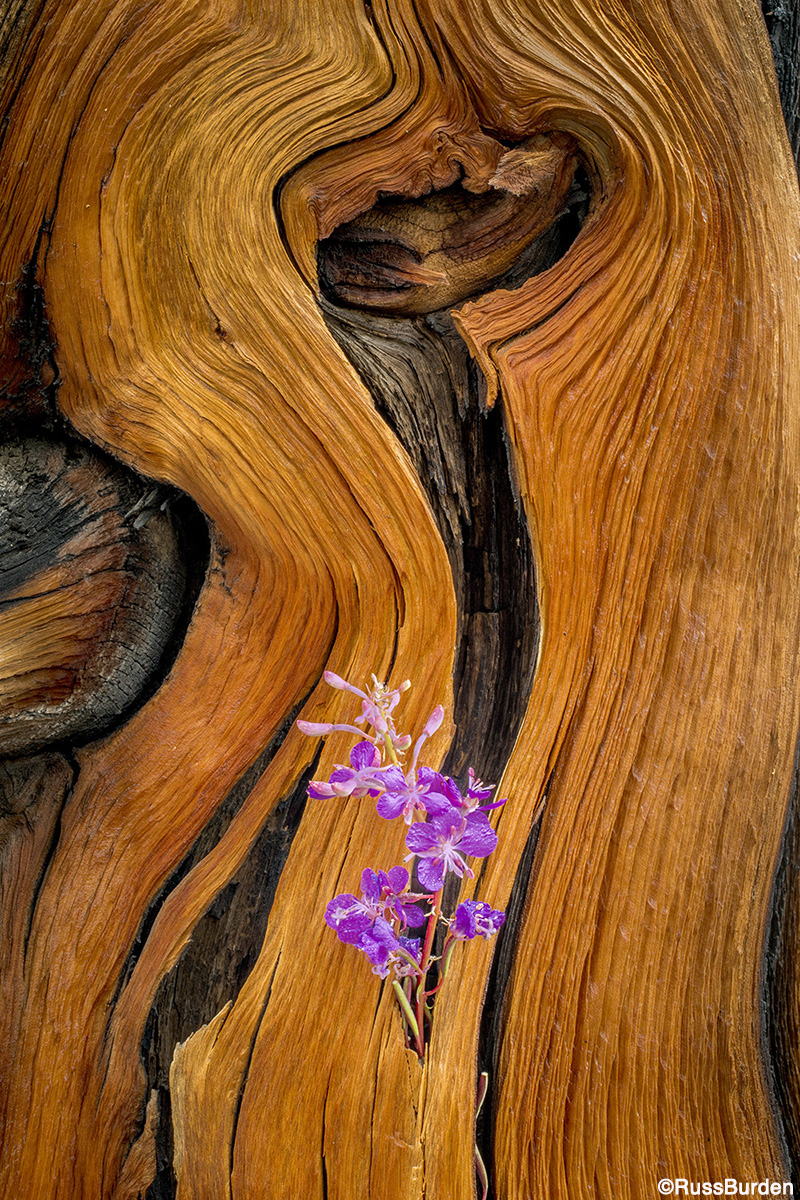
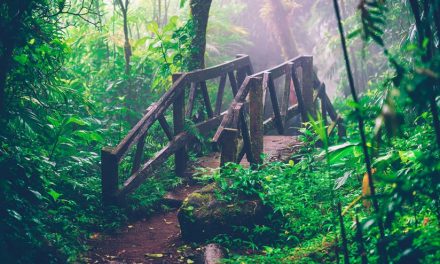
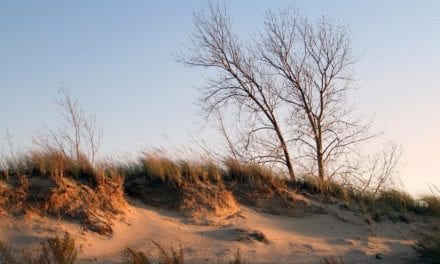
The grand landscape—it’s the iconic scenic. Sprawling fields of wildflowers with a dramatic mountain backdrop, beautiful surf lines that lead to prominent sea stacks at sunset, sunrise light that glows on a mountain reflected into a still lake, fog-enshrouded rhododendrons in and amongst the redwoods and more are what many landscape photographers strive to capture. But within that field of flowers, what are the odds of finding a perfectly formed lupine? What are the odds of successfully capturing outgoing surf lines to create a beautiful abstract? If you zoom in to a single peak that’s reflected into the calm lake, will it make a great image? For each above question, a wide diversity of additional subjects awaits the discerning landscape photographer. Don’t overlook these potential winners. Go beyond the obvious and pick out details to Exhaust All Possibilities.
Aperture Importance
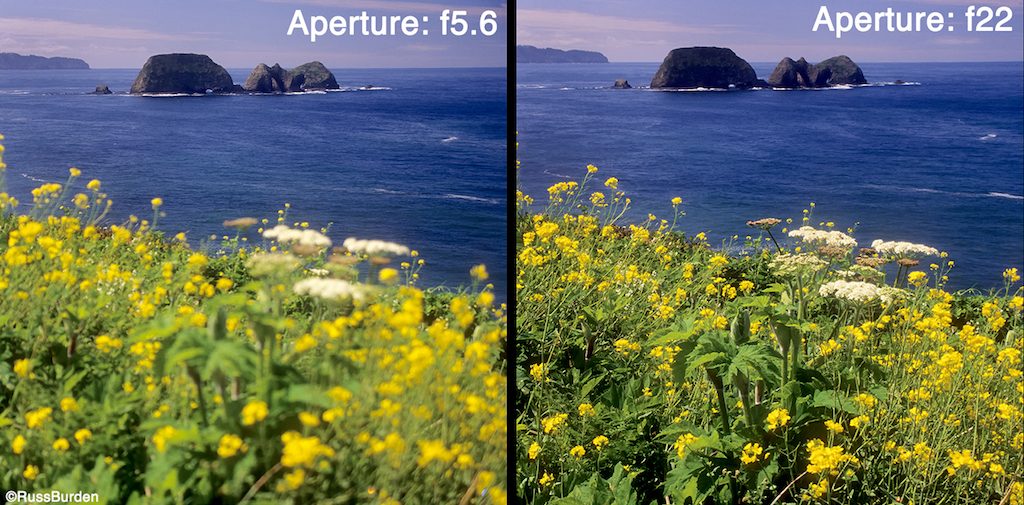
Depth of field is controlled by the focal length of the lens, the distance a subject lives from the background and the working aperture. Since most landscapes are made to reveal sharpness from foreground to background, use a wide-angle lens and stop it down to a small aperture. In the accompanying image, you can easily see what happens if you don’t. In the image made at f/5.6, the entire foreground is out of focus. It’s not a technically well-executed landscape. In the image made at f/22, the foreground is tack sharp and the viewer’s eye transitions from the front to the back in a smooth way.
Using Flash To Highlight Or Bring Out Detail
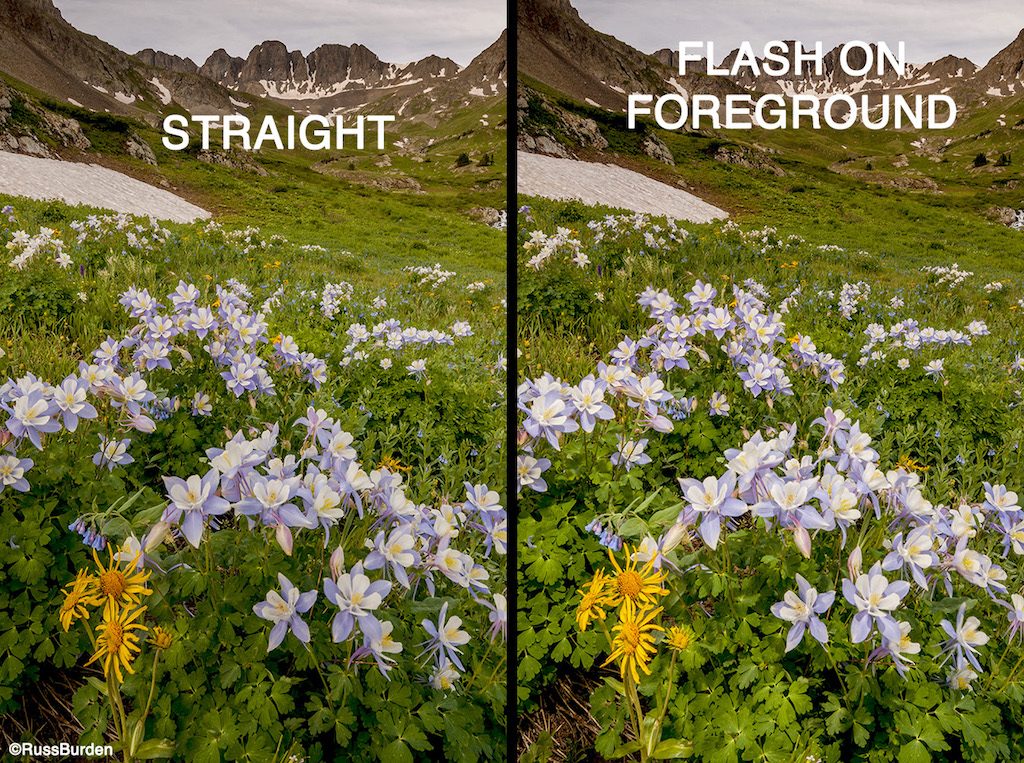
Many photographers don’t associate the use of flash with landscapes. They rely on natural light for numerous reasons. In that I live by my motto, “It’s All About The Light,” if I can augment ambient light to make my photo better, I do it. In the image made at Yankee Boy Basin in Colorado on an overcast day, I incorporated the use of flash. I used it to illuminate the foreground to give the impression that a shaft of sunlight split an opening in a cloud and added a spotlight to the columbine at the front of the composition. As a result, the delicate floral petals of the columbine have a slight sparkle which adds interest to an otherwise flat lit scene. An added benefit is the greens in the foreground reveal more saturation and the yellows of the sneezeweed are more intense.
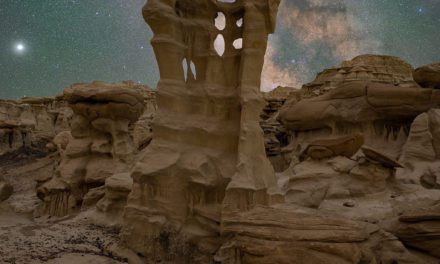
Shoot At Night
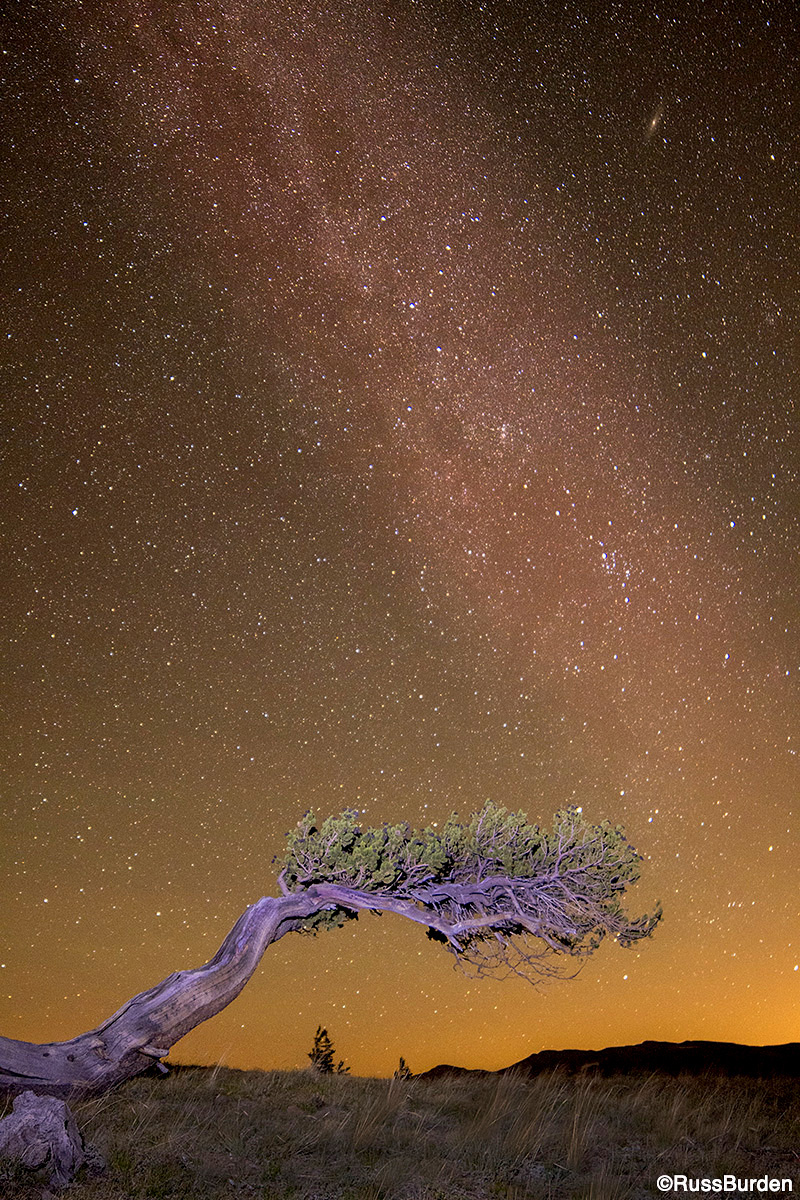
Over the past couple of years, night photography has become popular. The latest DSLRs allow us to make images at much higher ISOs without the noise and aberrations that were once associated with earlier models. A common subject is the Milky Way and accompanying star points. Another is long exposures where star trails paint the sensor and create a beautiful effect. For my photo of the Milky Way and star points, I went up to a place in Colorado called Windy Ridge. Along the ridge live a number of thousand-year-old bristlecone pine trees. Since the winds are so severe in the area, the trees grow in strange and abnormal shapes. I used a 14mm f/2.8 lens shot at f/2.8 for 30 seconds at ISO 3200. To make star point photos, 30 seconds is the understood maximum duration for an exposure. If you use longer times, the stars start to elongate due to the rotation of the earth. If you’ve never tried making these kinds of photos, give it a whirl. Get to a place of total darkness on a still night and have fun.
Silhouettes
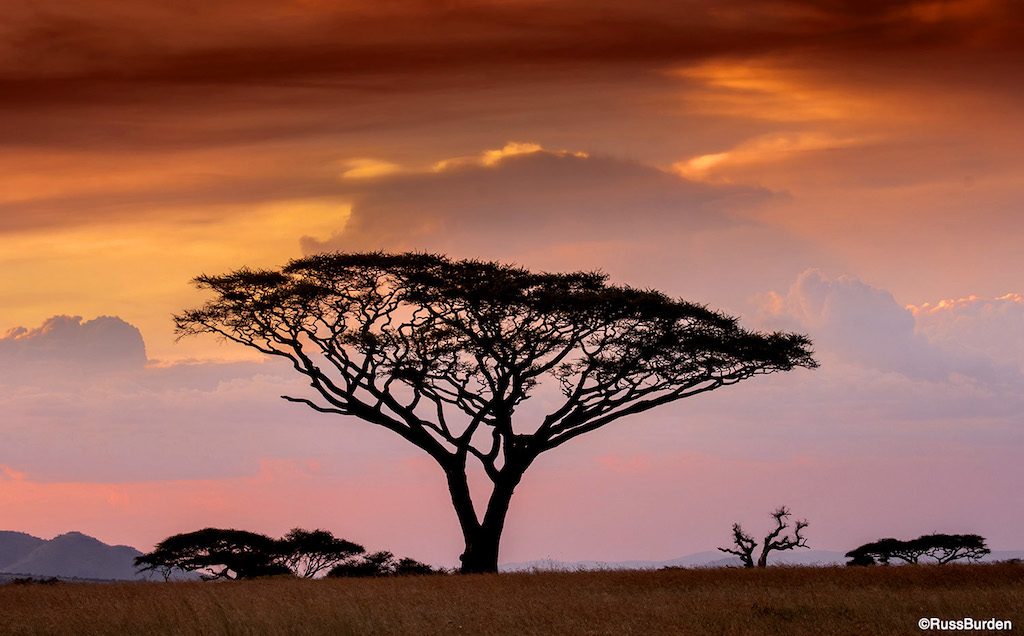
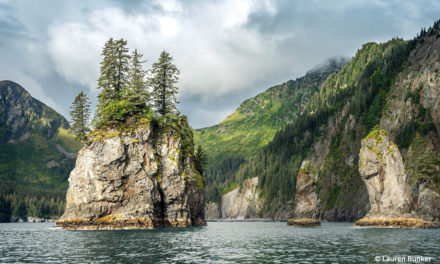
Silhouettes can make very dramatic images especially when clouds erupt in color. They can be conceived whenever the background has much more illumination than the amount of light falling on the subject you want to silhouette. There are a number of situations where this can take place, but my favorite is to offset my subject against a colorful sunrise or sunset. The key to make a great landscape silhouette is to find a formation that’s iconic in character, has dramatic shape and unique form and is easily recognizable. True silhouettes show no detail but still stand on their own. They’re most successfully produced when the contrast level is high. Expose for the background so the primary subjects go black. When you use a colorful sunrise or sunset as your source of brightness, be sure to monitor your red channel as opposed to the luminosity channel. Warm tones are much more sensitive to being blown out and you don’t want to lose precious details in the reds, yellows and oranges.
Visit www.russburdenphotography.com for information about his nature photography tours and safari to Tanzania.
The post KISS The Landscape, Part 2 appeared first on Outdoor Photographer.