Finicky means, “Showing or requiring great attention to detail.” With regards to focus, a photographer needs to show great attention to detail to make sharp photographs. Herein lies the premise of this week’s OP Tip. What depth of sharpness needs to be reached? Where should the active focus point be placed? How sharp is sharp? What if the photographer wants to imply motion? You get the idea. The degree of sharpness is dependent upon the photographer’s desired outcome.
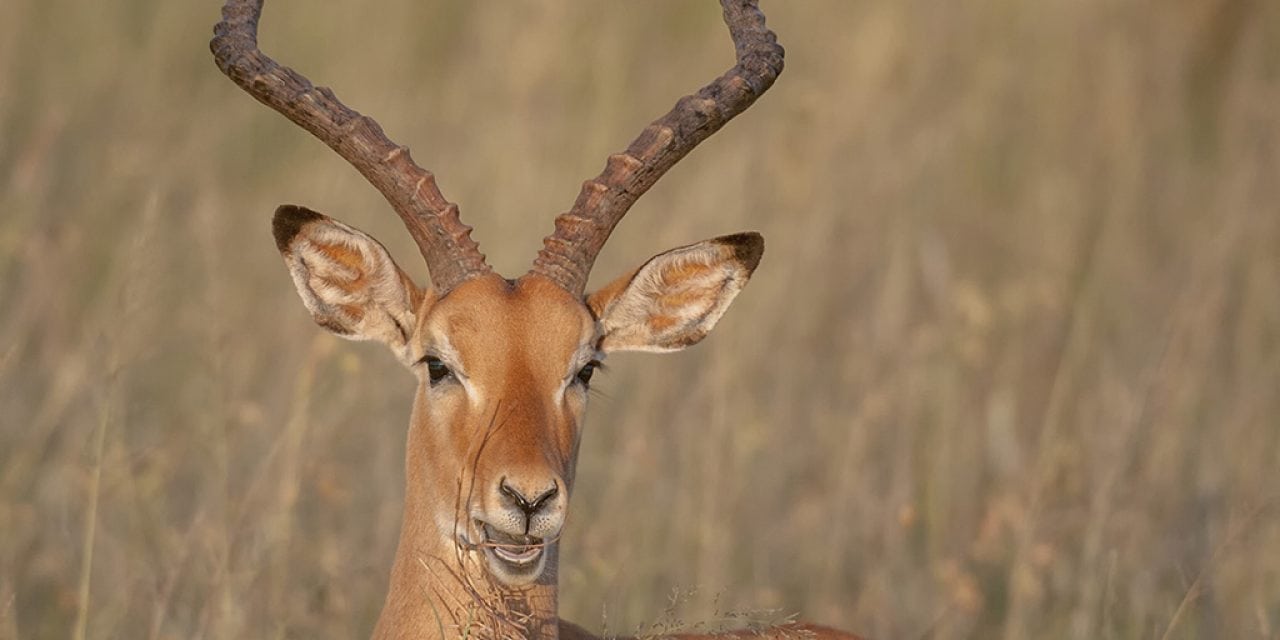
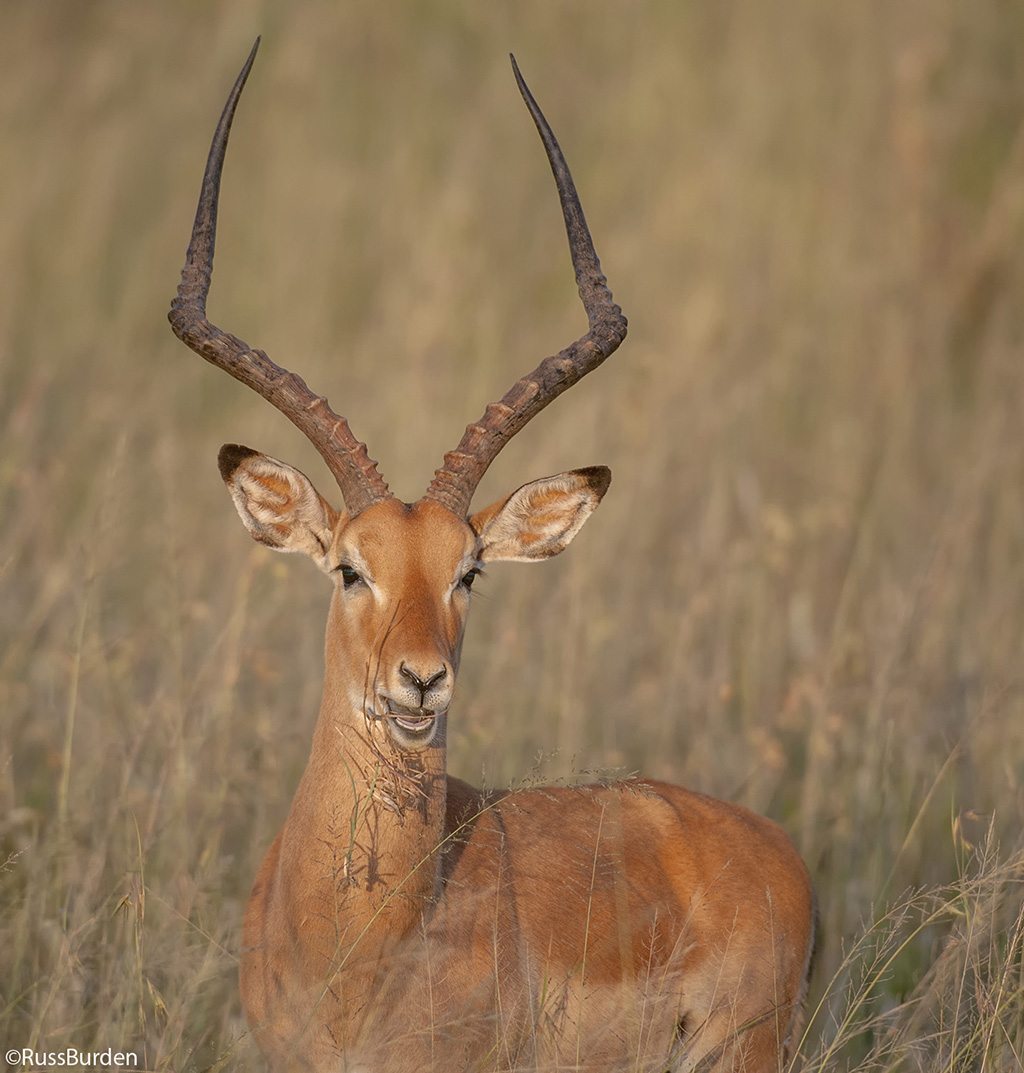
As you can see, sharpness can mean different things in different photographic situations. In this particular tip, “finicky” will be reserved for selective focus. It’s a technique used to draw the viewer’s eye to a precise point within a photo. It sends a message that the peripheral out-of-focus areas aren’t as significant as the part that’s sharp. The eye is directed to the point in the photo the photographer wants to emphasize, and the rest of the elements become secondary.

To accomplish the look, use as wide open an aperture as your lens allows. The faster the lens, the greater the diversity. These lenses go down to 2.8 and lower. I own a 50mm 1.8 that provides amazing selective focus capability. Try to get the subject as far away from background and foreground elements to add another aspect of control. Additionally, use a long lens as they inherently provide less depth of field. Finally, the closer you can get to the subject, the better. The subject becomes more magnified which, in turn, narrows the range of sharpness.
Let’s assume everything is in place. You’re armed with a fast lens, it’s somewhat telephoto, you can get close to your subject, and you can control its placement relative to the foreground and background components. Now it’s time to look for subjects that have depth so just a single plane can be rendered sharp. If the subject is one-dimensional and resides on a flat plane, the entire photo will either be in focus or out of focus and show no depth. Find a compositional element that stands out and carefully place the active focus point precisely upon it. The result you see in the viewfinder will be the result you get in the picture since you’re viewing it with the lens wide open and it’s set to its widest aperture. If you like what you see, press the shutter and confirm the look on the LCD.

If you desire to bring selective finicky focus to the next level, enter the macro world and get super close to a single flower, spoon, small statue, or anything else. Every subject is fair game. Find the part of your chosen object that most intrigues you and move the camera back and forth to find the precise point of focus. It’s best to use manual focus, as you don’t want auto to override the part you choose to render sharp. When the look is right, press the shutter.
Get on the finicky focus bandwagon and enter the selective focus world.
Visit www.russburdenphotography.com for information about his nature photography tours and safari to Tanzania.
The post Finicky Focus appeared first on Outdoor Photographer.