To obtain excellent-quality, tack-sharp nature images, I pose two scenarios: Wildlife: Is the animal still or moving? How big in the frame does the subject appear? What focal length is attached to the camera? Is a tripod or beanbag utilized? How much light is there? Landscapes: Is there a stiff wind? Do you need a lot of depth of field? For a seascape, are the waves high and fierce? Is a macro shot part of the plan? What time of day is it? What is the contrast range?
As you pondered the above questions, did you think about variables that could impact each answer? If you did, I applaud you! Read through the rest of this tip to test your photographic acuity. If you weren’t able to come up with answers, I implore you to thoroughly study this week’s tip so you can more consistently capture critically sharp photos. Read it, reread it and then apply the information.
Technique is a key factor that governs a photo’s sharpness. Regardless of the conditions or gear, if you apply the proper technique to obtain absolute sharpness, in working with the limitations of your gear, you’ll come back with the sharpest possible photos. This being said and with all aspects of technique being equal, better gear will outperform inferior equipment. But sharper lenses, higher ISO capability bodies, more frames per second and faster minimum apertures are worthless if your technique is poor. Top-of-the-line equipment will consistently net soft edges if you’re sloppy.
Mechanical vs. Creative
The mechanical aspects of photography are significantly more teachable than the creative ones. That’s the good news since this week’s tip focuses on good mechanics. Creativity can be taught with regard to rules of composition, light, subject placement and more, but it doesn’t change the fact some people are more right-brained as opposed to left. Being right-brained is associated with creativity while left-brained folks are more analytical. The following concepts are more related to the left brain characteristics of photography. But a photographer with the greatest right brain creative potential will go nowhere if he or she can’t acquire tack-sharp photos.

Reread the top paragraph and think more deeply about the questions I posed. Each mandates certain settings for the camera and/or lens. Many have common sense answers, but the left brain has to know where on the camera the controls exist, how to alter them, when to make changes and to what degree the change needs to be. For the sake of consistency, let’s assume that in every hypothetical that follows, all top-of-the-line gear is used, all lenses and filters are immaculately clean and each photographer’s enthusiasm is high and equal.
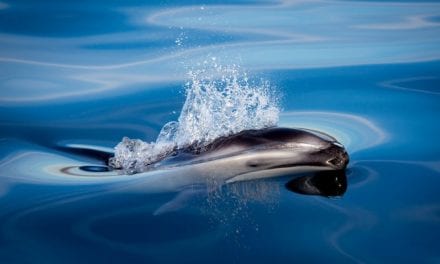
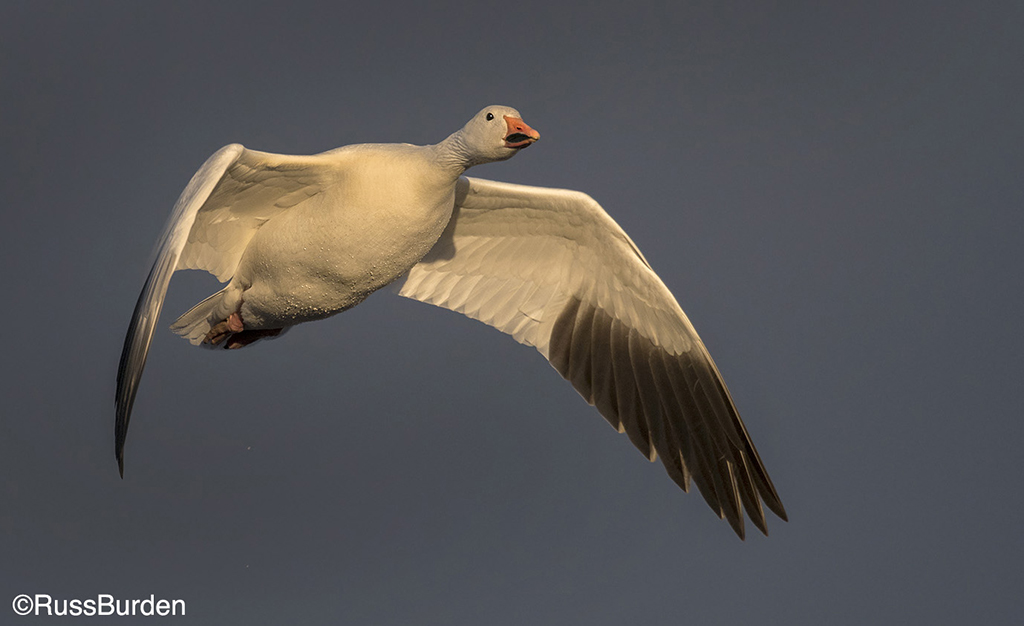
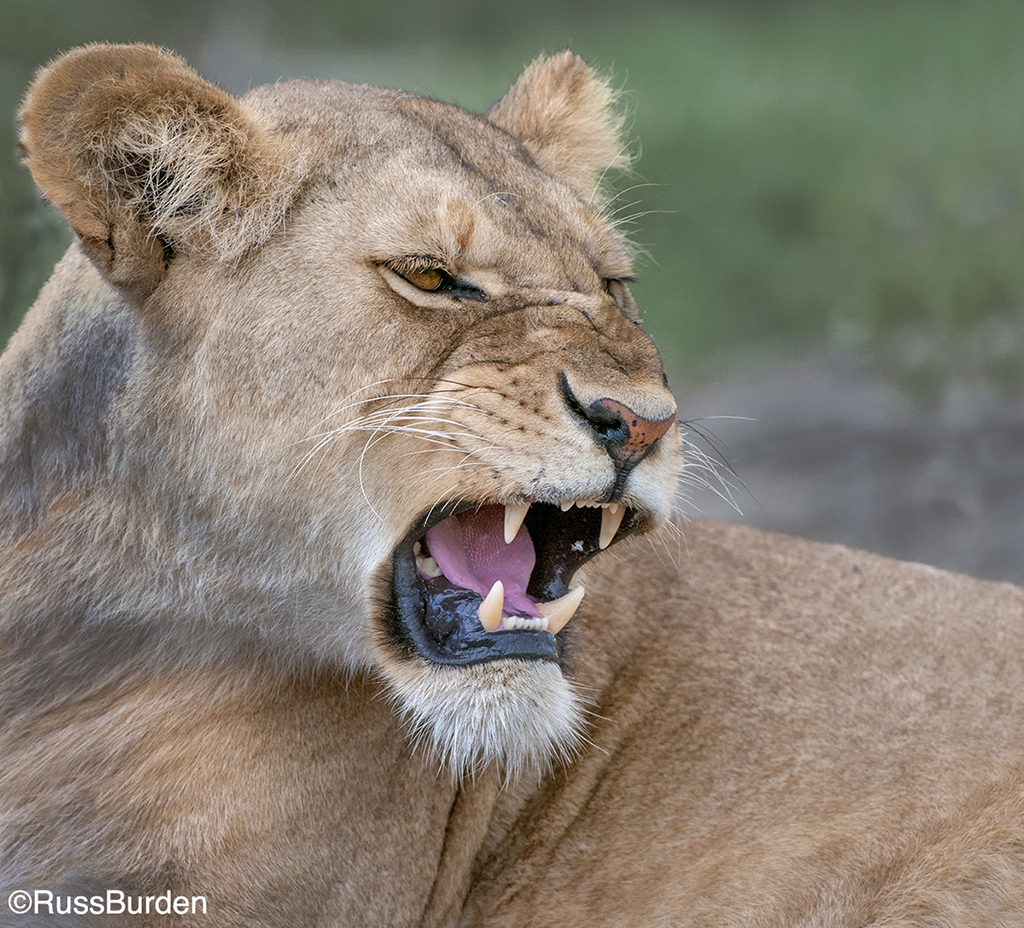
The first question I asked in the wildlife scenario above was is the animal still or moving? Logic dictates if an object is motionless as opposed to moving, it should be easier to acquire a sharp photo. The caveat is there are technical variables with which the photographer must be familiar. Just because an animal is still, there’s no guarantee the image will be tack-sharp.
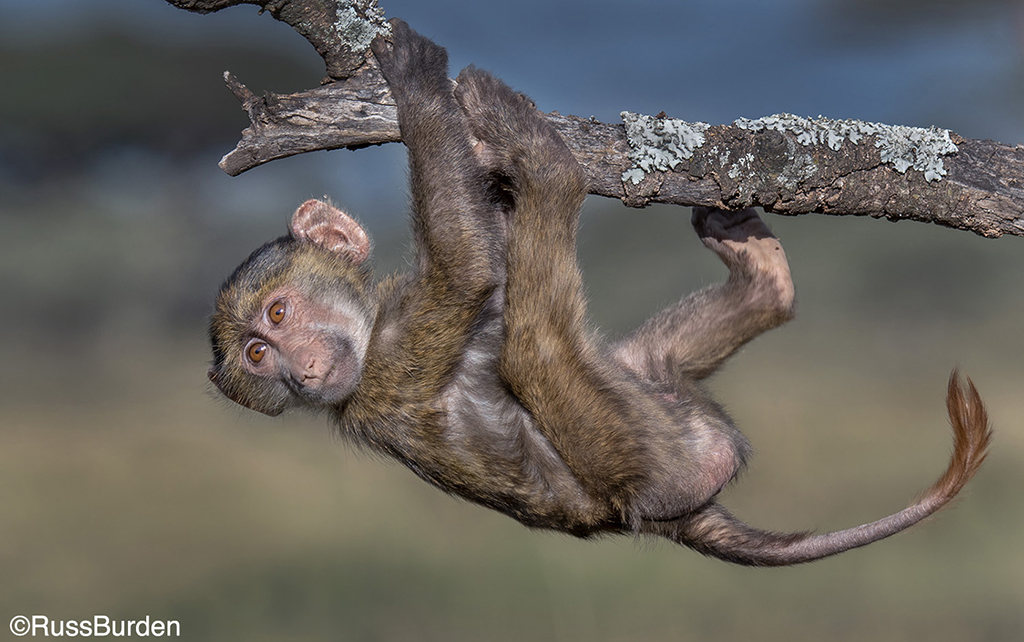
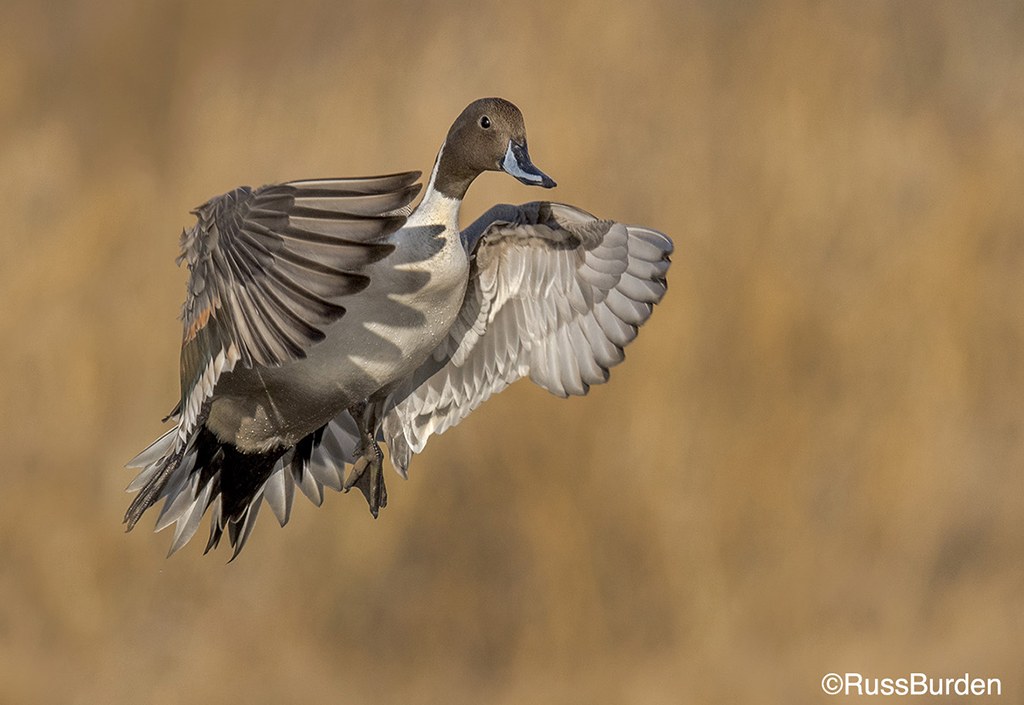
Other important aspects are what focus point is active and where in the viewfinder it’s located, and where on the animal is the main focus point positioned. If the focus square is on the body but the subject’s eyes are 12 inches nearer to the camera, dependent upon the focal length, aperture and proximity of the subject, there’s a high risk the body will be sharp but not the eyes. Let’s focus on subject movement. It’s essential you research your subject to find out what shutter speeds are needed to stop a given animal’s action. More variables impact the end result based on the aperture and focal length of the lens. Always be sure the ACTIVE focus point resides over the most critical point determined by the location of the most important part of the animal.
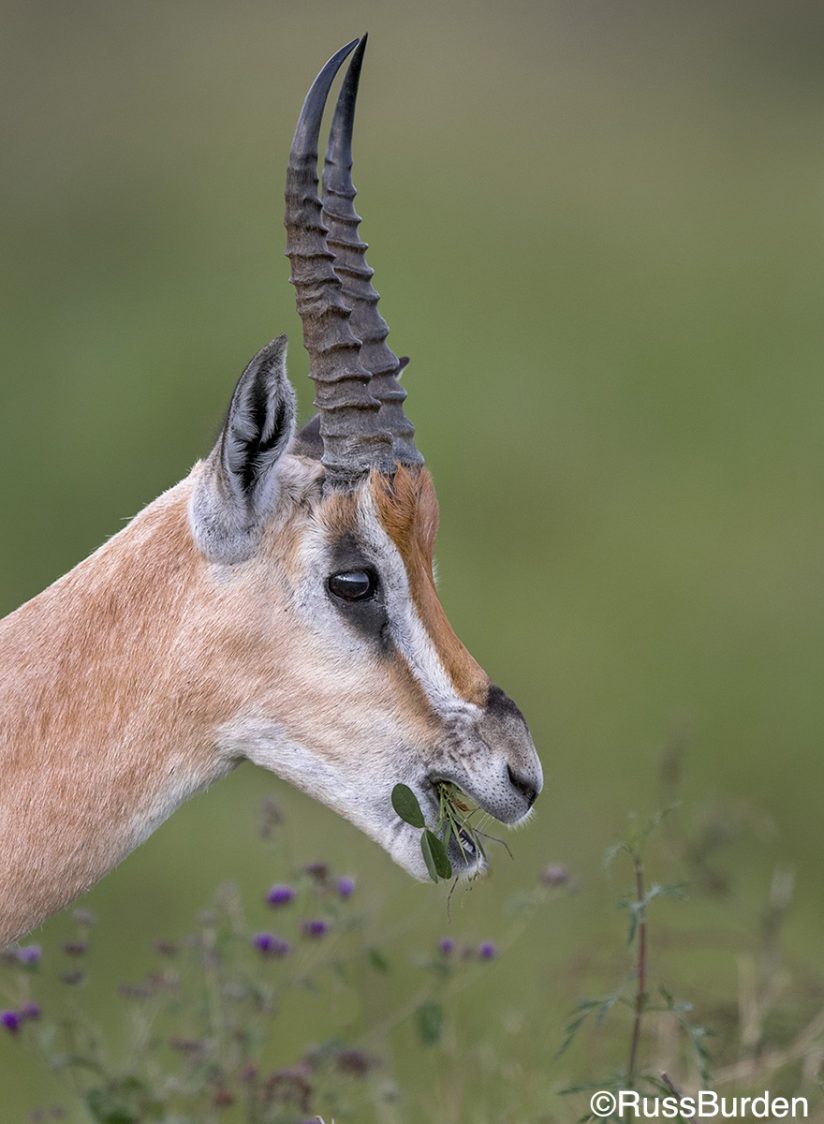
The next two questions were how big in the frame does the subject appear and what focal length is attached to the camera? I bundled these two as they go hand in hand. In most cases, the focal length helps determine the size of the subject. The larger in the frame the animal appears, the more depth of field is needed to ensure everything is in focus. But a huge variable is what position is the animal to you. If it’s perpendicular versus facing you, it’s two different scenarios, each with its own needs. A much wider aperture can be used when it’s perpendicular compared to facing straight on.
The last two questions were is a tripod or beanbag utilized and how much light is there? If a tripod or beanbag is used and the animal is still, slower shutter speeds can be used that prevent camera movement or photographer shake. You can engage the stabilization mode on the lens or camera body, but if the subject suddenly turns or shakes, even with everything stabilized, chances are the subject will be soft. Brighter light appears on clear days versus cloudy ones, so faster shutter speeds can be dialed in. An additional caveat is at what ISO the camera is set and how it acts as a variable with regard to given shutter speeds.
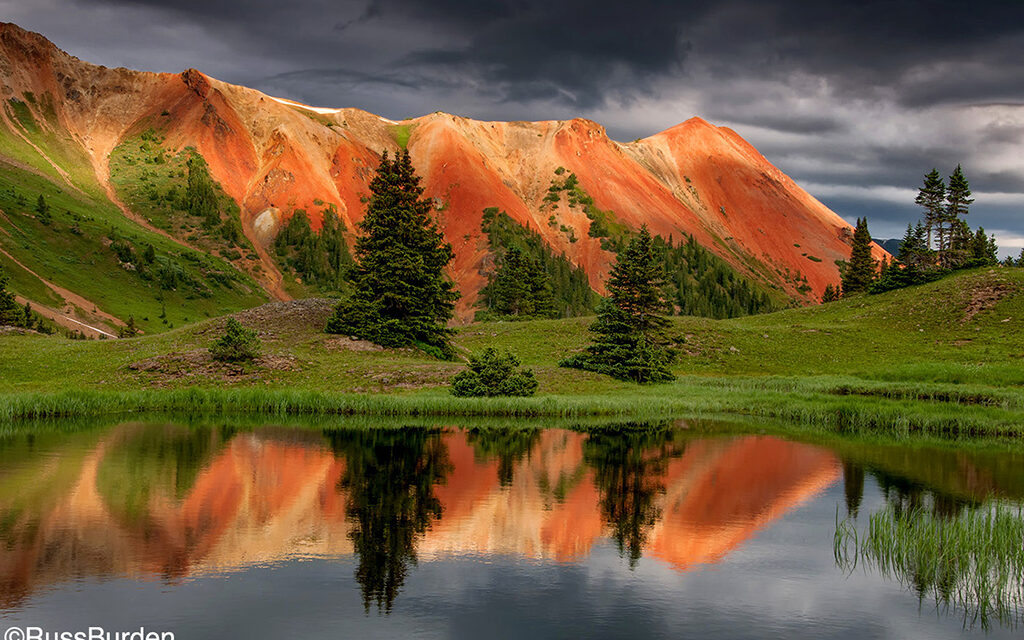
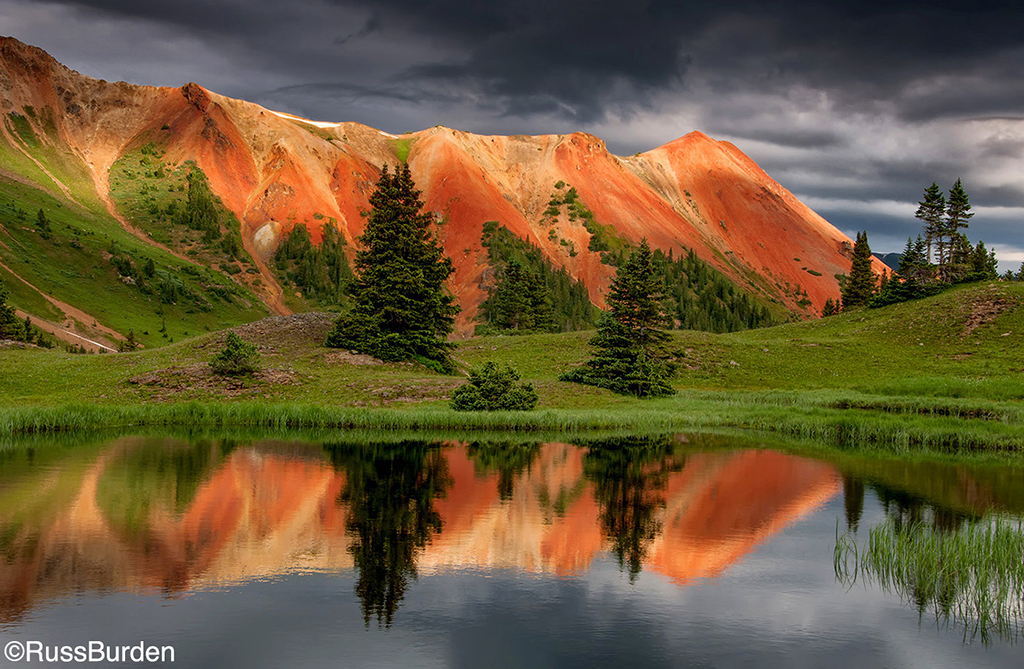
Landscapes
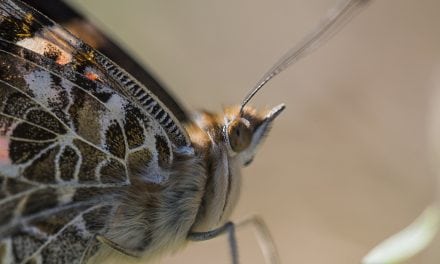
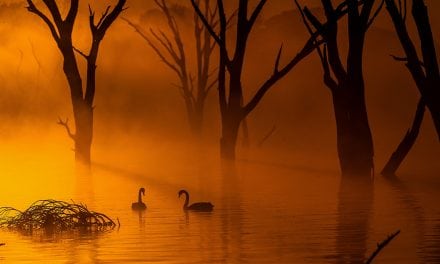
Is the wind blowing hard? Do you need a lot of depth of field? For a seascape, are the waves high and fierce? Is a macro shot part of the plan? What time of day is it? What’s the contrast range? Much of the information I shared in the wildlife section can be applied to landscapes. Many of the correlations overlap and share common sense. For instance, is the wind blowing hard? Conceptually, if an animal is active, a faster shutter speed is needed to freeze that motion. If it’s a windy sunrise in the mountains, even though the wildflowers are peak, you may not be able to capture a pristine landscape. If the goal is a tack-sharp image from foreground to background and you need to freeze the movement of the flowers, what shutter speed is required? As you work toward detecting it, you discover the ISO must be raised. If you assumed the ISO did need to be raised, congratulations! You took control of that situation to determine the end result!
Depth of field is dependent upon two key factors—the aperture at which the image is created and the focal length of the lens. If you need full depth, use as wide a lens that allows the composition to be created. Stop down the lens to a small aperture to obtain maximum depth of field. Another variable is at what distance the photographer places the focus point. Become familiar with a hyperfocal chart that explains this concept in detail. In order to take command of the end result, experiment with the focal length, chosen aperture, where the focus point is placed and at what distance the lens is set to maximize hyperfocal distance.
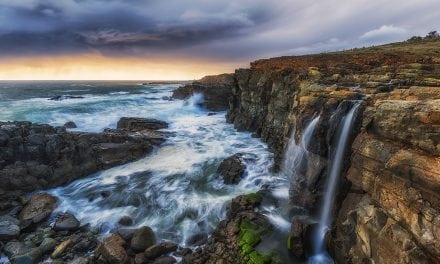
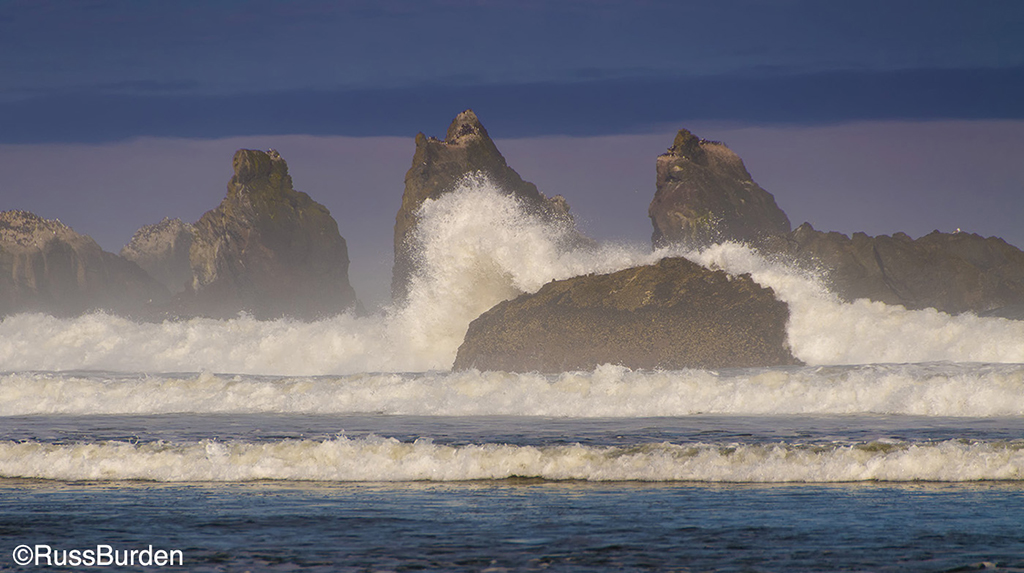
For a seascape, are the waves high and fierce? If you arrive at high tide and the waves are rolling and very active, if the end result is to freeze all the drops, use a higher ISO and open the aperture to get a fast shutter. Caveats come if you need a lot of depth of field necessitating a small aperture and if the light level is low. Depending on those variables, a fast-enough shutter may not be attainable. These concepts are essential to learn if you want to take command of the end result.
Overall, factors that impact sharpness are the proper use of a stable tripod, the working aperture, the given shutter speed in combination with the given aperture, the focal length and how it’s used, the ISO at which the image is photographed and the amount and quality of the light. Adopt the proper technique for every future shutter click and your number of tack sharp keepers will grow exponentially.

Feel free to explore more of my photography at my website: www.russburdenphotography.com or visit my SmugMug page: https://russburden.smugmug.com.
The post Critically Sharp Captures appeared first on Outdoor Photographer.