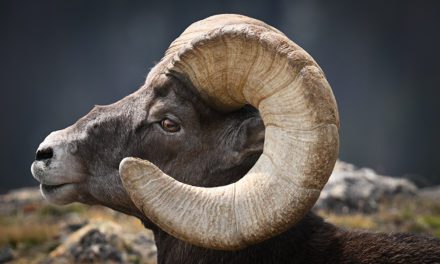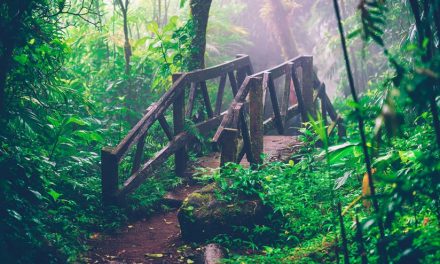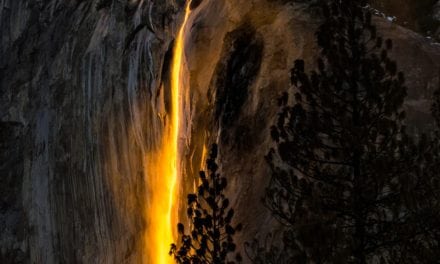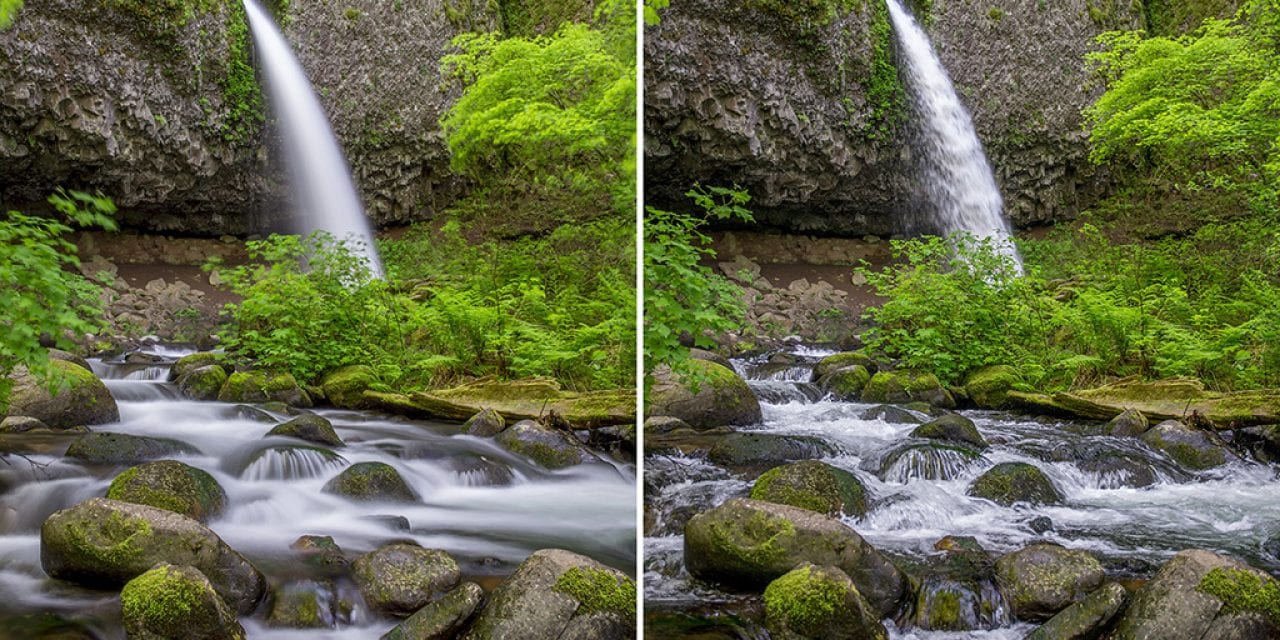
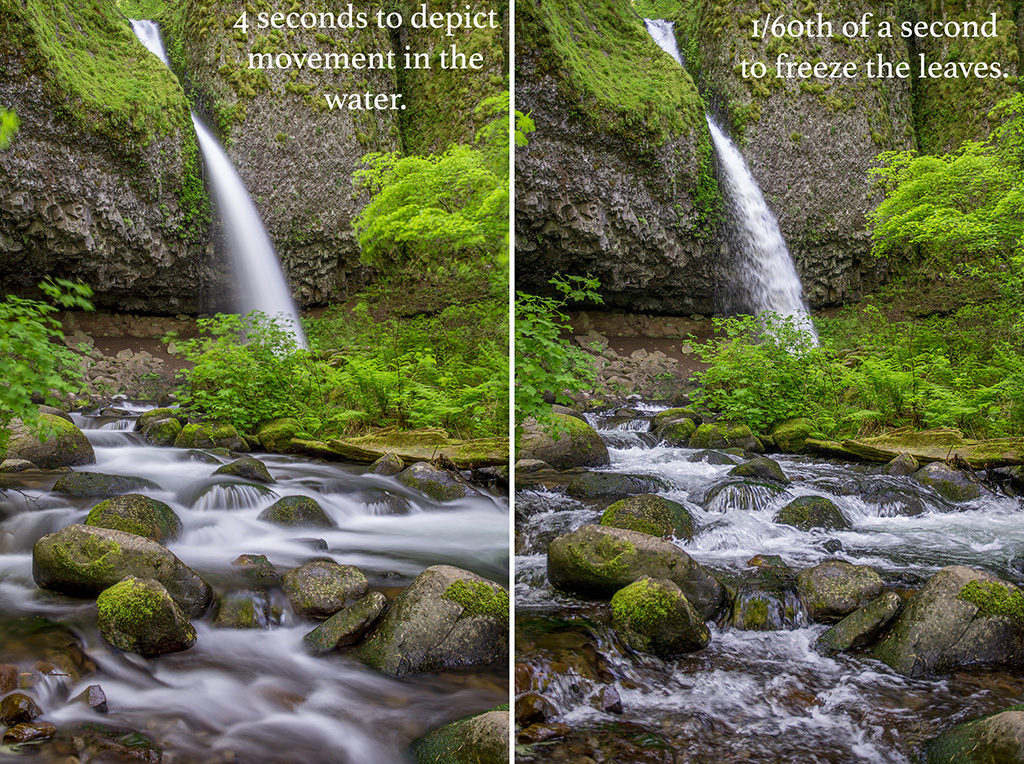
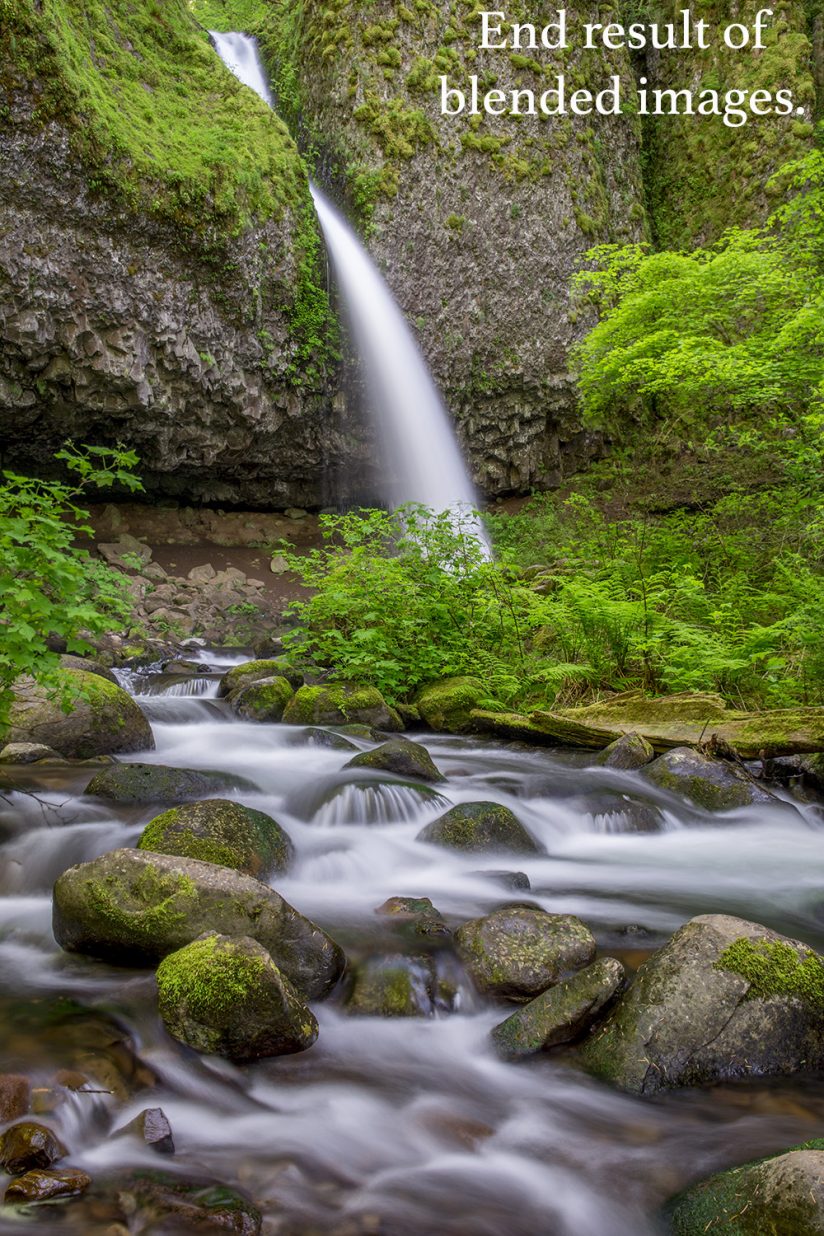
Have you ever been haunted by the wind when you need to make a long exposure but elements in your composition move in the breeze? You wait and wait, but the breeze doesn’t subside. You try a faster shutter speed, but it’s still not fast enough to stop the motion for the effect you desire. You think about returning on another day, but your schedule doesn’t allow it. Fret not—there’s a solution. First, make the image using a long exposure to obtain the effect you crave. And here’s the beauty—next, raise your ISO, open your aperture, remove the neutral-density filter and make the photo using a shutter speed that’s fast enough to freeze the motion. When you post-process the photos, use a layer mask and blend the parts of the frozen movement into the image with the slow shutter speed. Here’s how.
Step 1: Open both images in Camera RAW or Lightroom and make the desired adjustments to the RAW files. Be sure to SYNCHRONIZE the settings by applying identical adjustments.

Step 2: With the “slow shutter speed” and “faster shutter speed” files opened, separate the two into their own windows.
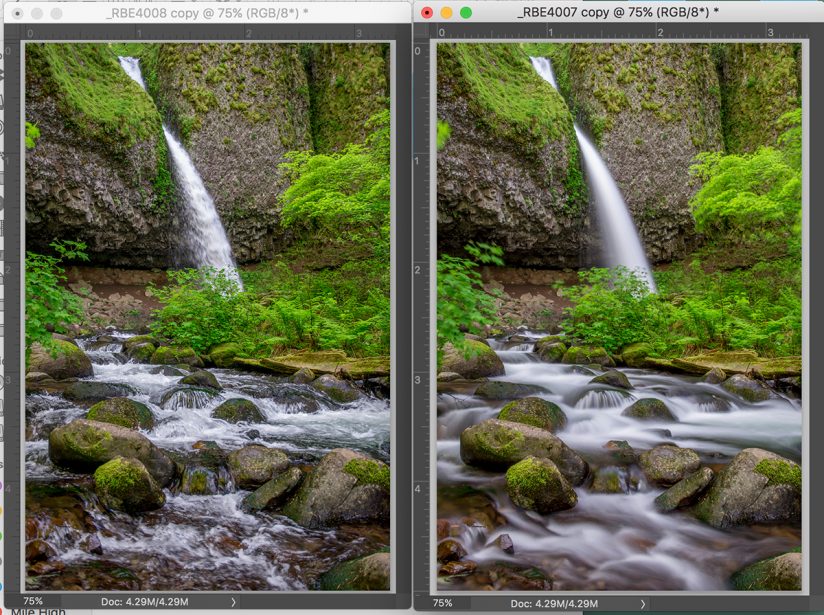
Step 3: With the MOVE tool selected, hold down the shift key and drag the file of the slow shutter speed image over the file of the fast one. Holding down the shift key while you move the image will automatically align the images so all the pixels match.
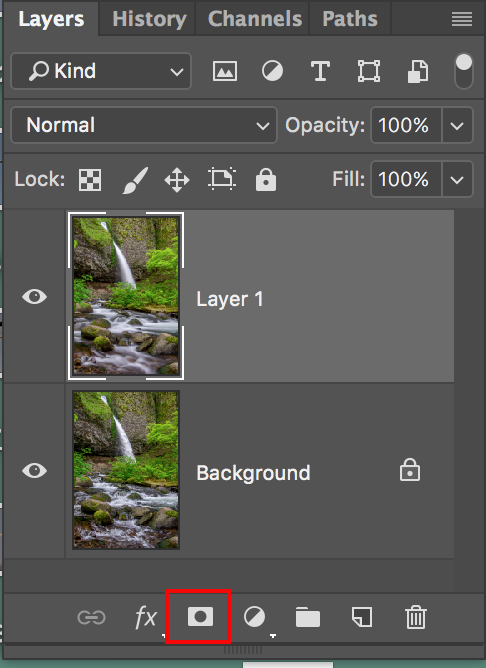
Step 4: The fast shutter speed file is now hidden under the slower speed layer and two layers appear in the layers palette. Add a layer mask to the top layer by clicking on the ADD LAYER MASK icon at the bottom of the layers palette.
Step 5: With the Layer Mask highlighted, click on the brush tool and be sure the foreground color at the bottom of the tool palette on the left side of the Photoshop workspace is set to black. Look at the top of the Photoshop workspace in the OPTIONS BAR and be sure the Blend Mode is set to normal, set the Hardness to 0% and set the Opacity to 50%. It’s better to work with a soft edge brush at 50% and build up the effect than try to accomplish it with just one swipe of the brush.

Step 6: Use the brush to “Paint Out” the motion of the moving leaves on the photo itself. With each stroke of the brush, more and more of the “faster layer” will be revealed. Continue painting until all the sharp leaves have “replaced” the ones that show movement. The layer mask with reveal where you applied the brush strokes.
Visit www.russburdenphotography.com for information about his nature photography tours and safari to Tanzania.
The post Blending Multiple Exposures In Photoshop appeared first on Outdoor Photographer.