Over the years, photography has evolved at a pace I never could have conceived when I inserted my first roll of black-and-white film into my old Konica T body. I’m truly thankful for the tremendous advancements in automation. I’m amazed at the rapid progressions—totally accurate autofocus, expanded range zooms, incredibly high frame per second rates, amazing ISO capabilities, high dynamic range, the list goes on. All aspects of photography have become so much more foolproof and automatic. Yet even with all the advancements, the issue most of my students still battle is how to obtain a perfect exposure when light presents a difficult situation.
In-camera light meters have improved by leaps and bounds. Commensurate with them, so has the amount of dynamic range a sensor can hold. Yet situations still exist that challenge even the most sophisticated advancement. To become excellent at what we do with our photography, it’s imperative we become aware of these tricky situations. Dramatic light introduces exposure challenges, but because dramatic conditions often net the best images, it behooves us to be in charge of difficult light in photography.
Choose a metering system and learn it inside out. The options in today’s cameras from which you can choose are Automatic, Manual, Matrix or Evaluative, Spot and Center Weighted. Some photographers switch back and forth from one type to another. Many beginning photographers use Automatic. Let me share my philosophy and you can do with it what you may. I use Matrix (Nikon) 100 percent of the time because I’ve learned how it reacts to every type of possible light I encounter. This being the case, I know exactly how to bias the meter reading when the light gets tricky. I encourage you to do the same. That doesn’t mean you have to resort to Matrix to begin the quest. The point I want to stress is to stick with one and learn it so you can master all conditions. (I am off my soapbox.)
As thankful as we can be for the revolutionary solutions, what if the light presents a challenge and the capture is dependent upon a single shot? The moment may last for a split second, the expression may be fleeting, the light may change in an instant or the subject may be on the move. These are one-shot scenarios that rely on obtaining the correct exposure, so it behooves us to become master light readers. When and if the situation allows, feel free to resort to digital technology and capture a bracketed sequence for an HDR image.
I want to share three scenarios that are considered “tricky” and how I go about making the best possible exposure. I hope they assist you in future outings so you nail the exposure on the first try.
Sunrise Or Sunset Sidelight
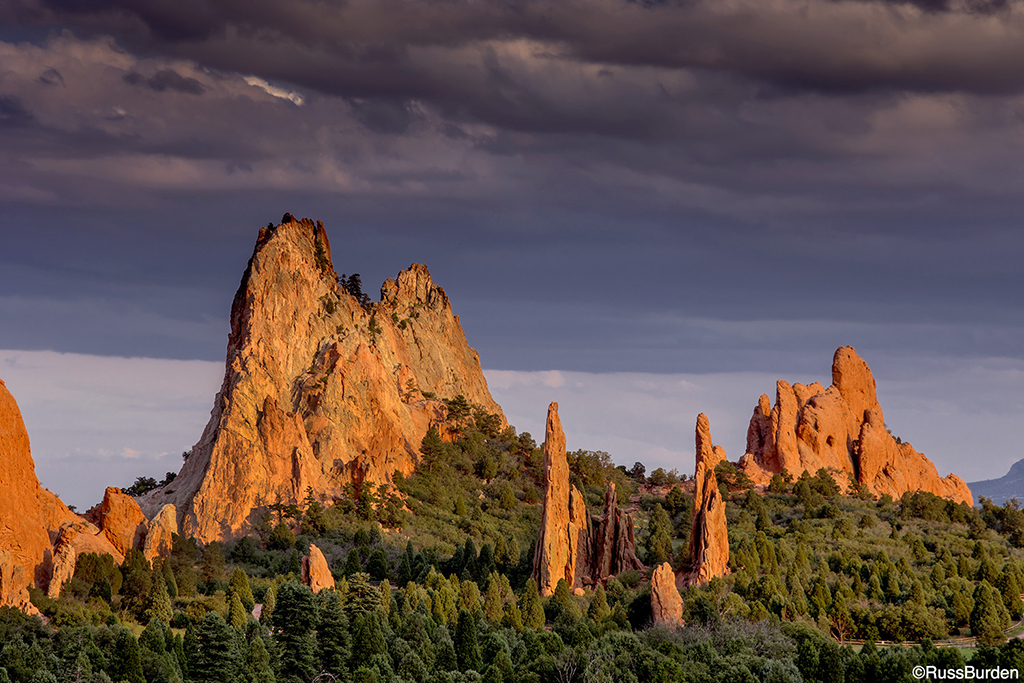
The vast majority of great scenics are made when the sun is close to the horizon and the light strikes the subject at a 90-degree angle. This equates to sidelight. Sidelight is another situation that can cause difficult light in photography as can be very contrasty, especially if it’s a winter scene with bright snow that’s exacerbated by dark tree shadows, rocks or other features in the composition. The tonal range from the bright highlights to the shadows may be extreme.
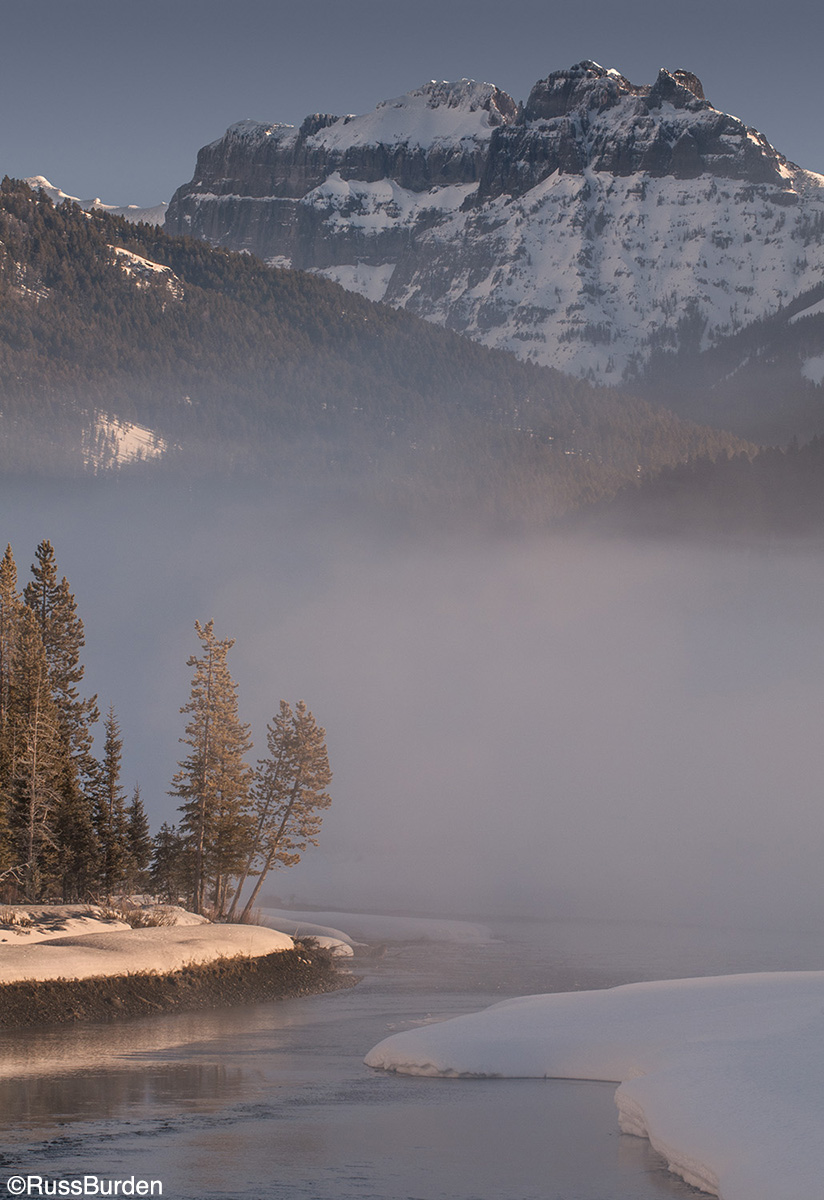
With regards to exposure, one must realize that highlights can’t be recovered, but shadow detail can be opened. With this in mind, base the exposure on the brightest highlight in which you need to hold detail. If they’re specular, such as intense water reflections, these can be ignored. A quick evaluation of the scene needs to be addressed and, based on the percentage of dark to light areas, determine how much minus or plus compensation needs to be dialed into the camera to hold detail on that important highlight. The amount to subtract is based on experience and practice. There’s no exact formula I can share. The variables are determined by the percentage of light to dark, the amount of illumination on the brightest portion, how deep the shadows are , how bright is the sun—you get the idea.
Use the above info to synthesize each new scene you encounter. The more you get into the field and practice, the sooner you’ll be able to dial in the correct exposure very quickly. If the subjects in the scene are stationary, by all means make a bracketed series of exposures to create an HDR image.

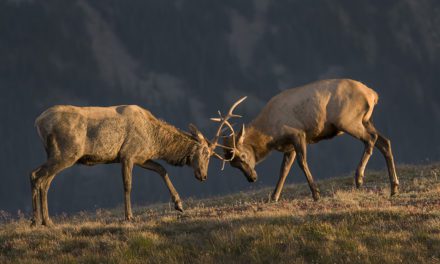
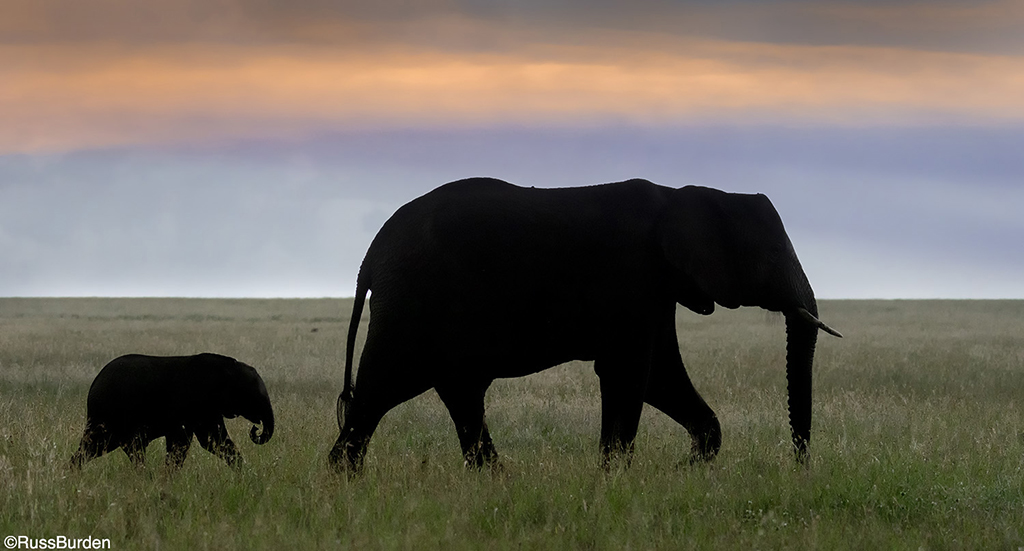
Dark Against Light Or Light Against Dark
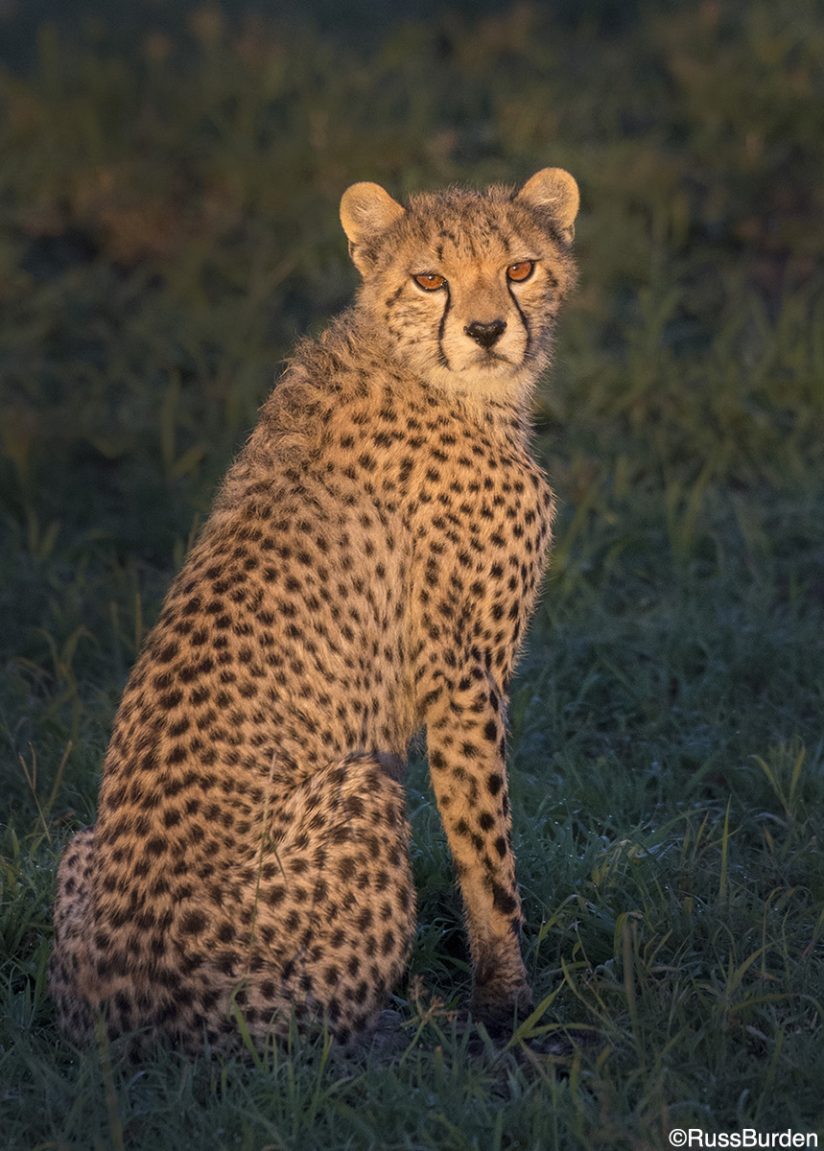
Another scenario that causes difficult light in photography that’s similar in many ways to scenario one is wildlife. Again, to nail the perfect exposure, base it on the percentage of how much light area is against how much dark area and how bright/dark each of those elements are. Given the similarities between this and scenario one, I reserved it for number two in that wildlife often moves and it’s almost impossible to create an HDR sequence. It’s essential the exposure is nailed on the first go-round. A starting point from which to work is if the percentage is in the 50/50 range and there are no specular highlights or deep black shadows, I begin at minus 1/2 stop compensation. I do this just to be safe I don’t lose sensitive highlight detail. As the ratios change, I bias the exposure accordingly. If the subject allows because it’s perched, I make test shots to get the exposure dialed in before I get the action shot in flight, preening or displaying other behavior.
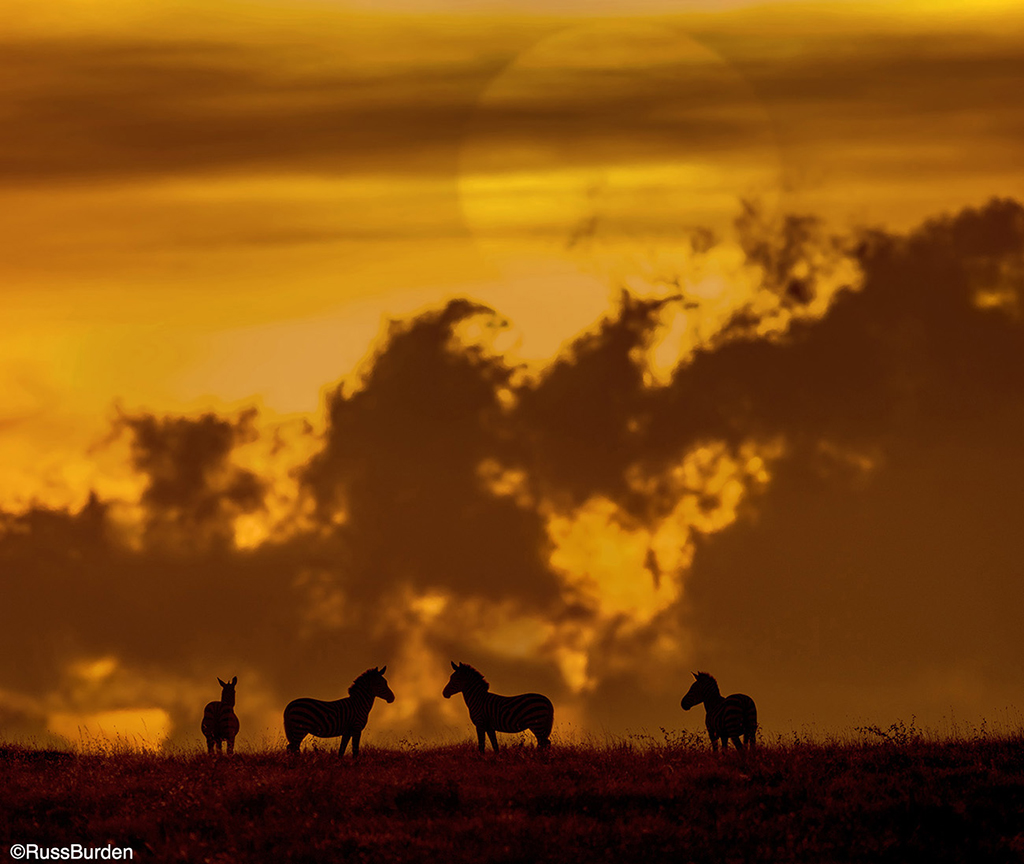
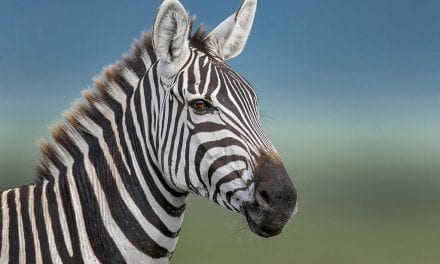
The Semi Silhouette
The image of the zebras with the dramatic sky and large sun is a straight RAW capture that I carefully exposed for the bright delicate highlights in the sky. I had time to fine-tune the exposure in that the subjects remained on the skyline for a few minutes. The key to capturing the correct exposure was there was just enough of a cloud layer that obscured the sun so I was able to include it and not burn it out in any way. I brought back the shadow detail in the foreground in Photoshop using the dodge tool. The bottom line is unless I nailed the exposure, the tones I needed to preserve or bring back wouldn’t have appeared in the RAW data.
Try these tips to be in charge of difficult light in photography!
To learn more about this subject, join me on a photo safari to Tanzania. Visit www.russburdenphotography.com to get more information.
The post Be In Charge Of Difficult Light In Photography appeared first on Outdoor Photographer.