Above is a time lapse video of my roughly 3 hour editing session for this photo condensed into 60 seconds. This includes raw image prep in Lightroom, star stacking in Starry Landscape Stacker, blending the sky and foreground in Photoshop, and final creative edits in Photoshop.
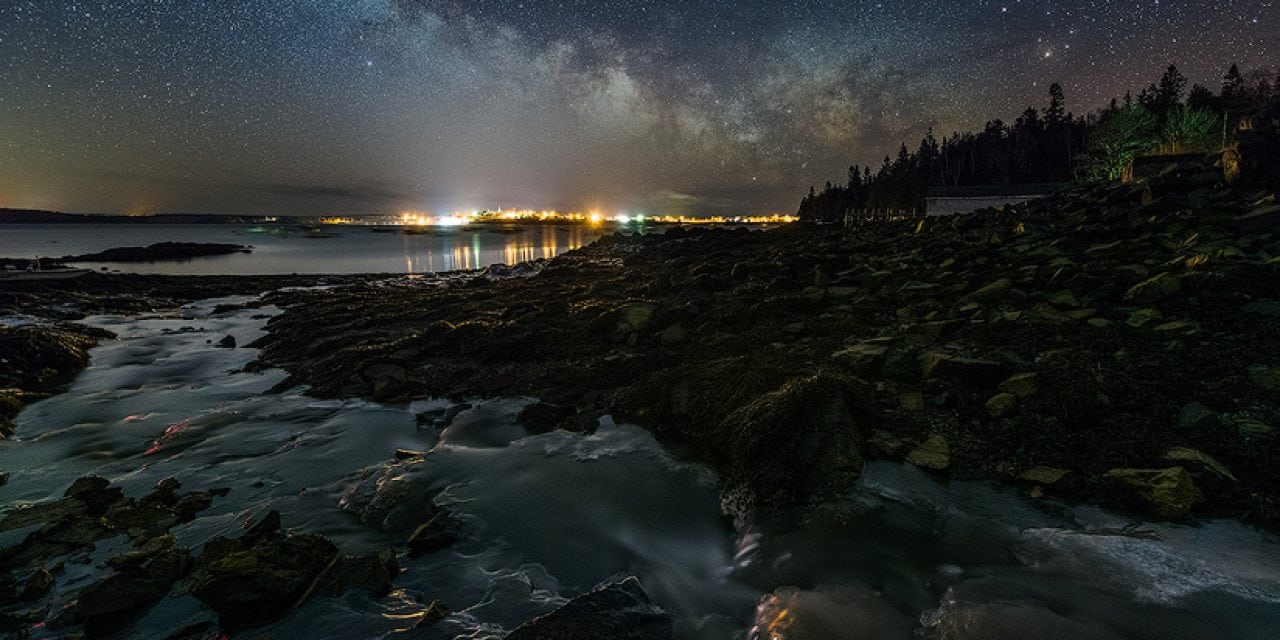
It’s Milky Way season again! At least in my neck of the woods, starting in February the bright photogenic Galactic Center of our Milky Way Galaxy is visible on moonless nights, and will be visible until about October-ish. For my first shot of the season I did something I never do — intentionally shoot the Milky Way over a town, straight into light pollution. I didn’t think this would work but I was actually able to get quite a bit of detail in the Milky Way. The mini-stream in the foreground is run-off from recent heavy rains we had here, which made for a nice foreground element at low tide amongst the seaweed covered rocks.
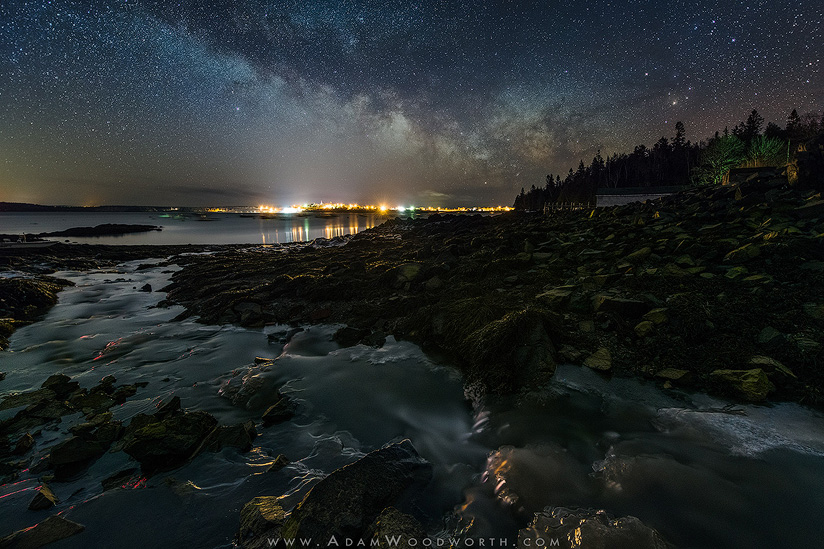
Nikon D850 and NIKKOR 14-24mm f/2.8 lens @ 14mm. This is a blend of multiple shots. The sky is a result of star stacking 20 separate exposures, each at ISO 6400 for 10 seconds @ f/2.8. The star stacking was done in Starry Landscape Stacker (Mac only), but you can do it in Sequator for Windows, or Photoshop. The result is a sky with pinpoint stars and low noise. That result was then blended with 3 foreground exposures, each shot at different focus distances for focus stacking (increasing depth of field). Each foreground shot was at ISO 1600, with 2 at f/2.8 for 4 minutes and one at f/4 for 8 minutes. The final result is an image with low noise and everything in focus from the stars to the foreground rocks.
Learn more about my Milky Way editing techniques through my video tutorials for sale on my website, adamwoodworth.com.
The post 3 Hours of Milky Way Editing in 60 Seconds! appeared first on Outdoor Photographer.