Today’s digital SLRs have multiple image capture mode options: Program, Aperture Priority, Shutter Priority and Manual Mode. Most camera manuals and articles written about each option instruct the beginning photographer to start with Program. The reason being is the camera chooses the “proper” shutter speed and “proper” aperture to provide the “proper exposure.”
Most beginning photographers are happy if they obtain the proper exposure, but what if the beginner wants to try his or her luck with panning a moving subject or obtain infinite depth of field in a scenic? If you leave it up to the camera to choose the “proper” shutter speed or aperture for either of the above scenarios, the exposure will be correct, but the desired outcome will fail. The technology in today’s cameras is amazing, but the setting to read a photographer’s mind has yet to be incorporated.
Within many camera’s Program settings, there are options to create given effects: highlight priority so the camera chooses a shutter/aperture combo that exposes the image based on the highlights, sports mode to tell the camera to choose a faster shutter speed and landscape mode to tell the camera to choose a smaller aperture. But what if the camera’s choice is still wrong? What if the photographer wants an even slower speed or more depth of field? The issues reinforce my belief that Program mode is good for one reason—to obtain a proper exposure, but it limits creativity.
My preferred capture mode is Aperture Priority. I dial in a given aperture while I simultaneously note the corresponding shutter speed to obtain a proper exposure. Regardless of the situation, I’m always aware of the working aperture and the working shutter speed. Since this week’s tip is based on shutter speed, I spin the dial that controls the aperture until I obtain the shutter speed I need to capture the effect I require.
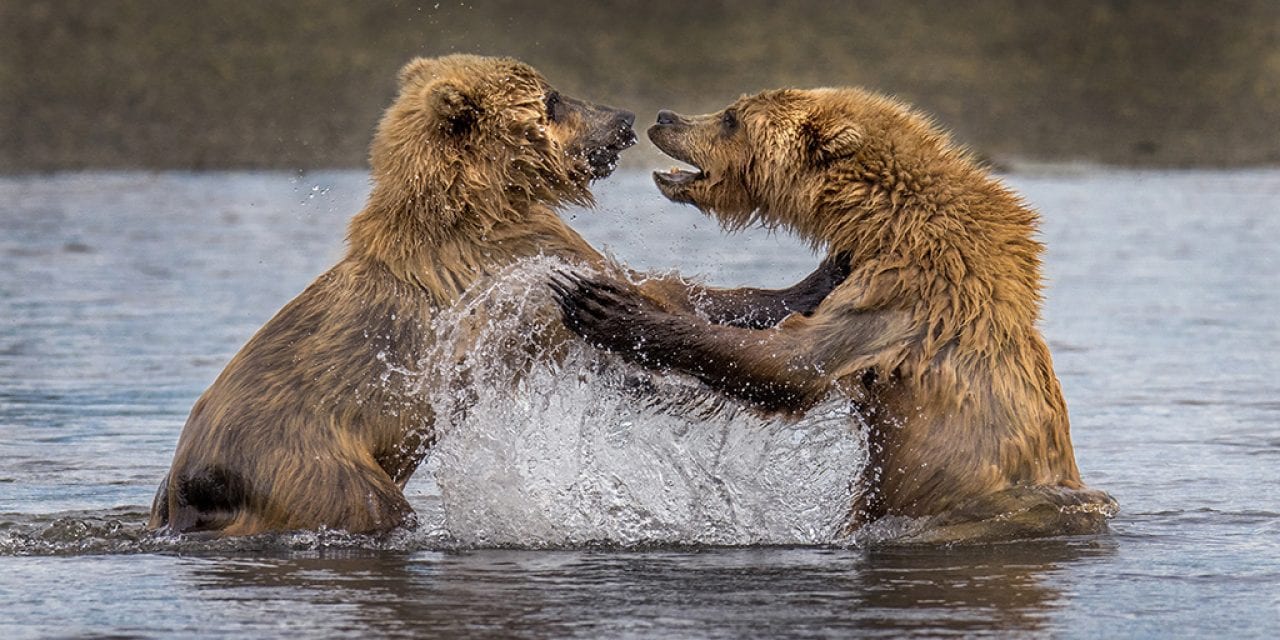
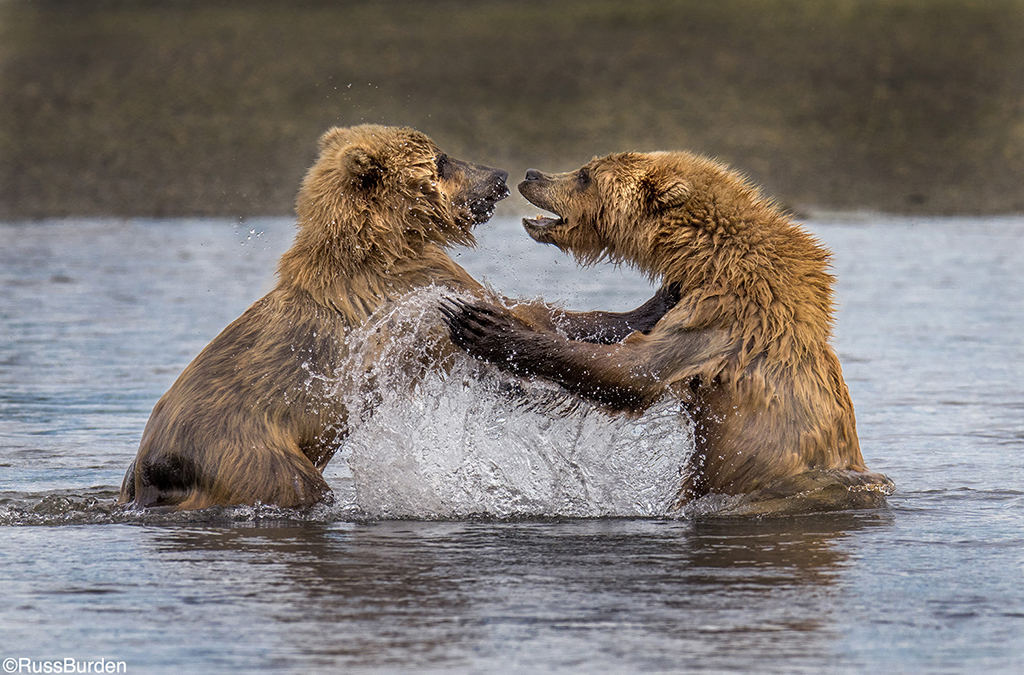
This week’s tip focuses on stopping the action. In order to do this, a fast shutter speed is compulsory. An overarching variable to obtain fast shutter speeds is the ISO. As I increase my ISO, I can use faster shutter speeds.
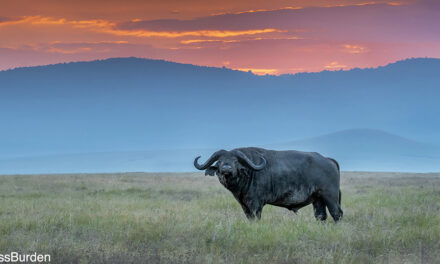
Example: I just photographed a landscape, so I had my ISO set to 100 and my aperture set to f/16. A low ISO and stopped-down aperture resulted in a slow shutter, so my camera was on a tripod. All of a sudden, a herd of running bison appear and I now want to make images of them running through the scene. If I use the same settings I used for the landscape, the bison would be blurry.
To arrest their movement, I raise my ISO and open my aperture to its widest setting. I now have a fast shutter speed and can freeze the movement of the animals. Depending on the speed of the animals and the direction in which they move, a baseline shutter speed is required to prevent motion. As a baseline, start at 1/2000th of a second and look at the LCD. If movement is seen, raise the ISO to a higher number to obtain a faster shutter speed.
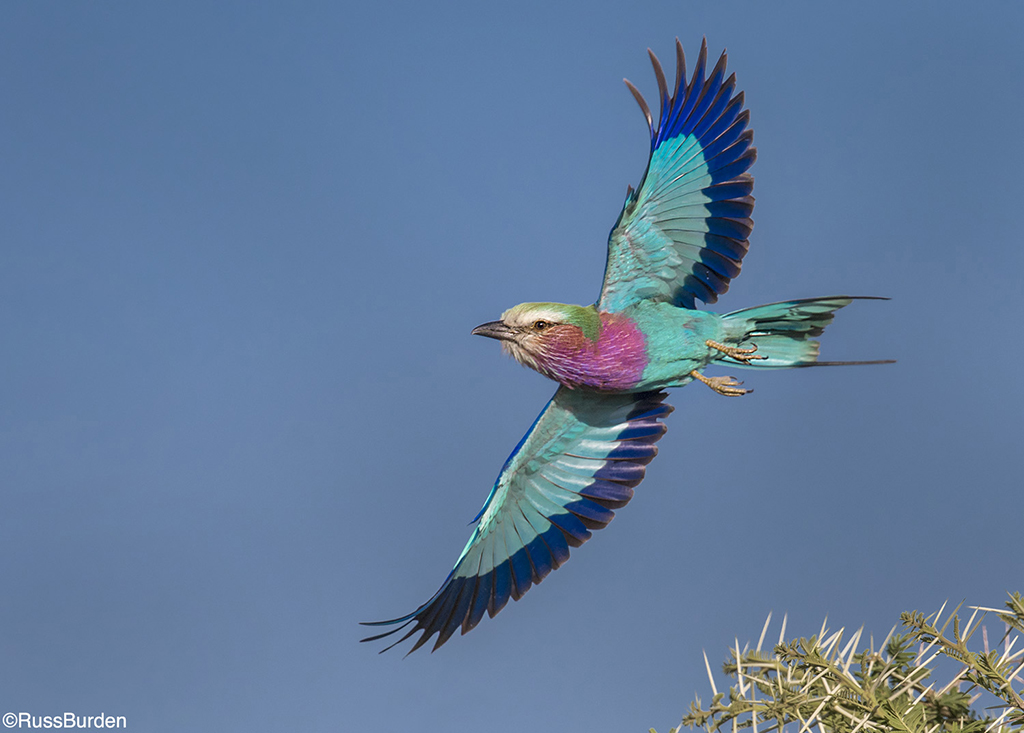
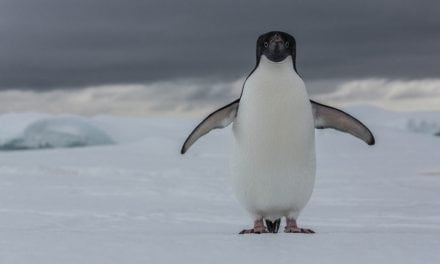
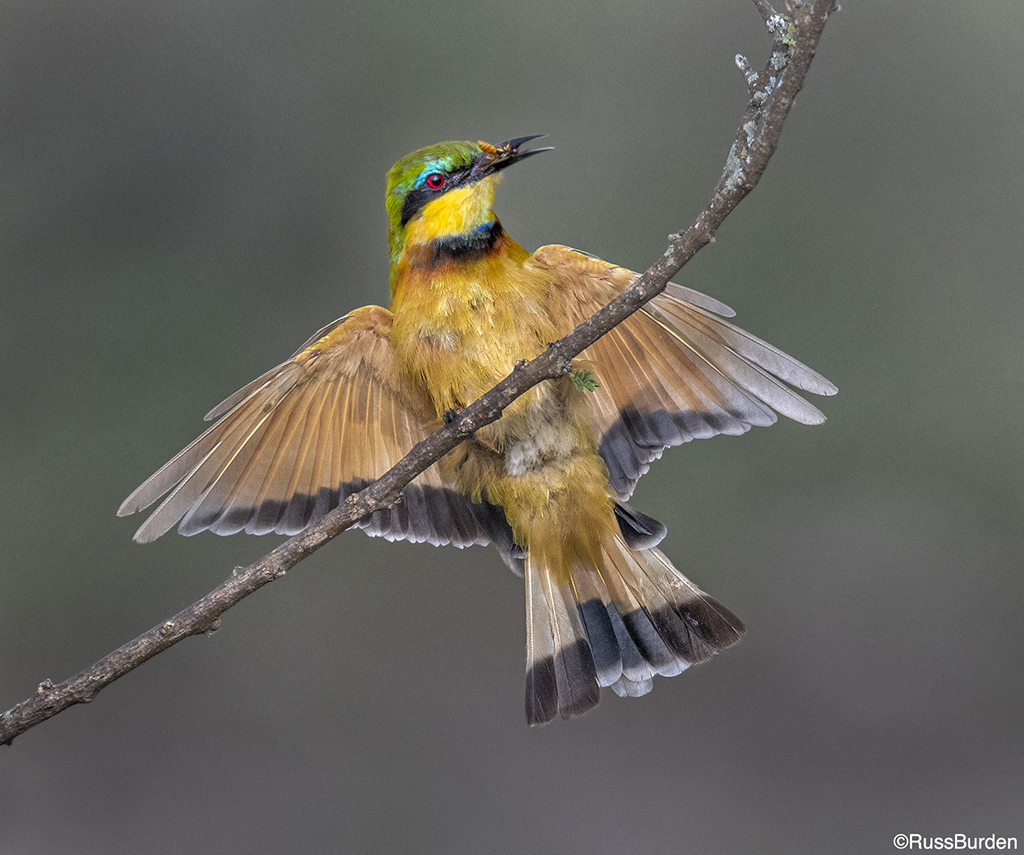
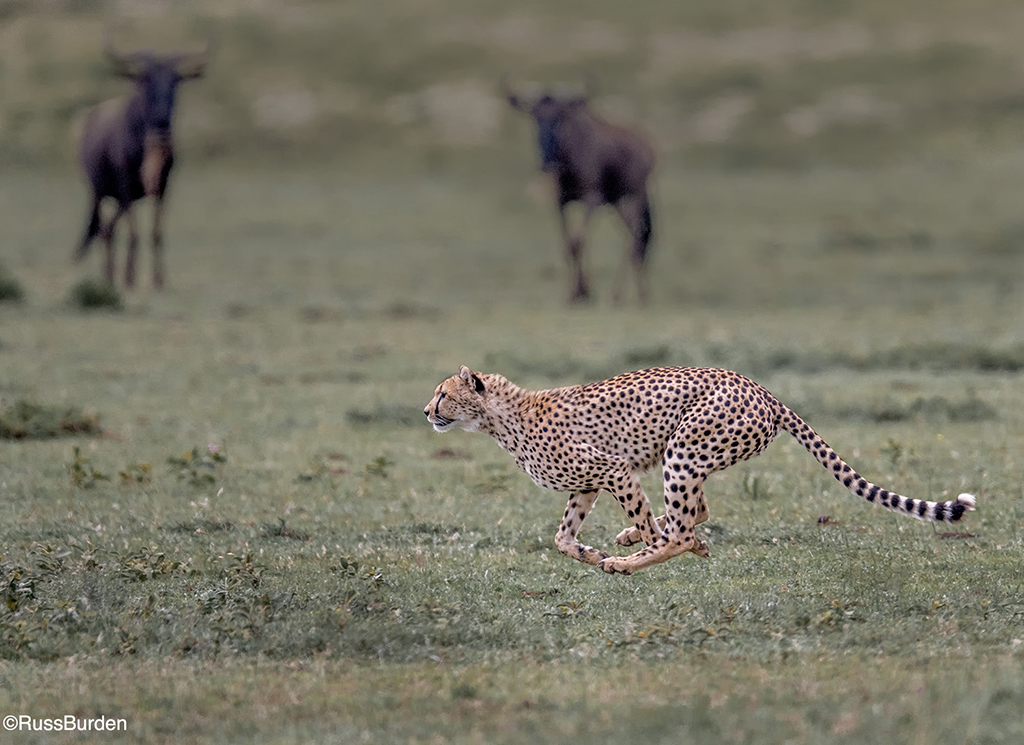
Arresting subject movement is determined most obviously by its speed. Stopping the wings of a bird in flight requires a faster shutter speed than a slow walking wildebeest. With equal importance is the direction in which the subject moves. Subjects that move horizontal to the camera need faster shutter speeds than ones that move perpendicular or directly toward the camera. Furthermore, a close subject shows more movement than one farther away.
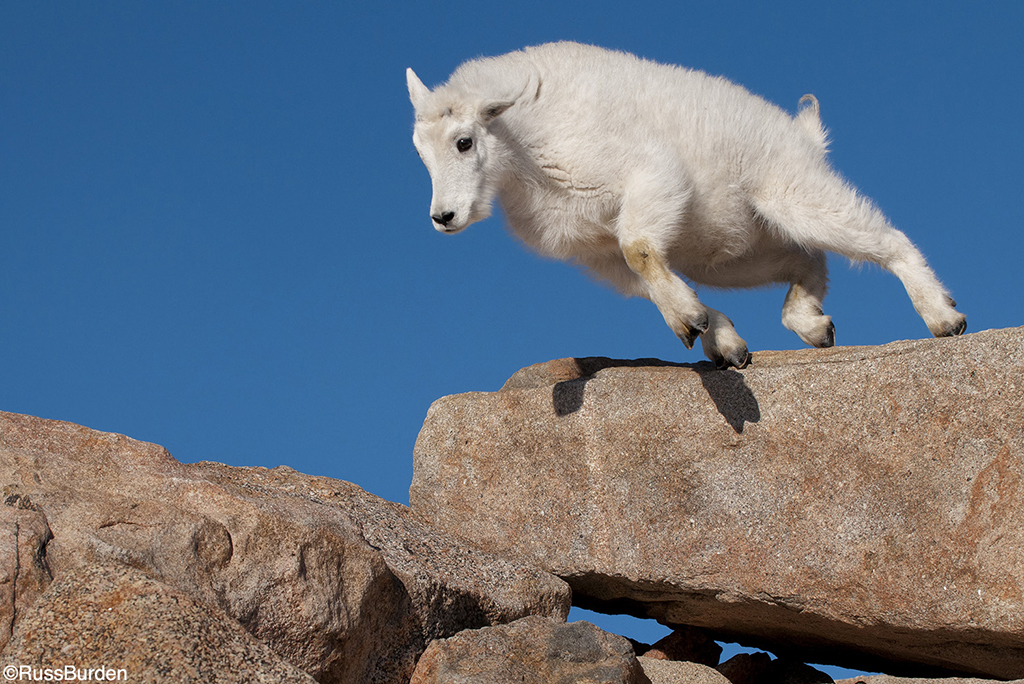
Another factor that determines whether or not action is arrested is at what point in the action the shutter is released. What comes into play is referred to as the stall point. At the stall point, less movement is displayed. For instance, if you raise your arm from your side to overhead, while your arm moves, more motion is recorded than when the arm is at its stall point when it’s fully extended overhead.
Another example is a breaching whale. Once it jumps as high as it can, for a split second it stops in midair before returning back to the water. Learn to anticipate the stall point of all your moving subjects. Since the action stops, a slower shutter speed can be used to freeze the motion and it’s usually at this point in the action that’s the most dramatic. All these considerations work hand in hand with the given ISO, speed of the lens, and the intensity of the light.
Check out next week’s tip to learn how to emphasize the motion of your subject using a slow shutter speed.
Visit www.russburdenphotography.com for information about his nature photography tours and safaris to Tanzania.
The post Shutter Speed Significance, Part 1: Stop The Action appeared first on Outdoor Photographer.