My business motto is, “It’s All About The Light.” More than any other aspect, light determines the success of a photo. In regard to scenics, a critical aspect of light is its direction, and this direction happens to be sidelight. If the angle of light provided by the sun is wrong, the photo falls short. The quality of light is also of great magnitude. Its intensity and contrast dictate if the photo works. Finally, the color of light is critical when it comes to scenics. Color is impacted by time of day and contrast. It’s obvious that when you piece together the above three factors, direction, quality and color, when they all work in your favor, the conditions are prime to create winning scenics.
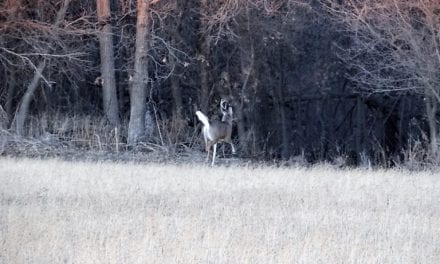
Front light squarely illuminates the landscape. It provides a very flat source of light. Shadows are nowhere to be found. This is a huge negative as shadows provide depth to an image. Without depth, there’s little dimensionality. If your shadow points in the direction you aim your camera, it’s front-lit. At very first light and very last light, there’s some forgiveness as the color and quality are phenomenal during those times. In the course of those few moments, successful landscapes can be made.
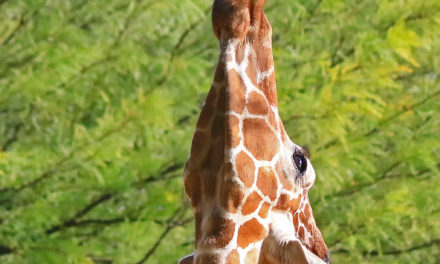
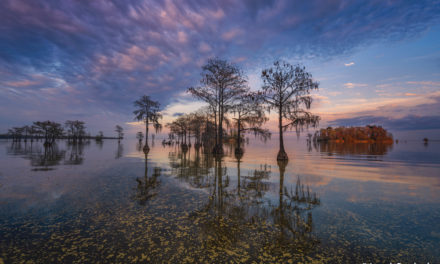
Backlight produces dramatic silhouettes. If your landscape features graphic shapes and forms, they’re good candidates for a backlit scenic. Backlight can also be dramatic and create mood in an image. If a subject’s outline is easily identifiable, a silhouette that’s offset against a vibrant sunrise or sunset can produce a gorgeous photo. By far, though, the best light for scenics is sidelight.
Sidelight hits the subject at a 90-degree angle. The result is an image with strong highlights and shadows. In whatever direction your own shadow falls, the direction in which you should point your camera should be 90 degrees to it. Basically, look at the direction of your shadow, hold out your arms above your sides, and extend your pointer fingers. Where each pointer finger is aimed, that’s the direction in which you should make a scenic. That’s the direction that will provide as much sidelight as possible. That’s the direction your polarizer will have its maximum effect.
In regard to a polarizer, when it’s spun to the position where maximum polarization occurs, this happens at 90 degrees to the sun. This is a marriage made in heaven in that it’s also where the image will be side lit. The one caveat is when you use a very wide-angle lens. The further away from the 90-degree position you deviate, polarization begins to dissipate. The result is a sky that transitions from very dark blue to lighter blue. In that this is unnatural, it’s a dead giveaway that the polarizer was used incorrectly. As beneficial as a polarizer can be, don’t fall prey to this negative effect.
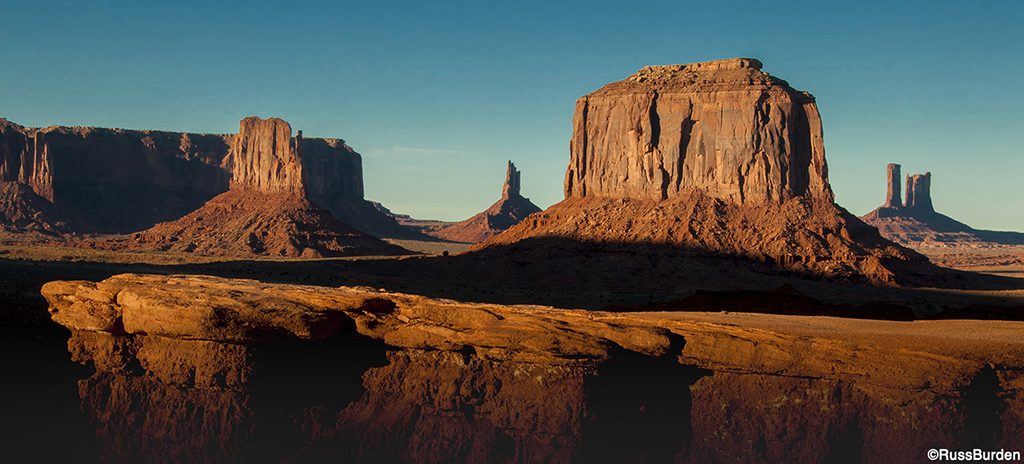
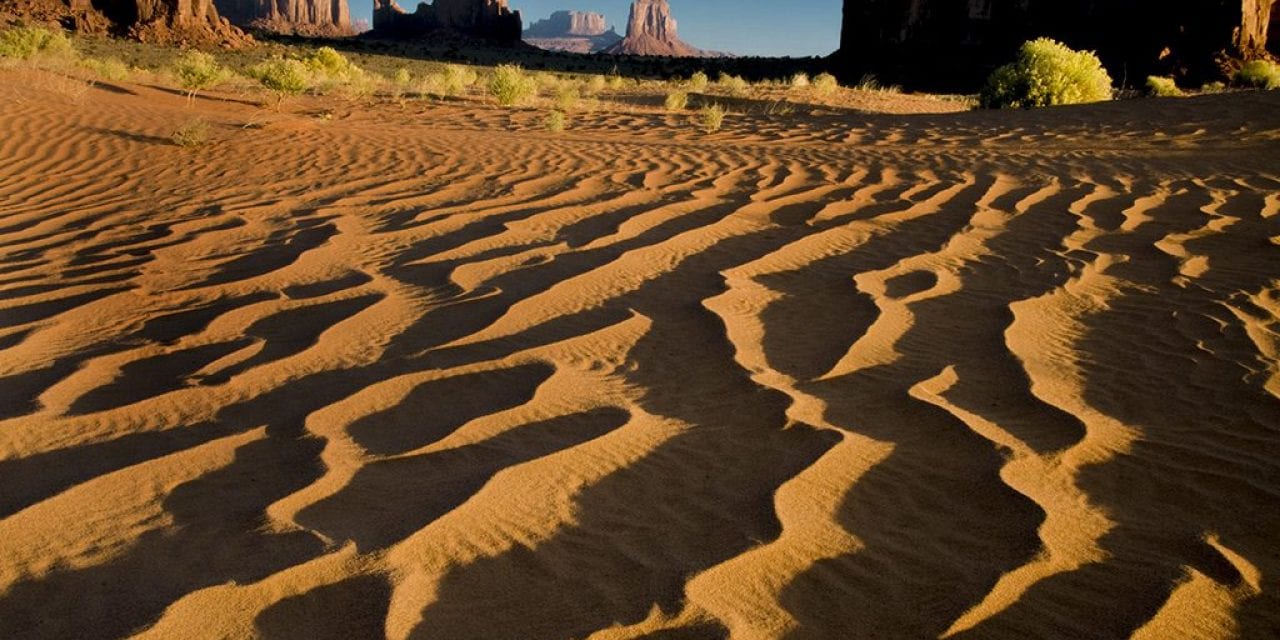
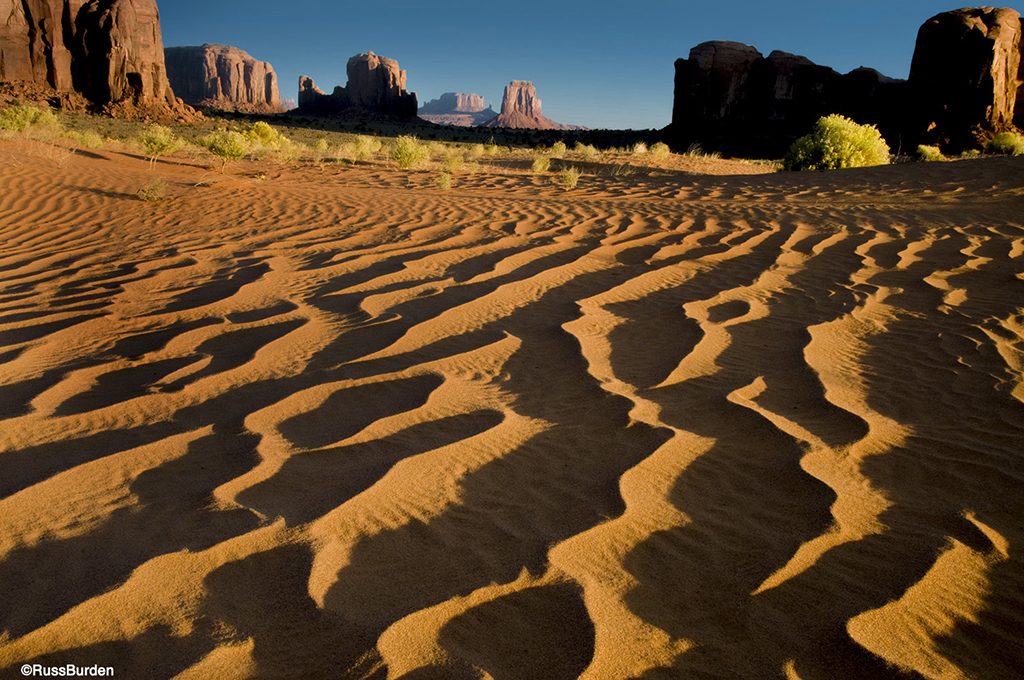
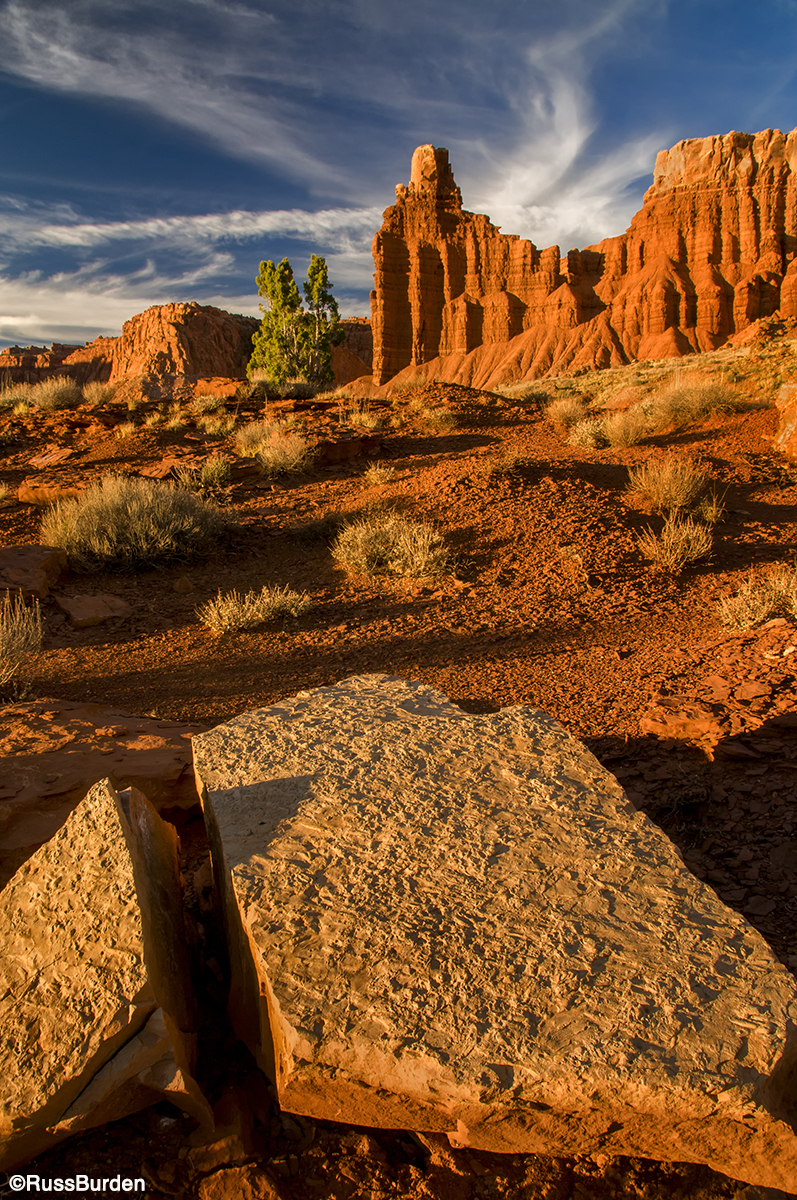
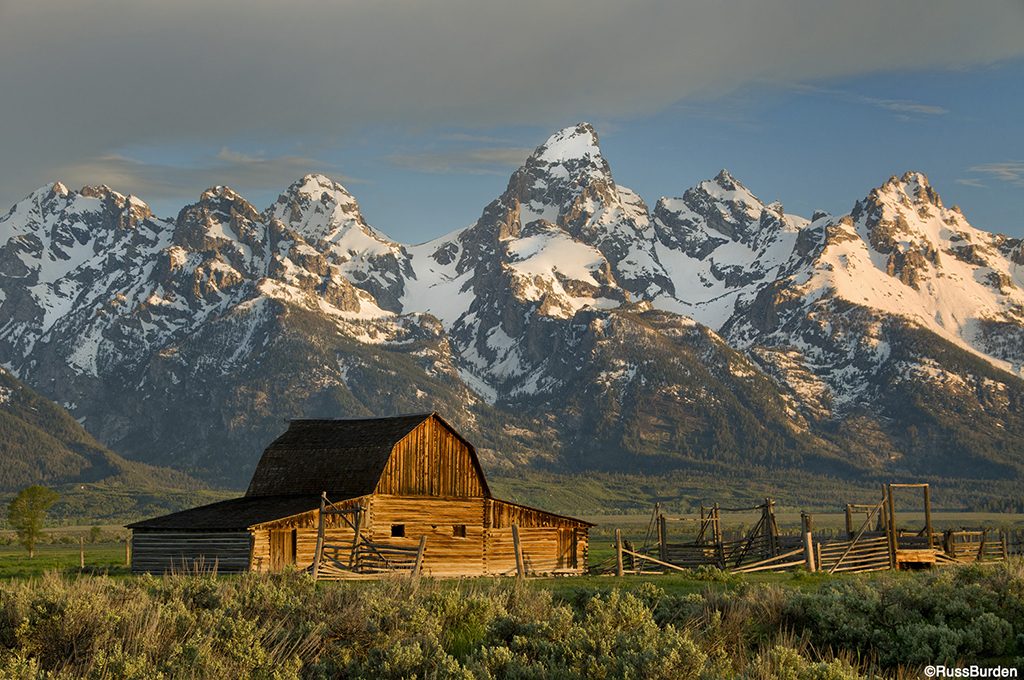
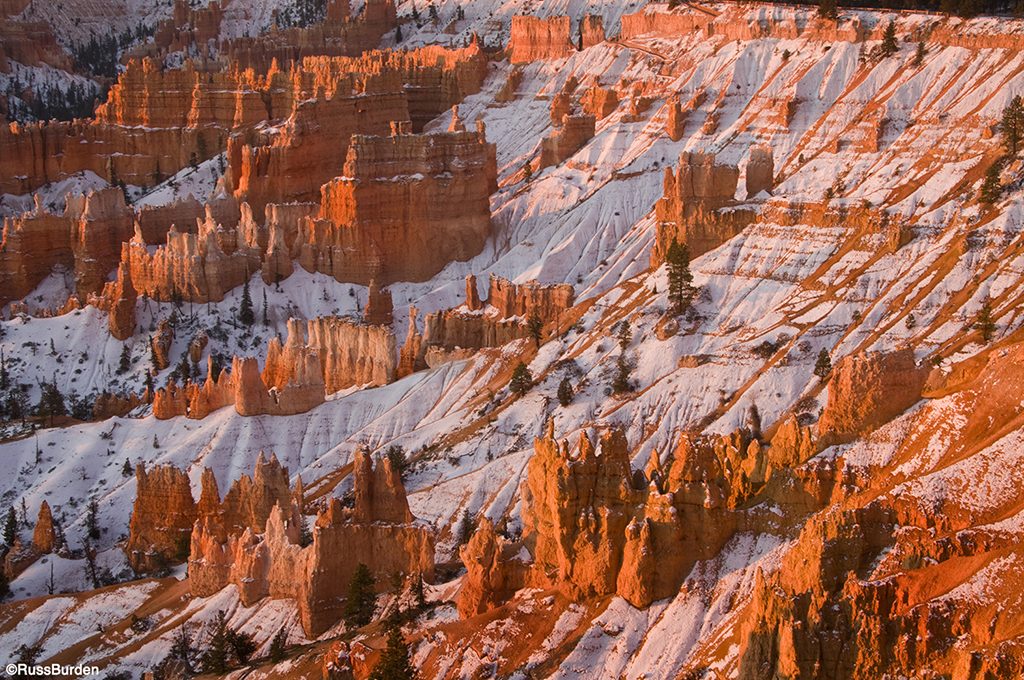
Search out compositions where horizontal light best illuminates the geologic formations you encounter. Otherwise known as Rembrandt lighting, you’ll see highlights and shadows throughout the image. One side of each formation that faces the sun will be lit while its opposite side will be in shadow. This is what provides three-dimensionality to the landscape. Mountain ranges, sand ripples, foreground fields of flowers, rivers of rocks, stands of cactus and much more cry out to be lit using this direction of light.
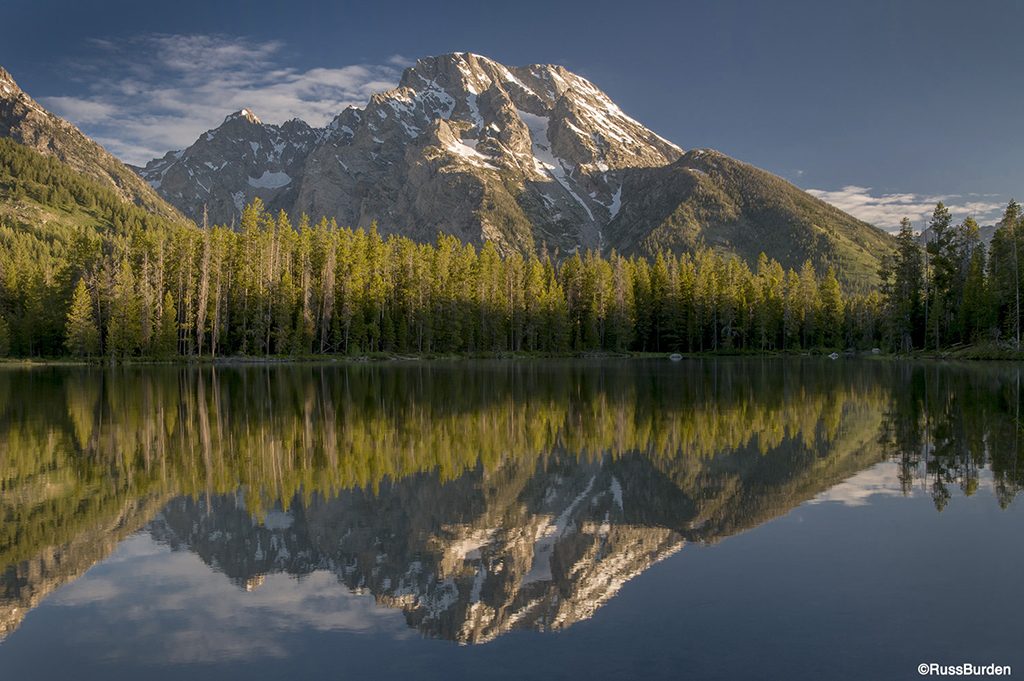
Explore the accompanying images that demonstrate the effect. Absorb the concept. Then, get out into the field so you, too, can realize the relevance of using sidelight for all your future landscape photos.
Visit www.russburdenphotography.com for information about his nature photography tours and safari to Tanzania.
The post Scenics Love Sidelight appeared first on Outdoor Photographer.