

In this week’s tip, I take you on a final journey into the land of silhouettes. The main focus of part 1 was to help you see what a silhouette is, learn how to create them and wind up with powerful images. In part 2, I targeted what to look for with regards to light and how to obtain a good exposure to create the silhouetted subject. In this final part of the series, I take you on a voyage that stops at a number of ports. In each, I explore the various components of composition. If this is your first week to join the cruise, be sure to look back at the previous two week’s sojourn so you can dive deeply into the world of successfully photographing silhouettes.
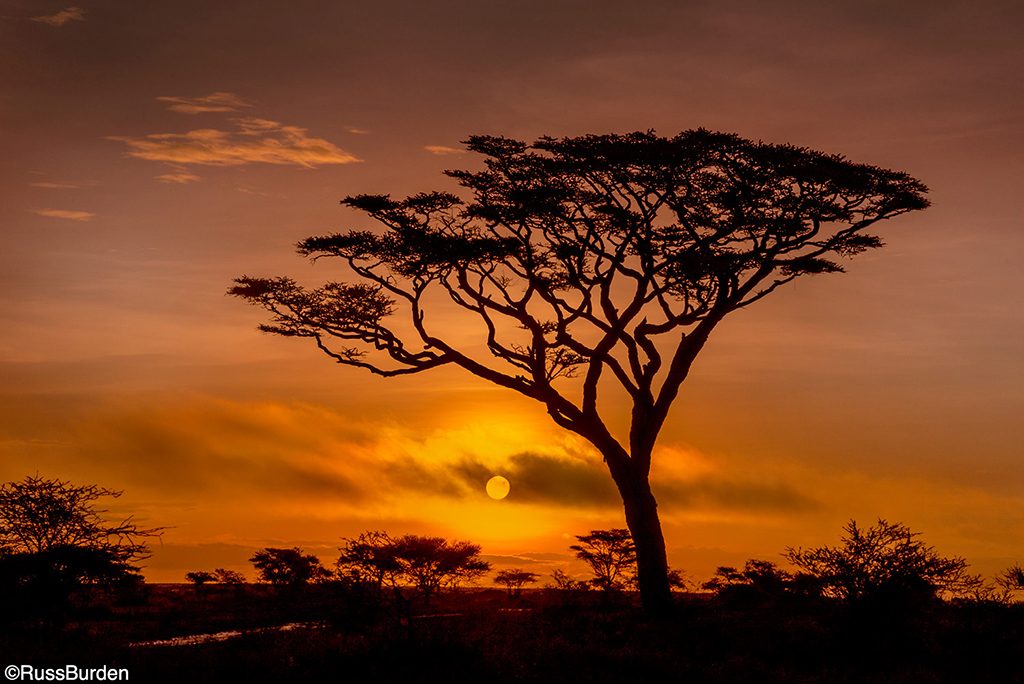
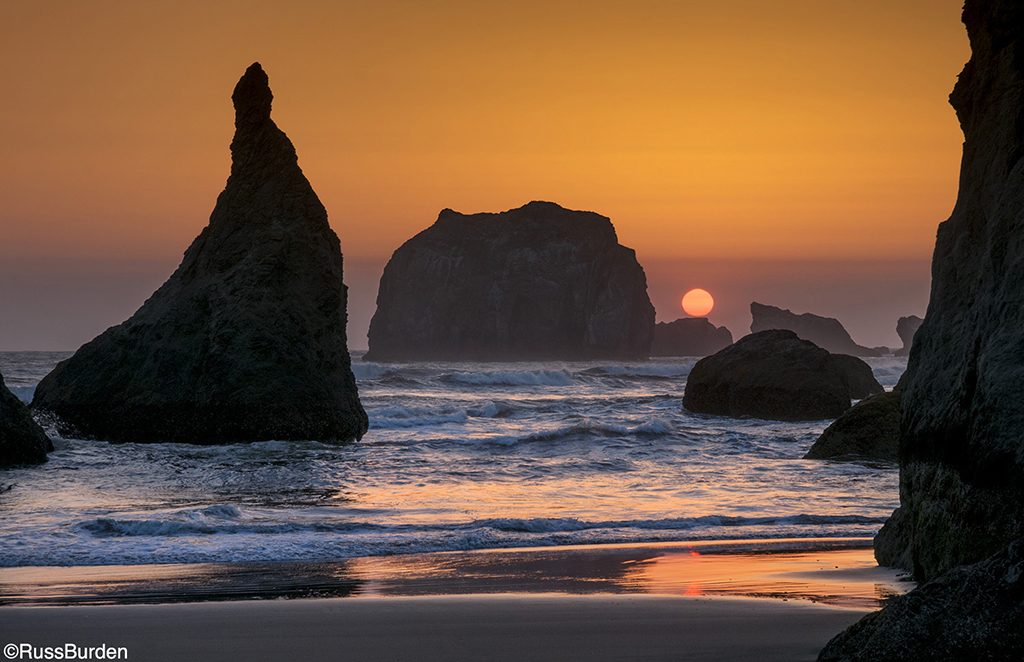
Images that stop you in your tracks and make you say “wow” have three important criteria in common: the light is excellent and complementary to the subject, proper exposure is made based on studying the histogram and the composition leaves the viewer finding balance and harmony of how the subjects interrelate. The rules that apply to good composition of any subject matter also apply to silhouettes. The rule of thirds should be used, the subject should be of adequate size relative to the rest of the photo’s real estate, the use of a leading line should not be overlooked and all components of the subjects should be in balance and have symmetry.
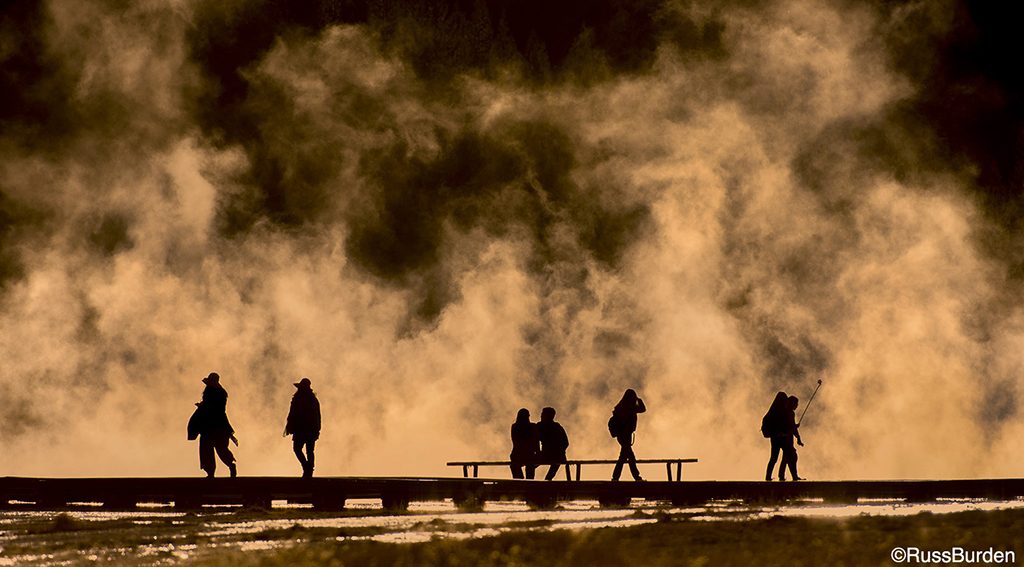
The rule of thirds suggests you place the main subject at a “power point” within the frame. These power points appear near the top left, top right, bottom left and bottom right positions within the viewfinder. If you were to trace an imaginary tic-tac-toe board over the ground glass, the power points appear where the lines intersect: top third—right or left, bottom third—right or left and middle third—right or left. When a power point is used to position a subject, the photo has much more impact than if the subject was placed dead center. A centered important element produces a static and mundane design.
When it comes to image real estate, exhaust all possibilities. Make images where you use a telephoto in addition to a medium wide. Doing so provides a photo where you construct a tight portrait and an environmental portrait. You now have two different images of the same subject. Repeat the same so you cover both a vertical and horizontal format. You now have four potentially great images. In that photography is a subtractive process (you see the entire scene and you eliminate clutter based on the composition), a full-frame grab of the subject can eliminate a lot of potential distractions. In an environmental portrait, make sure the silhouette and background shapes make sense.
Leading lines bring the viewer’s eye to the primary focal point. Elements are composed so every part of what remains in the silhouette is built with balance and harmony. If there are secondary subjects, be sure to find a location where they, too, are placed relative to the rules of good composition. For instance, let’s say you are inside a cave. Right on the edge of the opening stands a bull elk in silhouette. Place the lead actor, the elk, in the bottom of the frame and make the arch of the cave the supporting actor. You now have a silhouetted elk within a silhouetted arch—there’s balance and harmony and the rim of the cave acts as a leading line to the elk.

When I lead my safaris to Tanzania, I make it a priority to look for silhouettes in early or late light. When we come across a situation that works, all information contained within the three most recent Tips of the Week is utilized. Use them on your own to make some powerful etchings of form, shape and outline.
Visit www.russburdenphotography.com for information about his nature photo safaris to Tanzania.
The post Photographing Silhouettes, Part 3 appeared first on Outdoor Photographer.