In this multi-part Tip of the Week series, I discuss many ways photographers can attain the sharpest images possible. Factors that impact a photo’s sharpness include proper use of a stable tripod, the working aperture, what shutter speed was used in combination with the working aperture, the focal length of the lens, the ISO and how much ambient light was there when the image was made. Check last week’s tip for an in-depth tutorial on tripods.
As sturdy as a tripod can be, if it moves or shakes when a picture is taken, the photo will be soft. A cable release prevents the transfer of movement from the shutter finger to the camera body. The shutter is tripped electronically or, if you have an old camera, mechanically. Mechanical releases screw into the threaded shutter release button while electronic ones fit into a separate socket. Alternative ways to trip the shutter and not have to touch the camera are via the self-timer or a remote release. The self timer allows sharper images to be made in that the movement dissipates prior to the opening of the shutter. Although a bit pricey, a remote release triggered by radio or infrared waves also triggers the camera without touching the shutter.
Mirror Lock-Up
Mirror lock-up is a feature I wouldn’t want to be without. I use it with long lenses, when I make macro images and when the slapping of the mirror may impact sharpness. Macro and long lenses both magnify the subject. As magnification increases, poor technique becomes more evident. Specifically needed apertures often necessitate shutter speeds between 1/2 and 1/60th of a second. These speeds are notorious for causing vibration due to mirror slap. To alleviate this, lock up the mirror and the slap is eliminated. This keeps the camera rock solid during the exposure.
When a camera’s shutter is released, the mirror flips up and then returns to its set position. This movement, be it ever so slight, sets the camera in motion and causes the photo to be soft. Shutter speeds greater than 1/60th and less than 1/2 a second aren’t impacted as heavily. The ratio of time the motion occurs relative to the amount of time the shutter is open is less. If you don’t have mirror lock-up, hang your camera bag from the tripod as the extra weight provides stability.
Filters
Filters are a great asset, yet they can also be a nemesis. They’re frequently changed, which makes them susceptible to fingerprints, smudges, dirt and dust. Before every shoot, do a thorough cleaning of both sides. Concerning filters, photographers can be fickle. We spend hundreds or even thousands of dollars on a lens yet try to save a few bucks and purchase a cheap filter. Cheap glass translates to increased chances of flare. Don’t skimp on filters. Budget good ones into the price of the lens.
ISO
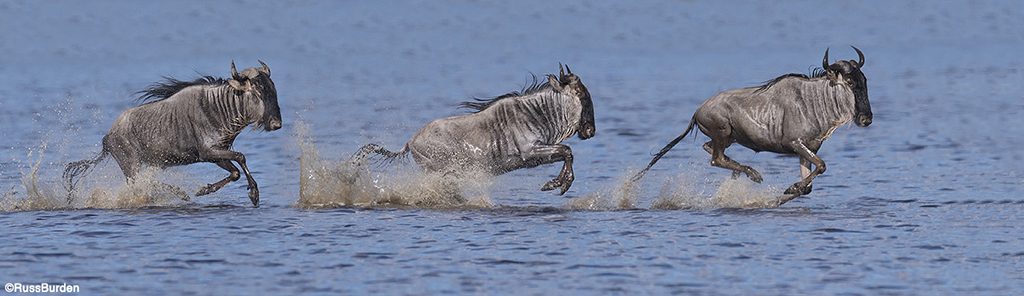
ISO has a direct impact on sharpness. The lower the ISO, the less noise. In that noise goes hand and hand with sharpness, it’s best to use the lowest possible ISO given the lighting conditions and the need for a fast shutter speed to stop action. The caveat is the lower the ISO, the more careful the photographer needs to be to eliminate camera shake.
Lenses
Lenses have greatly improved and many provide tack-sharp images even at the widest and smallest openings. Commensurate with the quality of the lens, the truer this is. If you own budget lenses, each has a sweet spot at which the highest resolution and edge sharpness occurs. Typically, this happens at ƒ/8 or ƒ/11. The reason is that lesser-quality lenses tend to be their sharpest when stopped down two to three stops from their widest opening. The difference won’t be noticed if you make a small print, but if you want a big enlargement, it’s best to stop down the lens. The quality of a lens impacts the quality of the photo. There’s no free lunch. The more you pay, the better the lens.
Focusing
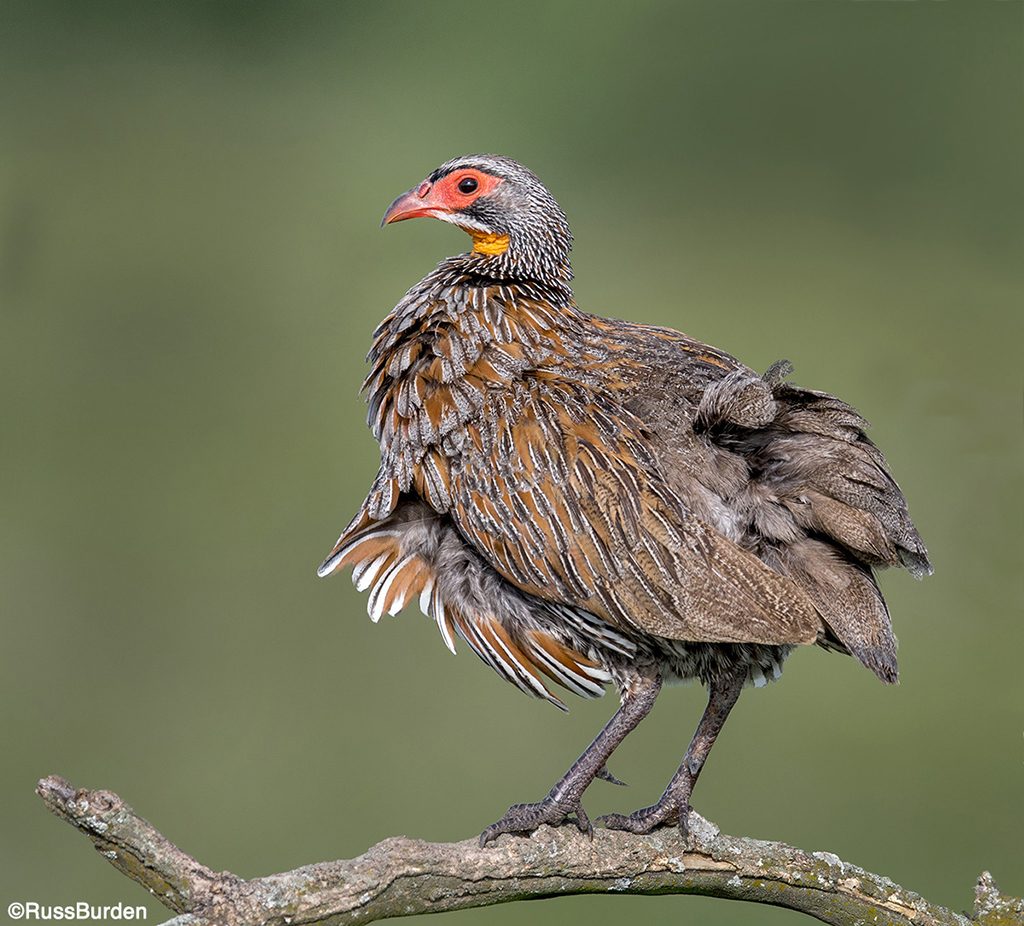
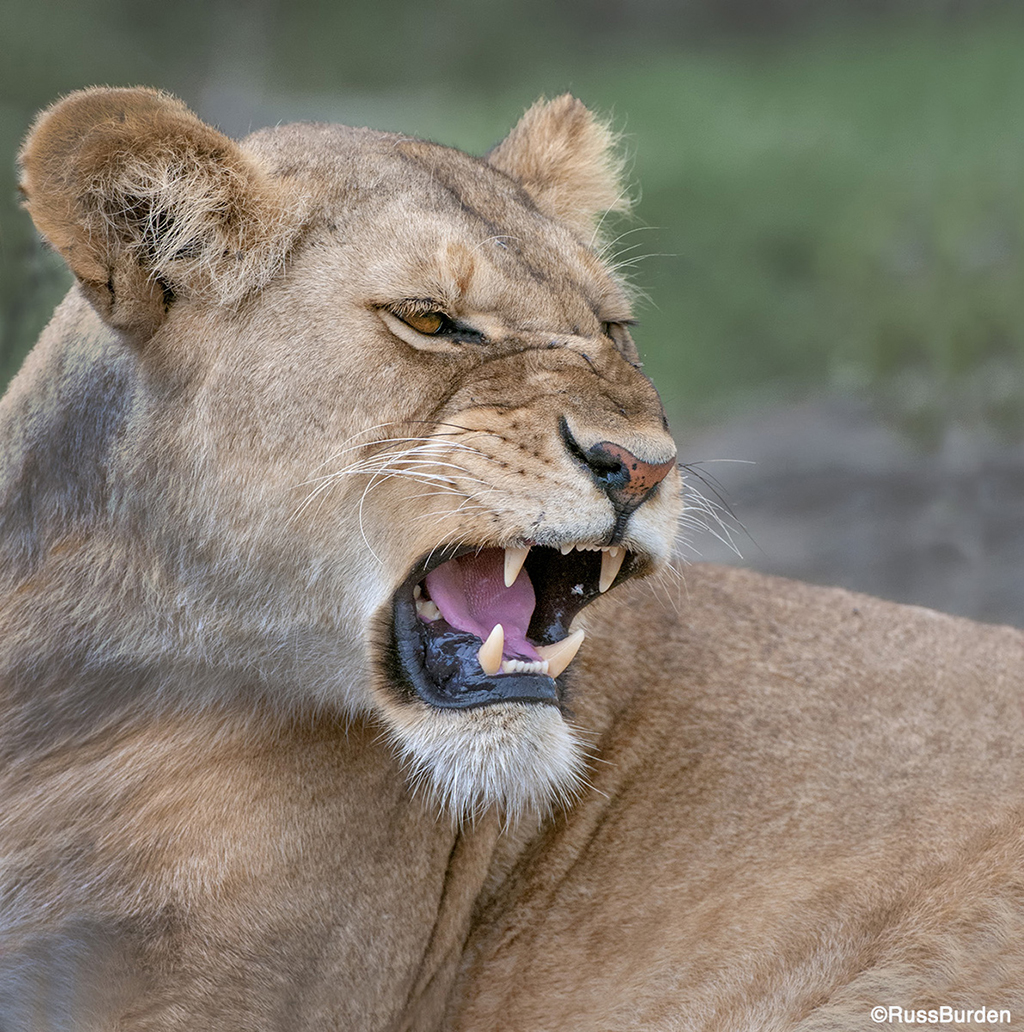
Critical focusing is of great magnitude when wide-open apertures are used. Today’s autofocus technology makes this aspect almost foolproof. The absolute imperative aspect is to focus on the key part of the subject. With fully open apertures, there’s very little depth of field. If the animal is perpendicular to you with its head toward you and the focus point is placed on the body, more than likely the face will be soft. The eye is the place over which the focus point should be positioned. A photograph of an animal with a sharp chest but soft eyes fails.
Stay tuned next week for the third and final part of this series.
Visit www.russburdenphotography.com for information about his nature photography tours and safari to Tanzania.
The post Look Sharp, Part 2 appeared first on Outdoor Photographer.