What was once a perplexing and mysterious photo accessory, electronic flash has evolved into an easy to utilize tool. It seamlessly couples to the camera body’s hot-shoe and interfaces with the in-camera computer. The days of manually setting ƒ-stops, calculating guide numbers or measuring flash to subject distance is done automatically and yields perfectly balanced and exposed digital files.
Flash is used for many purposes. It adds light to a dimly lit subject, helps freeze motion due to its very short duration, allows lower ISOs to be used when it becomes a main light, it’s an extremely versatile source to fill in shadows, it can be used creatively to provide stroboscopic or slow motion effects and, when used as a primary source of light, greater depth of field can be achieved by powering it up and stopping down the lens. It’s best used when its inclusion goes undetected so the viewer gets the impression the scene was naturally lit.

With all of the above benefits mentioned, it needs to be understood that flash has limitations. They have a given distance as to their capability to illuminate a subject. The guide number of the flash determines its power. If distances are exceeded, the flash has little to no effect. The reason this occurs is light from a flash falls off quickly once it reaches its maximum output. Factors that determine how effective flash can be include:
- The guide number.
- The flash to subject distance.
- The size of the subject.
- The aperture at which the photo is exposed.
- The camera’s ISO setting.
Most nature photographers do their shooting within the two-hour period after sunrise and before sunset. The sun’s angle provides better light and bathes the subject in warm tones. When the sun is higher in the sky, I use flash as an auxiliary source to fill in shadows. This allows me to extend the number of hours I can make good images. Obviously, this won’t work with scenic photography for images of mountain vistas or panoramic seascapes, but as a wildlife photographer, hours of additional enjoyment can be had shooting portraits, close-ups, insects and other small subjects.
Fill Flash
Programmed flash fill automatically balances the flash output with the existing light. A perfect ratio of illumination is given to the foreground subject, which receives the fill and the background lit by ambient light. As soon as the sun reaches an angle that casts unpleasing shadows, I attach my flash. Dependent upon the amount of contrast created by the sun, I adjust the amount of light the flash puts out using the flash compensation button on the rear of the unit. The end result should create a pleasing balance between the flash and ambient light. The more often you incorporate its use, the more familiar you’ll get pre-visualizing how much compensation to dial in. Run tests in different lighting situations to obtain pleasing results.
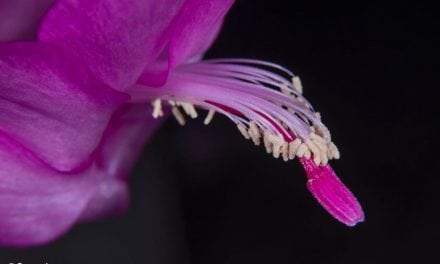
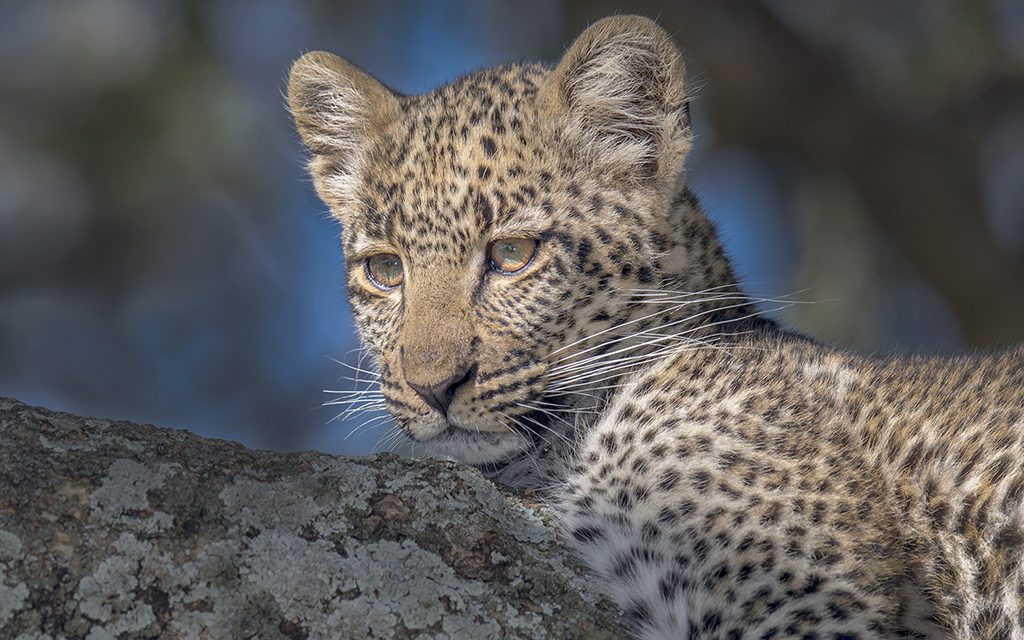
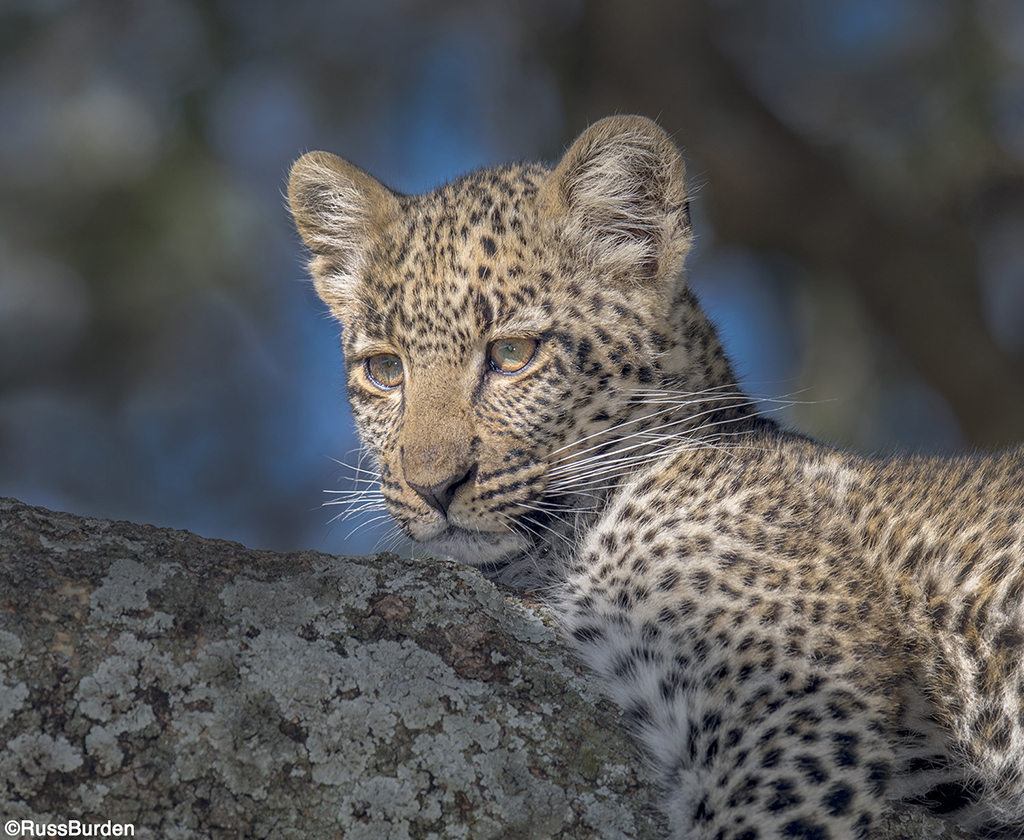
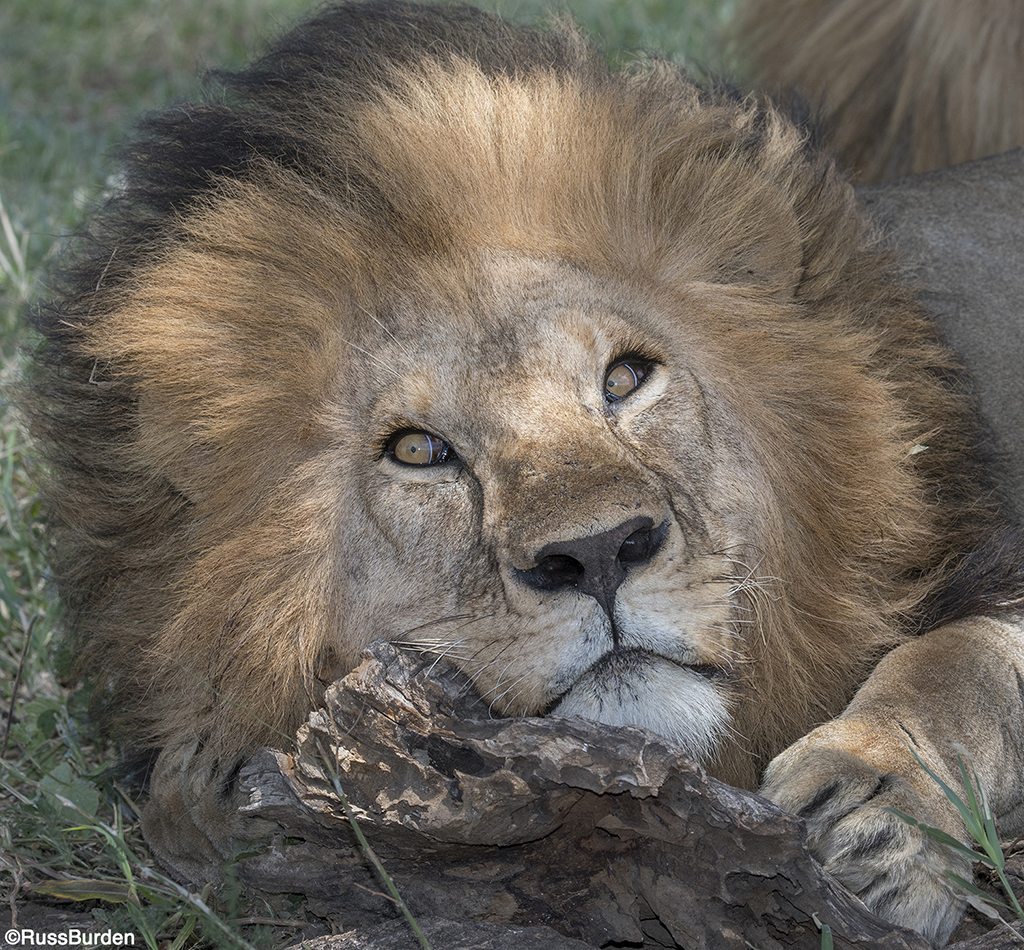
When a subject is top-lit by mid-day sunlight, it appears flat and lacks dimensionality, shape and texture. Animal’s eye sockets become black holes and their noses cast awkward shadows as seen in the example above. Fill flash adds light to the dark areas of the eyes and softens the shadow cast by the nose as seen in the example below. Additionally, a catch light is added to the eye and provides a twinkle to the pupil. It gives the appearance that it has more life. When conditions are bright and sunny, quite often something casts an awkward shadow across a subject. The area in shadow lacks detail. Flash fills that section and decreases the contrast between the sunlit portion and the shadowed segment.
The amount of fill light flashed into shadow areas has a tremendous impact upon the success of the image. Too much added illumination gives the photo an artificial look while too little has no effect at all. Ideally, the use of fill should appear as natural as possible. The contrast between the bright and dark areas should be lessened yet not look artificial.
As an ethical nature photographer, it behooves us all to know what wildlife subjects may be impacted by the use of flash. For instance, I don’t use flash with owls at night as there have been studies that hypothesize it may harm their sensitive eyes. Please be sure to do your research so when you do you flash, the animal isn’t put in peril.
Stay tuned next week for part 2 where I discuss using flash as a main light.
To learn more about this subject, join me on a photo safari to Tanzania. Visit www.russburdenphotography.com to get more information.
The post Get The Most Out Of Your Flash, Part 1 appeared first on Outdoor Photographer.