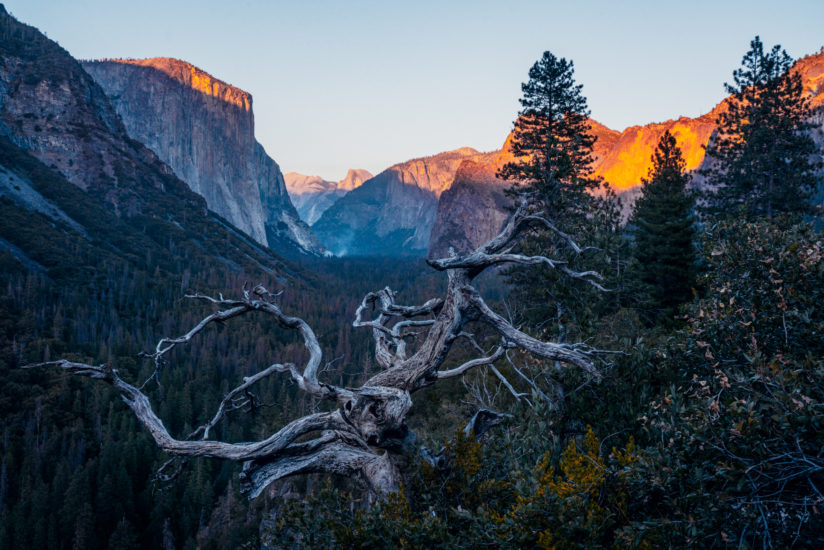
As an adventure sports, travel, and landscape photographer, I’m frequently hiking, climbing or paddling to my shoots. My equipment needs to be lightweight, tough, and fast in order to keep up. For years I wasn’t convinced by mirrorless cameras, but recently everything changed.
The nice thing about changing systems, besides just getting the latest and greatest, is that it provides an opportunity to really distill your kit down to what you’re actually going to be using. I put a great deal of time into researching not just what the most ideal camera and lens combo is, but also what the best system is for managing the files in the field, the best way to carry the gear, and how to work with the files at home.
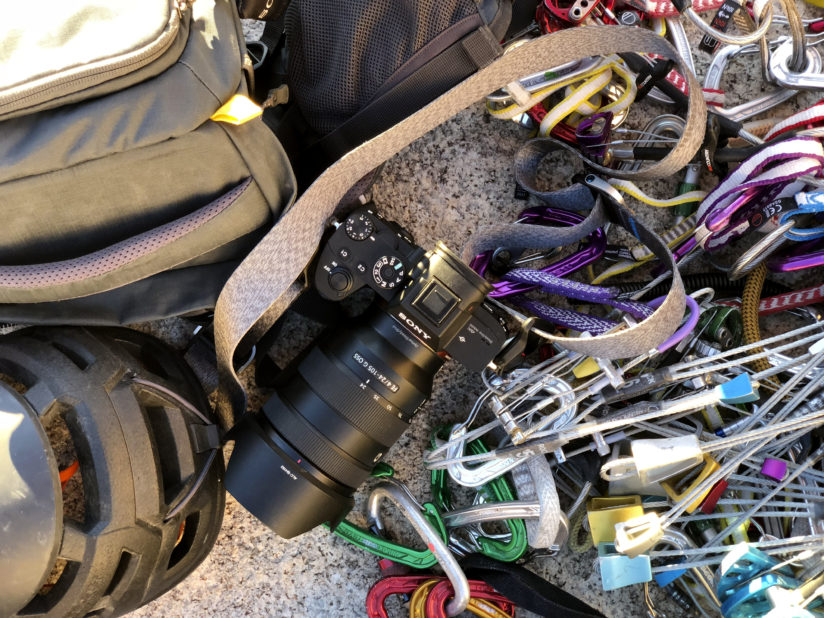
I chose the Sony A7Riii
I think that the Sony A7riii is the defining camera of the last decade, so I made the switch, and with that change I went from capturing 24 Megapixel images on Canon to capturing 42.4 Megapixel images on the Sony A7Riii, effectively doubling the memory workload, and halving the processing speed on my antiquated computer.
This article is more about the changes to my workflow than pixel peeping and lens bokeh, but, if you want a really detailed explanation as to why I picked Sony, and what lenses I went with, you can find it here.
Opting for a smaller kit doesn’t do any good if you don’t change the way you work with it. After dialing in the camera and lens combinations, I also wanted to rethink how that gear was utilized to maximize the benefits of a smaller camera with more pixels. The following is a distillation of information gathered from experimenting with different methods in the field.
Managing Big Files in the Field
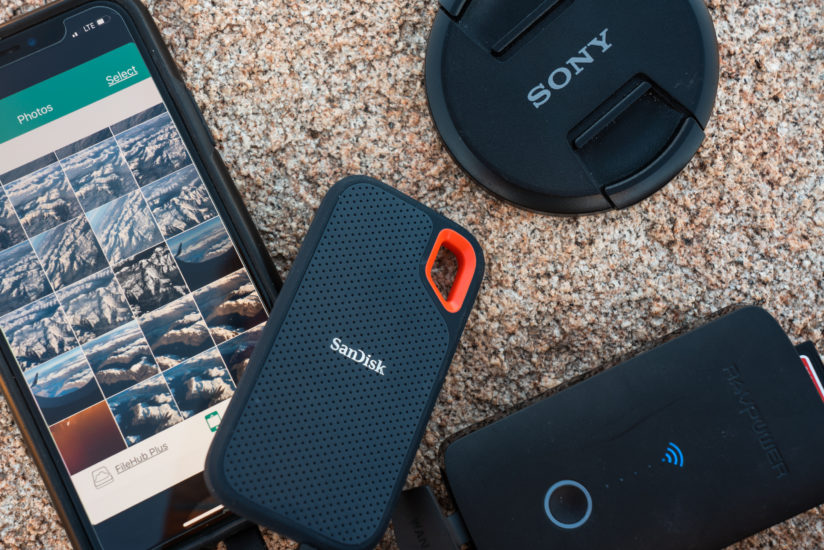
The one thing about big megapixels is that you need big cards. I used to use 64 Gig cards so that I didn’t put all of my eggs in one basket on longer shoots, but now my files are twice as big, so I needed bigger baskets. I’ve upgraded to the 128 Gig SanDisk UHS-II cards and they are FAST.
If I’m shooting video, or if I’m taking a trip where I don’t need my computer for anything other than downloading, I’ve started bringing a Ravpower Filehub with me on trips where I may not be able to drag a laptop along. The user interface is not so great, but it’s a good way to backup files, create some space, and it’s really light-weight. It allows me to download an SD card directly to a hard drive without a computer. Paired with the Extreme Portable SSD from SanDisk, I have an ultra fast, ultra small, and ultra-light way to back-up my images to a drive, and clear space on my cards.
Carrying my Camera Kit
I have yet to find a camera pack that really functions well for most of my activities. The best system that I’ve found is to wrap my gear in a few Domke wraps, or an Internal Camera Unit (a padded case that can go in any bag) and put them in whatever bag makes sense for that particular trip, like a hiking pack, dry bag, or a solid SKB case. That said, I’m starting to really love my Mountainsmith Swift FX for anything less than a day trip. Even though it won’t carry my whole kit, it will carry a boiled down kit of essentials on targeted missions into the outdoors and I like the way it rides on my hips. It also can fit inside most of my other bags, so it doubles as a small ICU. One major lesson learned from a recent rafting trip is to always have extra space in the bag. If you need to put the camera away really fast (due to an upcoming rapid, rainstorm, or charging bear), having to switch lenses and play camera Tetris is a surefire way to lose some gear. So for that reason, I do wish it was slightly larger.
Traveling with My Kit
Whether it’s flying across the world, driving across the country, or taking an uber across town, it is important to keep my gear as protected as possible and not have to check it. One of the benefits of switching kit is that now everything fits into one carry-on case unless I’m shooting underwater or using studio lighting. For this, I use a wheeling SKB case model 3i-2011-7BR that has a custom fitted Think Tank backpack insert. Once I’m on location, if I need a backpack, it’s there.

Speeding up My Workflow at Home Without Breaking the Bank.
My computer is 5 years old. Combining how slow it is with my older USB 2.0 hard drives meant that I had to upgrade something or I’d waste a lot of time waiting for the images to load. The cheapest upgrade that I found is the combination of using PhotoMechanic to cull, and the SanDisk SSD drives for working storage. With this system, I can once again use Lightroom and Photoshop without pulling my hair out. Once the files are processed, I archive them on my bigger, slower drives.
Processing Sony Images
Coming from Canon, it was really tough to edit a Sony file in the beginning. A quick search online lead me to hundreds of people asking the same question, “How to get Canon Colors in a Sony.” Almost all of the answers led me to switching over to Capture 1, and I did that for about a month. I quickly figured out it wasn’t the program that was holding me back, even though Capture 1 is objectively more powerful, it was the way I was looking at the colors. The questions I was asking were misguided from the start, even my Canon colors needed to be edited to look realistic. The better question is: How do you get a good baseline color profile that has a natural feeling? Of course, this is entirely subjective. Everyone wants their images to look different.
With that in mind, it’s impossible to send out a full list of edits that people can use to create a preset because your images don’t look like mine, and mine don’t look like yours. Even if I wanted to, Lightroom no longer lets us export our presets. The most important thing for me was moving my greens towards yellow, and yellows towards red, and adding a little bit of grain to smooth out the transitions between tones.
Mounting the Camera and Extending the Body
I have always hated tripod baseplates. They just get in the way. Then I saw a friend using the Really Right Stuff fitted baseplate on his A7Riii and had to have it. It’s an Arca Swiss style plate that form fits with the camera, and extends the body just enough to use an extra finger when holding the camera. I just leave it on the camera unless I’m trying to really minimize the size of my kit.
Tripod
One of the advantages of a smaller camera, is that you can use a smaller tripod. I still have my “car tripod” that is a carbon fiber Manfrotto, but now I also have a tiny carbon fiber Siriu tripod that i can throw in a pack and is barely noticable. I’d never heard of the brand so I can’t speak to their consistency, but the one I have is sturdy, and came in at less than half the price of some of the other brands I know of.
Straps
I’m a big fan of Blackrapid for my climbing and adventure shooting because they have straps that I can use to secure it to my shoulder, but I also picked up a couple of Peak Design straps for everything else. I figured out that I can unclip one side from the camera, and clip the other side to my bag for shots where I might be in positions that could allow the strap to slide off of my head. (It’s normal for photographers to be upside down right?)
Of course, none of this is gospel, it’s simply a one photographers system that he’s refined over the years. It works really well for me, and I think that this can all be of great benefit to other photographers who are switching systems, or looking to get the right kit for the outdoors. I’d love to hear what’s worked for you, and maybe I’ll even try it out and adjust my own workflow if you’ve found something that works!
The post Streamlining my Photography Kit for Adventure appeared first on Outdoor Photographer.