In this multi-part series, I discuss many ways photographers can attain the sharpest images possible. Check part one and part two for tutorials on tripods, image stability, mirror lock-up, filters, ISO, lens quality and critical focusing.
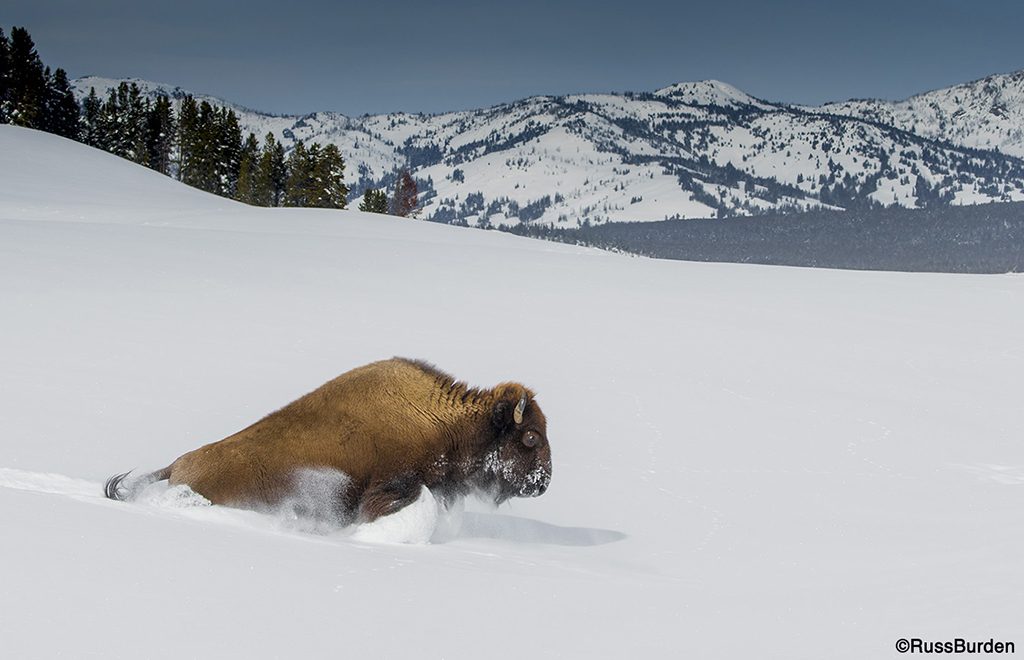
When photographing landscapes and other structures that aren’t mobile, action-freezing shutter speeds aren’t mandatory. Yet, should the subject demonstrate even slight movement, like a flower swaying in a gentle breeze, a poorly chosen shutter speed can ruin the photograph. The faster the action, the higher the necessary shutter speed. Additionally, the angle at which the subject is moving requires different shutter speeds to freeze it. Action coming toward or going away from the camera can be frozen with a slower shutter than action moving at the same speed going across the film plane.
If your intent is to freeze an antelope running perpendicular to you, you’ll need a fast shutter speed if you want to stop the action of all body parts. Follow the path of the antelope’s movement, use at least 1/1600th, use a fast lens and an ISO of 400 if the ambient light is bright. This reveals an obvious rule of thumb. Freezing the action is directly related to the speed of the animal in conjunction with the ISO, the widest aperture of your lens and the amount of ambient light.
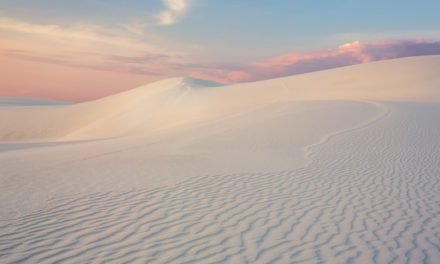
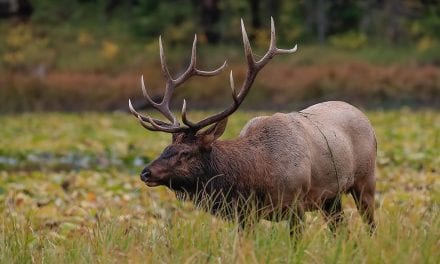
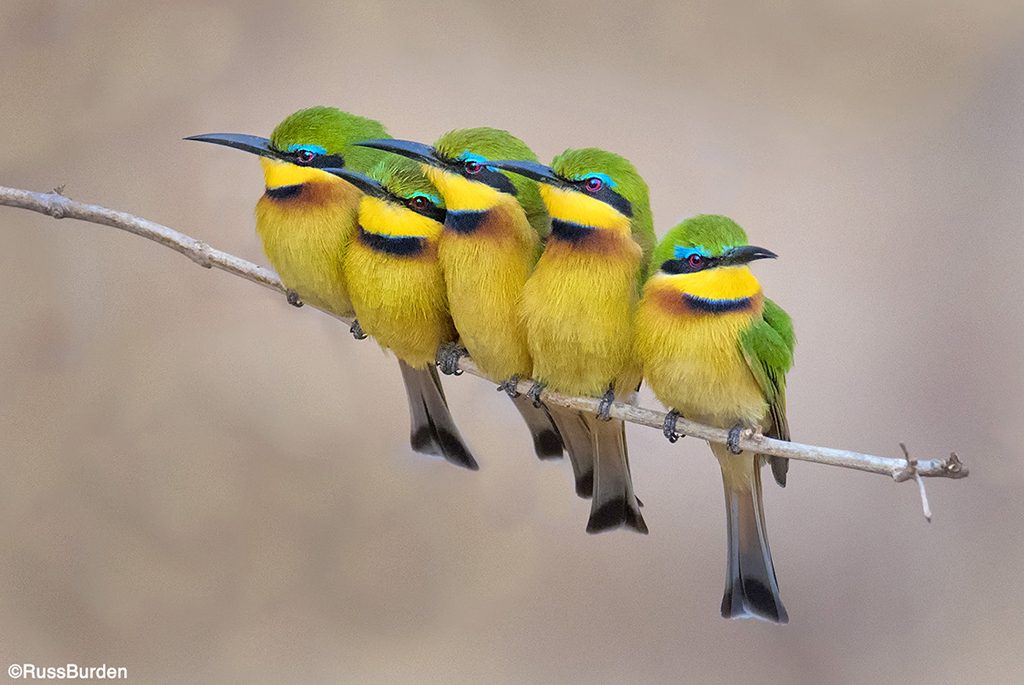
Depth of field affects apparent sharpness. As the lens is stopped down from ƒ/4 to ƒ/22, the range of sharpness increases. This impacts how the main subject separates from the background. An out-of-focus background allows the animal to stand out and makes it obvious to the viewer it’s the primary subject. In portraiture, it’s common to use long lenses with wide-open apertures. The subject pops out from the background and enhances the apparent sharpness. Alternatively, with landscape photography, a more successful image is made when everything from the foreground to the background is in focus. This dictates the use of wide-angle lenses and apertures of ƒ/22. In both cases, tripods are essential.
To minimize depth of field, choose the longest lens suitable for the shoot, set it at its widest aperture and hope the subject is in a location that’s far away from background elements. To maximize depth of field, it’s a bit more complex. The greatest amount of depth of field is dependent upon where in the scene the point of focus is placed. Focus about one-third of the way into the scene to maximize depth of field. The physics of a lens states that one-third of sharp focus falls in front of the subject and two-thirds falls behind. This is called hyperfocal distance. There are charts on the internet that show hyperfocal settings for many focal length lenses. If scenic photography turns you on, I highly recommend them.
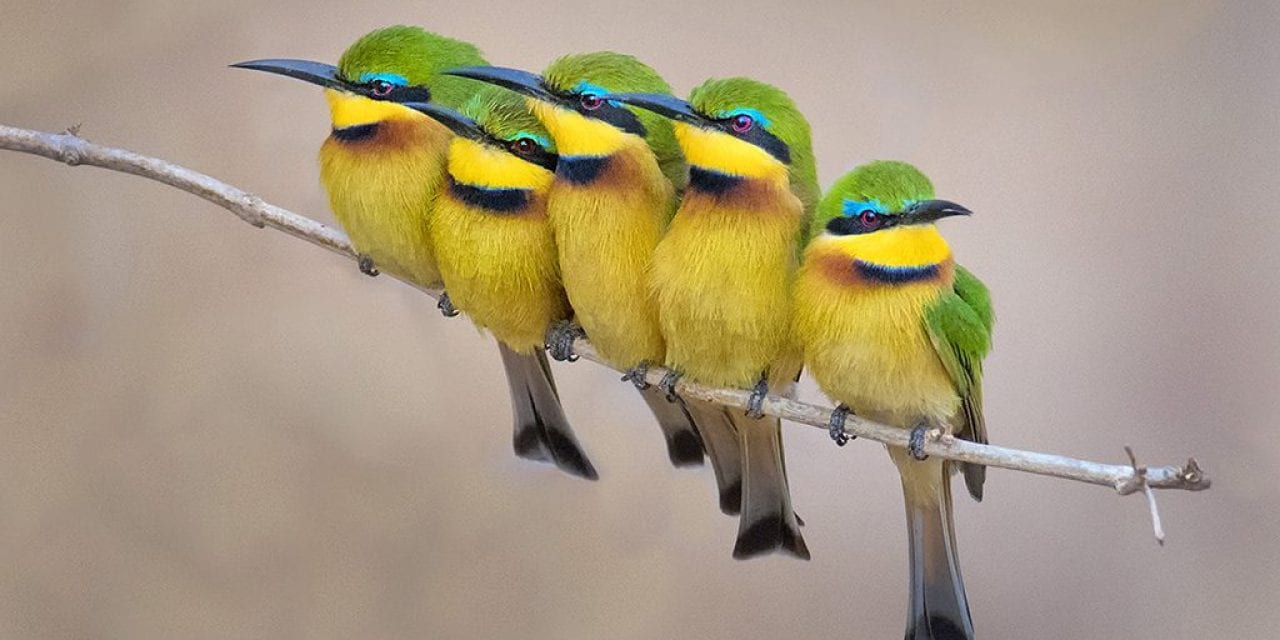
Apparent sharpness is greater if the subject is parallel to the film plane. Let’s look at a scenario. A butterfly that’s perpendicular to you has closed wings and fills the frame. The ambient light allows an aperture of ƒ/8. Because your camera is parallel to its wings, the whole butterfly is tack sharp. If a photographer buddy was with you and was photographing on an angle to the butterfly, parts of the wings would be soft. The more open the aperture, the more apparent this becomes.
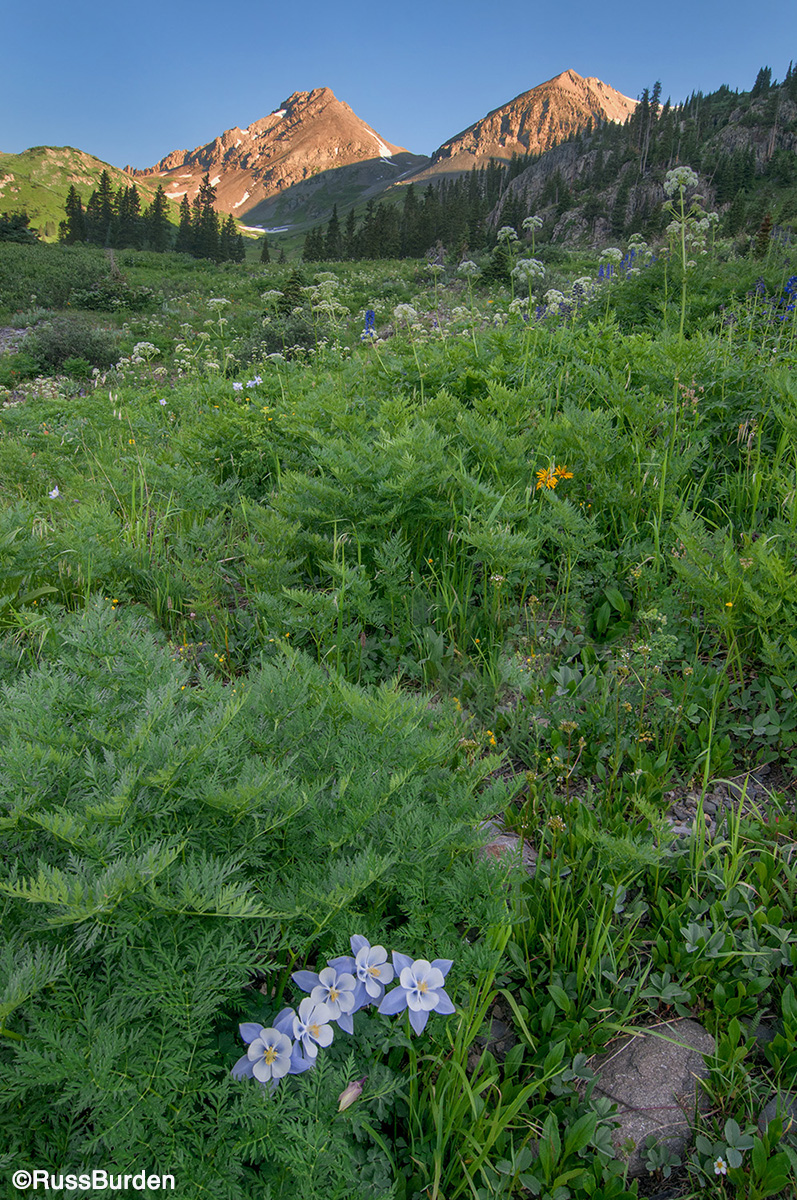
Image stabilization has a direct result on the number of sharper images being created. The rule of thumb says to never handhold a lens at a shutter speed that’s slower than its reciprocal focal length. For example, a 200mm lens should be handheld at a shutter speed of 1/200th or faster. Image stabilization allows that number to be lower by up to three shutter speeds. With careful technique, a 200mm lens can be handheld at 1/30th and still get a sharp image. Obviously, if you make images of moving subjects, this impacts the shutter that can be used.
When you work in high magnification situations, be it macro or telephoto work, it’s essential you work within the confines of the above. The reason is as the image is magnified, so are the mistakes. Camera vibration becomes an issue as does narrow depth of field.
Photos taken with telephoto lenses present additional problems. The great distance between the camera and subject sometimes has you shoot through large expanses of air often filled with moisture, pollutants, dirt and dust. All these degrade the image as they lower the contrast and impact perceived sharpness. Also in areas of high heat, heat waves radiate from the ground and have the same effect. If possible, get closer to the subject.
Learn proper camera handling techniques and put the steps into practice. I don’t want to hear you say, “I wish I’d have used a tripod for that shot.” Use it! Don’t say, “I should have raised my ISO.” Do it! Make your picture taking more rewarding. Incorporate all the techniques into your repertoire that will net sharper images. The resulting images will bring smiles of great magnitude.
Quick Tips For Sharper Photos
- Always use a tripod to attain the sharpest possible image.
- Buy the highest quality lenses you can afford.
- Use the lowest possible ISO based on the ambient light.
- Use a cable release to trip the shutter even if the camera is on a tripod.
- Use a tree, fence or another object to support the camera if a tripod isn’t available.
- Use mirror lock-up, especially with shutter speeds in the 1/30th sec. range.
- Buy top-quality filters and keep them clean.
- Use depth of field to your best advantage.
- Use shutter speeds fast enough to cancel subject movement.
- Invest in image-stabilized lenses.
- Use electronic flash to freeze the subject if it’s in the flash’s range.
Visit www.russburdenphotography.com for information about his nature photography tours and safari to Tanzania.
The post Look Sharp, Part 3 appeared first on Outdoor Photographer.