I recently attended a concert. Howard Jones performed an acoustic set of his ’80s new wave tunes. Nick Beggs played a Chapman Stick and I was totally blown away with his musical prowess. Every aspect of his musicianship was spot on. The best word to describe it is tight. As photographers, every photo we make should be tight. Our photographic prowess and ability to compose our landscapes with great light and technical merit should blow away the viewers of our images.
How can we make this happen? How can we make our “listeners” take notice and want to spread the word of how great our “performance” was? In this two-part tip of the week, I’ll share tips and tricks so you can improve your landscape images.
When it comes to landscape photography, I’m a stout proponent that less is more, hence the name of this week’s Tip: KISS—Keep It Simple And Splendid. I want you to judiciously choose beneficial camera angles and be more selective about what lens to utilize. I want you to create images with more impact and have them stand out from pedestrian landscape photographs. I want you to consider the background. I want you to consider the foreground. I want you to notice distractions and modify the composition to eliminate them. Let’s make these things happen.
Scenics are most often made with wide angles, but wide angles take in a lot of the environment. Keep your compositions simple and splendid. Chisel away at the extraneous and reduce the elements to the basics. Move in close or zoom to a longer focal length. Use depth of field wisely. Stop down the lens to increase the range of focus or open up the aperture if you want a single sharp focal point when you create intimate landscapes to incorporate the KISS method.
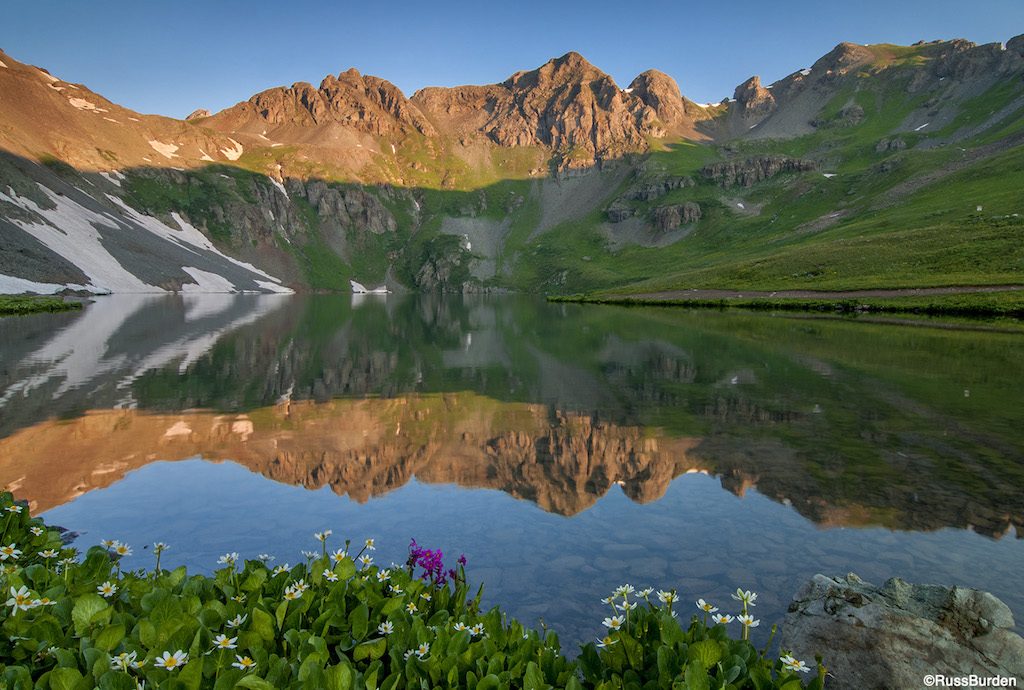
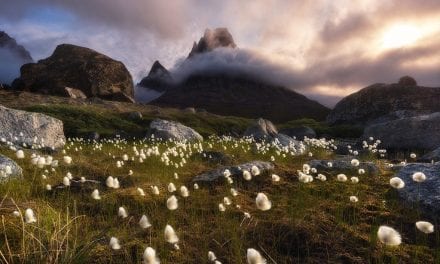
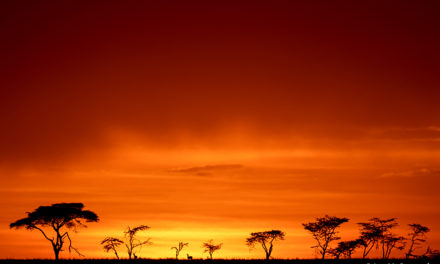
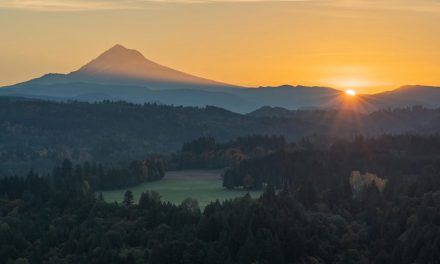
Alternative ways to utilize the KISS method are to silhouette iconic shaped landforms against a sunrise or sunset sky. Get creative— if the wind is blowing and flowers in the field are moving, use a slow shutter speed and allow the colors to paint the sensor. Use light to your advantage depending on its angle, intensity and color. Incorporate the use of flash to add light to the foreground to make it more prominent. By no means are these the only ways to make your landscapes simple And splendid. And if the conditions allow, incorporate a number of the above strategies into a single photo.
Before you press the shutter the next time you head out to make landscapes at your favorite destination, remind yourself to check the entire viewfinder for distractions and keep all of these tips in the forefront of your mind to create simple and splendid images. Each time you think about them, you’ll be reminded of just how satisfying a KISS is.
Keep Everything Sharp
As with the large majority of scenics, it’s best to have foreground to infinity sharpness. To accomplish this, use a wide angle as they have more inherent depth of field. Combine the wide focal length with a small aperture as the more the lens is stopped down, depth of field increases. If you have quality lenses, don’t be afraid to stop the lens down to ƒ/22 to attain max depth of field.
Once upon a time, it was recommended that one avoids very small apertures as they created aberrations. The lenses today have improved to the point where this is no longer a concern. To ensure you get maximum DoF, place the focus point at the hyperlocal setting. If you’re not familiar with the term, there are charts all over the internet that can be accessed. To make life simple, an elementary way to utilize the hyperfocal setting is to place the focus point one third into the composition. By no means should it be placed in the foreground or at infinity.
Use Selective Focus
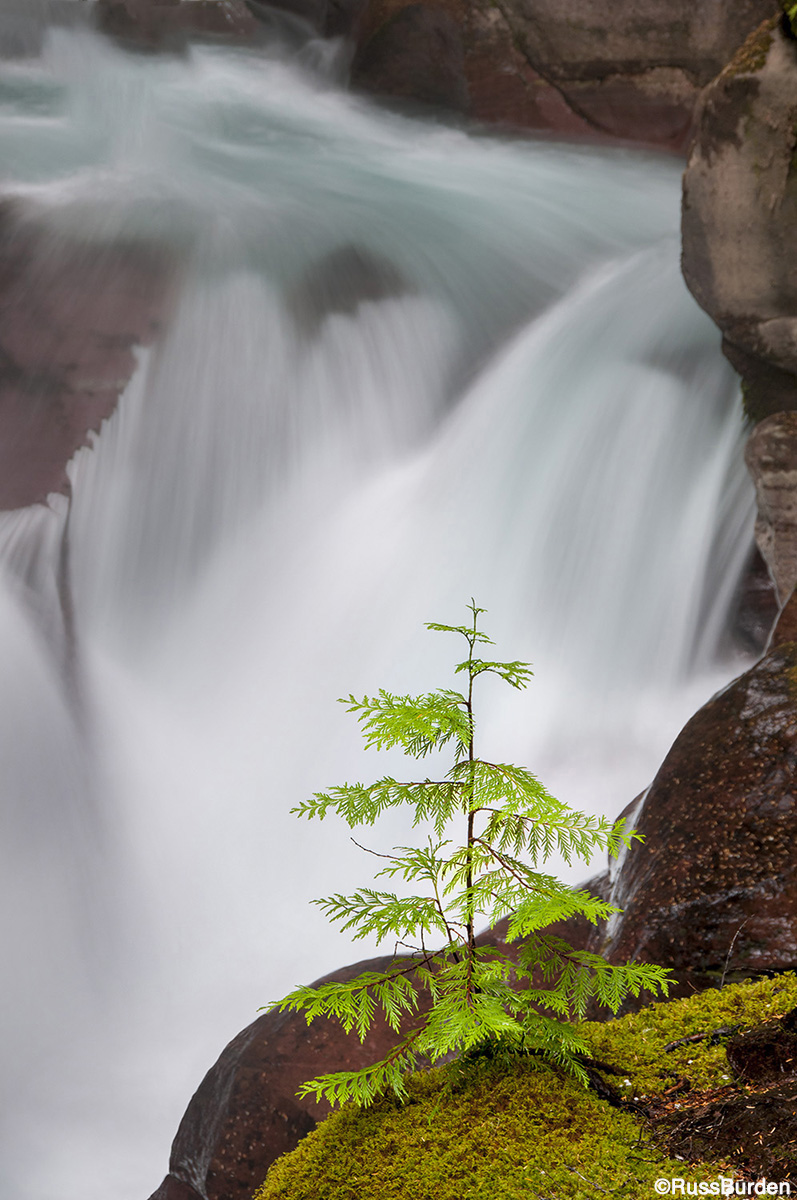
There are times when you want to draw the viewer’s eye to a single portion of the landscape and have everything else lack the same degree of sharpness. The reason for this is to attract the viewer’s eye to a dominant subject on a single plane. To create the effect, use a longer lens and set the aperture to its widest setting. Both of these strategies allow you to narrow the depth of field.
The accompanying image of the young evergreen offset against the falls was made at a medium focal length. I was lucky that it was offset against the falls at quite a distance. This allowed the tree to become the primary element. If I stopped the lens down to ƒ/22, it would have brought the background into sharp focus. I also placed it against the brightest part of the falls to create the most amount of separation.
Polarizer
A polarizer is every landscape photographer’s best friend and most used filter. It removes glare from reflective surfaces, which allows more color to be revealed. It creates more contrast between shadows and highlights when used at angles 90 degrees to the sun. It darkens a blue sky and makes clouds that are in the sky pop when used at angles of 90 degrees to the sun. Most landscape photographers use it for the latter.

In the accompanying image of the burgundy rocks and waterfall, I used a polarizer to demonstrate the fact that it helps remove glare. The water in this area had a huge spray radius. All the rocks in the image displayed a tremendous amount of reflections, bright spots and glare. I spun my polarizer to minimize these distractions, which helped enhance the saturation of color. Don’t overlook this underused capability of a polarizer.
Long Lens Landscapes
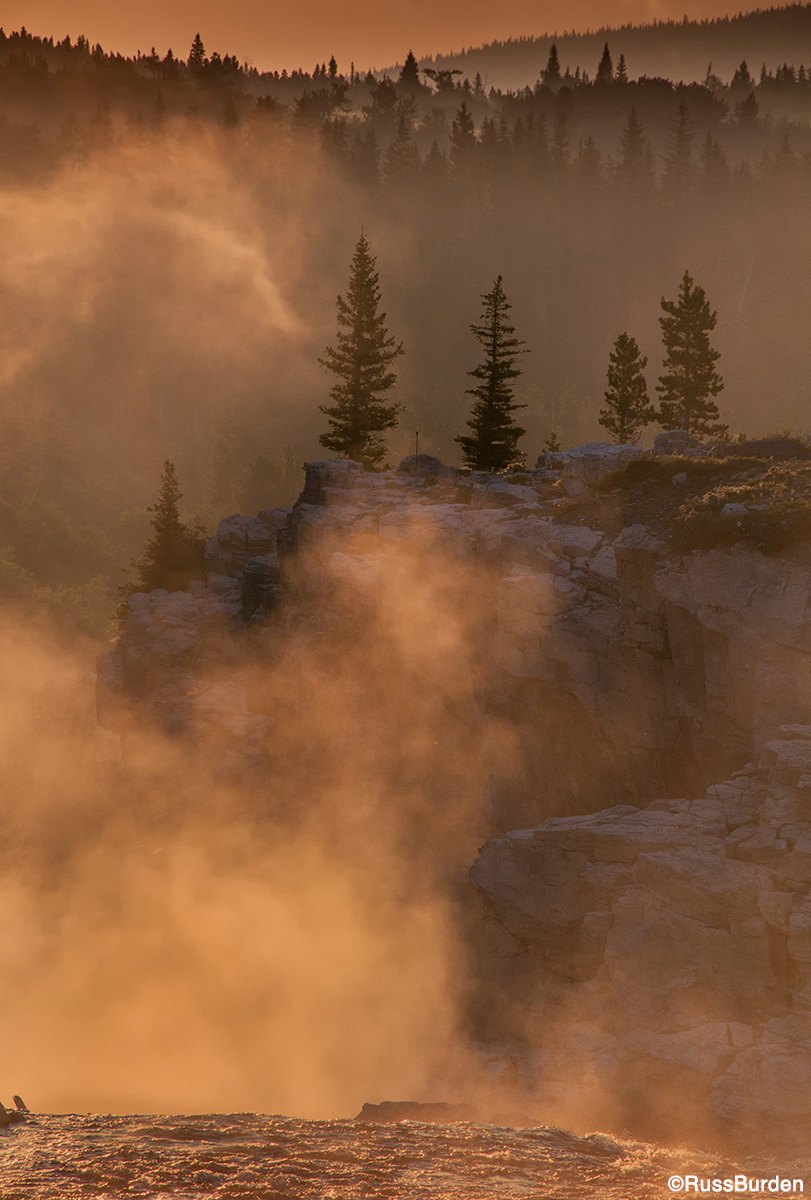
Most photographers don’t think “long lens” when it comes to landscapes. This is certainly valid, but as with everything in the art world, there are exceptions. Think about that gorgeous tree on the ridge line that stands out beautifully against the stormy sky. To show the mood of the scene, you want to get in close—long lens landscape! What about the iconic sea stack that lives in the Pacific with the morning light and rainbow just above it—long lens landscape. Don’t shy away from using a long lens to pull out landscape details. There’s a chance it may make the best shot of the day. In the image of morning mist and trees on the rock ledge, I used a focal length of 200mm to key into the swirling fog and rising mist from the cascade of water.
Shoot Landscapes From A Unique Angle
A tripod should most definitely be utilized for landscapes when shutter speeds are too slow for handholding. When you make a landscape, the ISO is low, a polarizer is on the lens and the aperture is stopped down. These three facts contribute to slow shutter speeds. To attain a sharp image at a slow shutter speed, the camera has to be stabilized—tripod to the rescue.
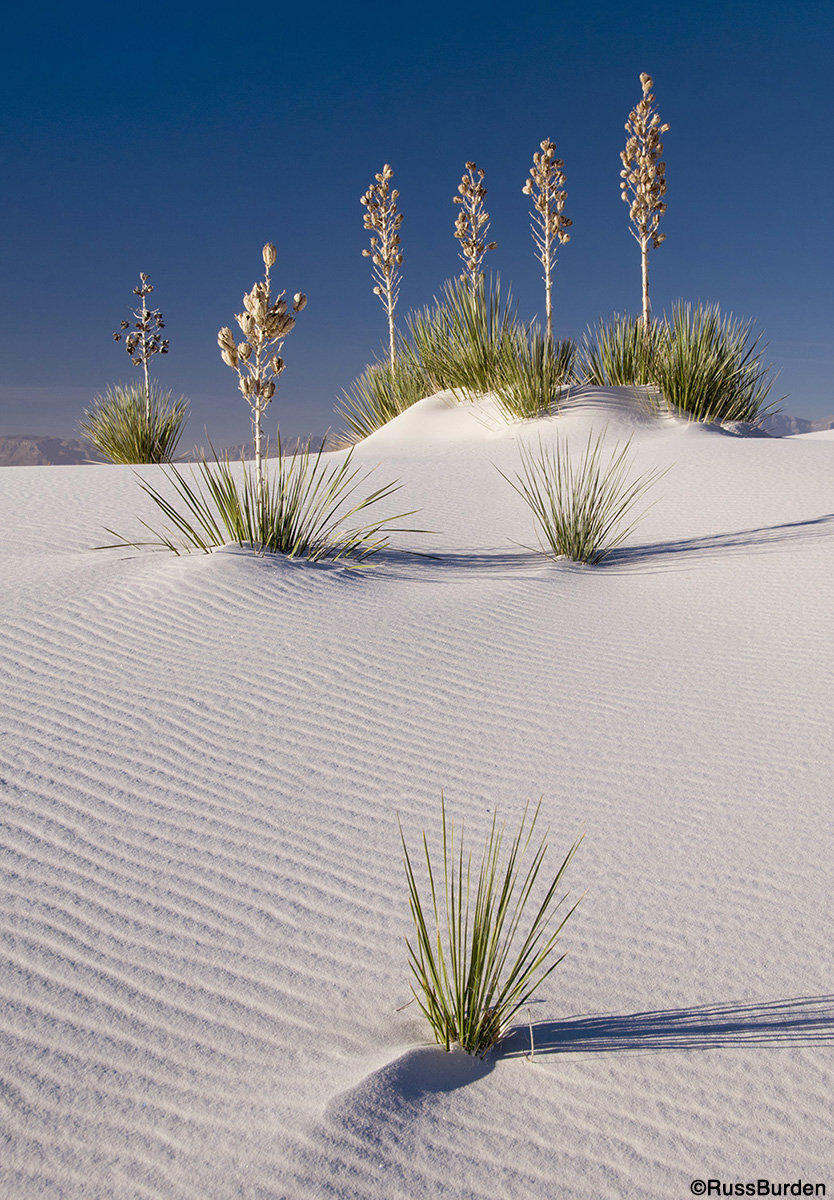
But that brings up a caveat if you make a photo from a unique angle. When a tripod is utilized, it’s natural to extend the legs and stand behind it at eye level. This makes it comfortable to use. The problem is that many landscapes images would be dramatically improved if they were shot from a low or different angle. Foregrounds would be more dominant and the photo would have more impact. Don’t fall victim to always shooting from an elevated tripod angle. In the image of the yuccas at White Sands, my tripod was very low to the ground to place an emphasis on the foreground and also lessen the difference in height between the foreground fronds and yuccas in the background.
Check next week’s tip for more ways to keep it simple and splendid.
Visit www.russburdenphotography.com for information about his nature photography tours and safari to Tanzania.
The post KISS The Landscape, Part 1 appeared first on Outdoor Photographer.