As photographers, we strive to press the shutter at the decisive moment to capture and preserve facial expressions and emotions, whether it be of people or wildlife. In part two of this three-part series, I’ll cover more considerations to help you develop an “Eye for an Eye.” Be sure to check out last week’s Tip of the Week to catch up on part one.
Aperture Priority
Start to shoot in aperture priority mode. It allows you to control the look of your backgrounds when you make a portrait. With any given lens, with the subject being a fixed distance from the background, photographs made in the ƒ/2.8 to ƒ/5.6 range will have less of the background in focus than if the image was made at ƒ/8 to ƒ/22. An out-of-focus background is desirable in that the subject is offset against a wash of color, which allows it to be the center of interest. As the focal length of the lens increases, so does the effect.
Additionally, the farther away the subject is from the background, the more out of focus the area behind the animal or person will be. If the subject is close to the background, it may be impossible to achieve the look of a wash of color. (Manual mode also allows you to choose the given aperture, but you have to set the correct shutter speed in conjunction with it to establish a proper exposure.)
For example, I want to photograph a person with as much background out of focus as possible. My first step is to set the camera to Aperture priority and dial in an aperture of ƒ/4. Step two is to move the subject as far away from the background as possible. The farther away the background is, the more out of focus it will be. Step three is to choose a lens of 100mm or longer. The longer the lens, the more pronounced the effect. The combined steps should net a pleasing image.
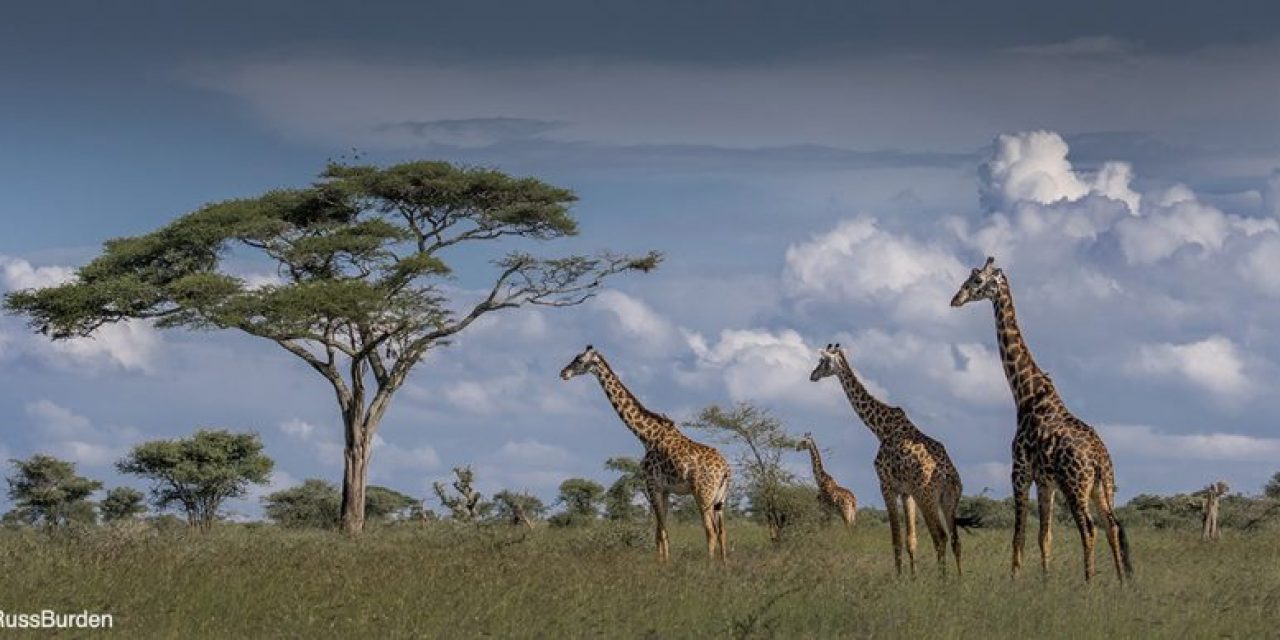
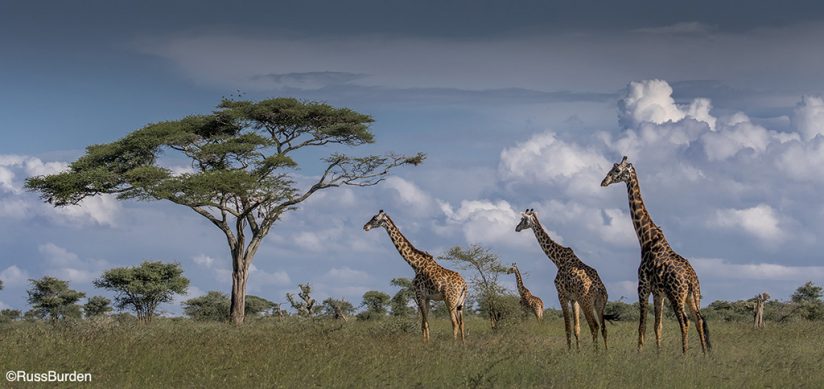
With the above being said, in certain cases, a photo with both the animal or person and background in focus can be more effective. This is especially true if you want to show the subject in its environment, otherwise known as environmental portraiture.
To accomplish this, turn the aperture ring to ƒ/11, ƒ/16 or ƒ/22. The higher the number, the greater the depth of field. This results in a greater range of focus. Switch to a wider lens. The wider the lens, the more inherent depth of field there will be. Establish a comfortable distance from the subject so more of the landscape can be included in the composition. Learn to use aperture priority more effectively so you can become a better portrait photographer.
Lenses
Lens choice is critical if you want to learn how to develop an “eye for an eye.” Wide-angle lenses work better if you want to capture large groups in tight quarters. They can produce disastrous results with distorted and exaggerated facial features when making tight headshots. Sometimes, the effect can be comical but otherwise, not aesthetically pleasing. Learn what focal length works best for a given situation.
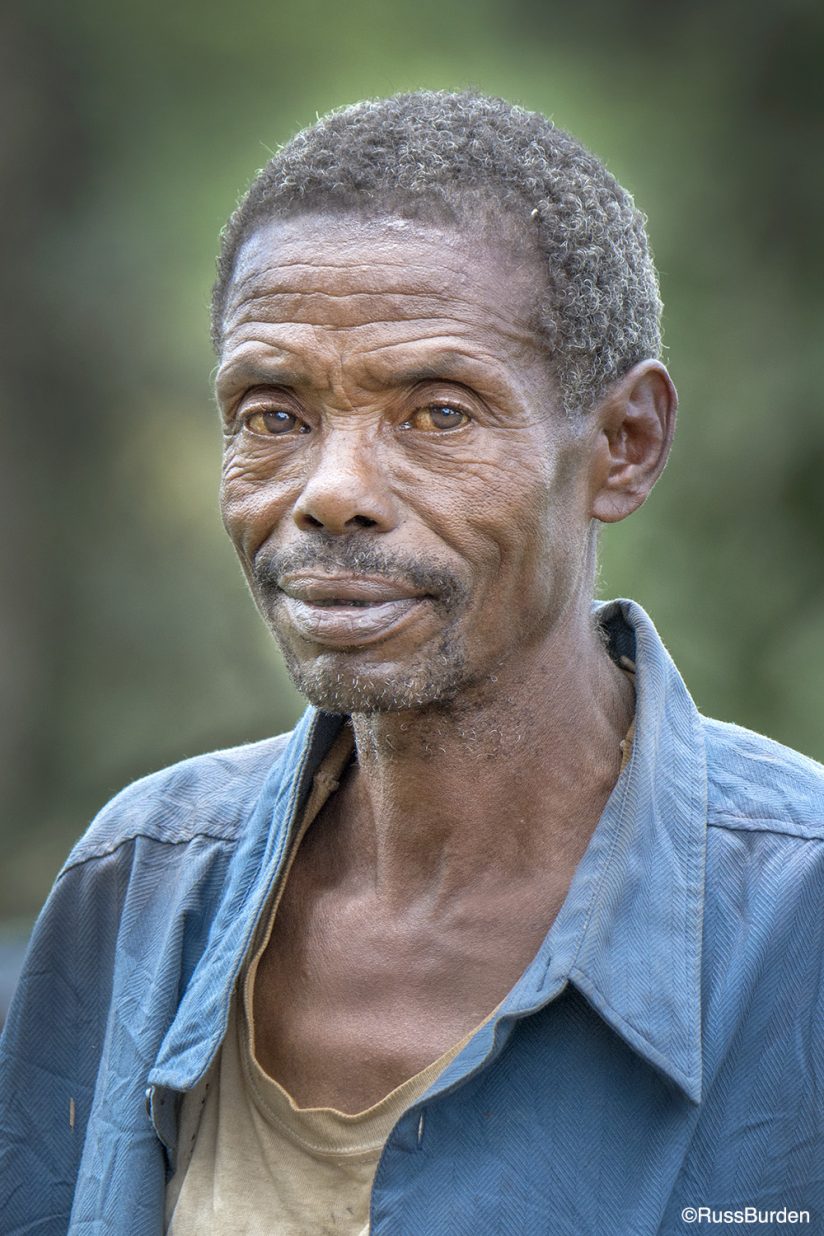
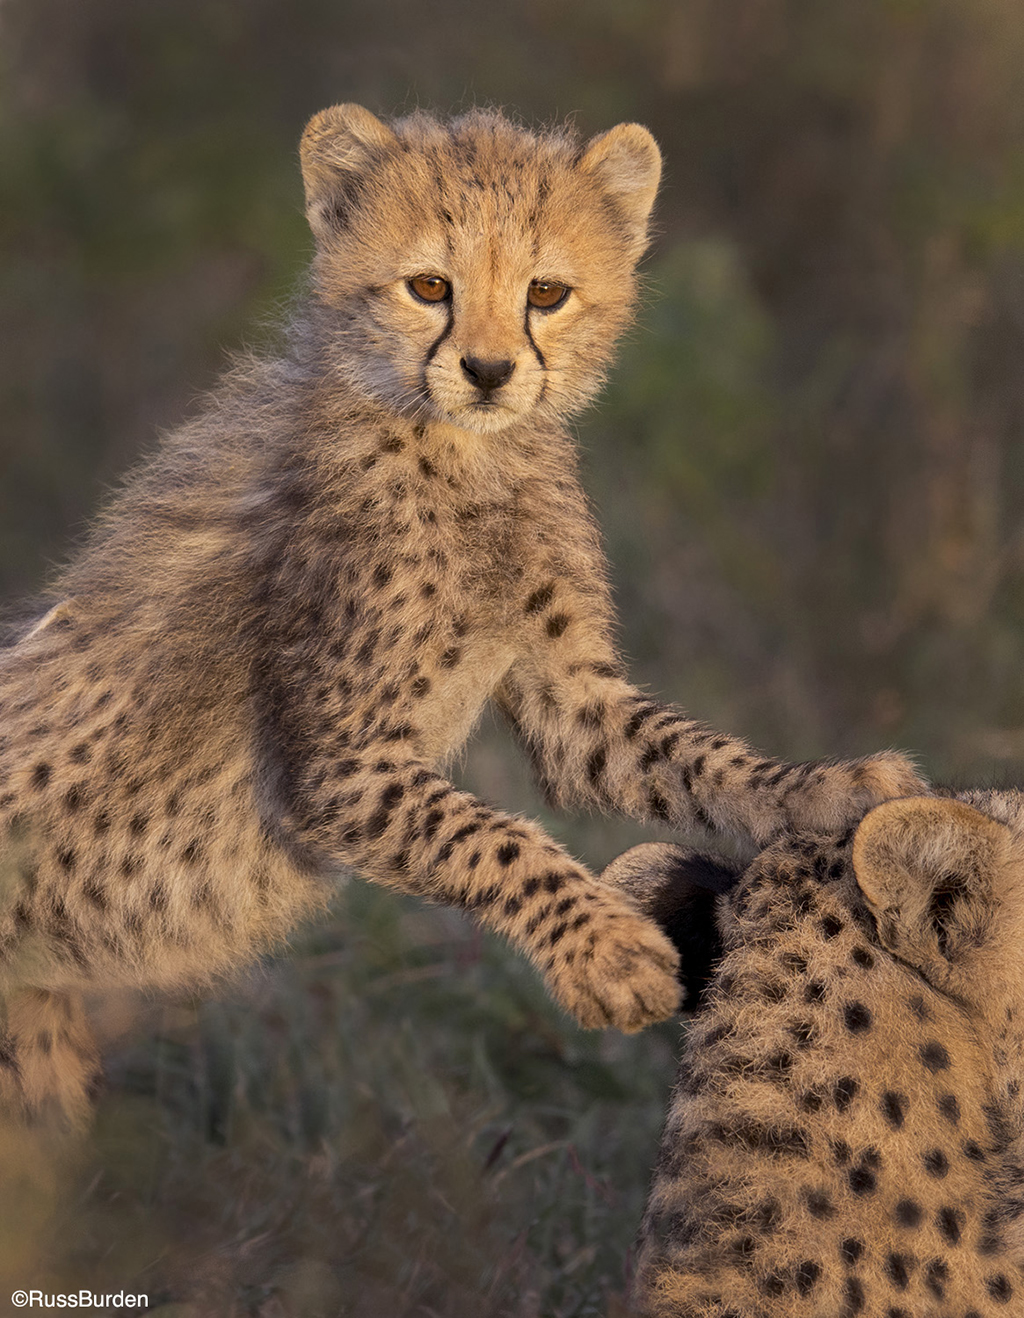
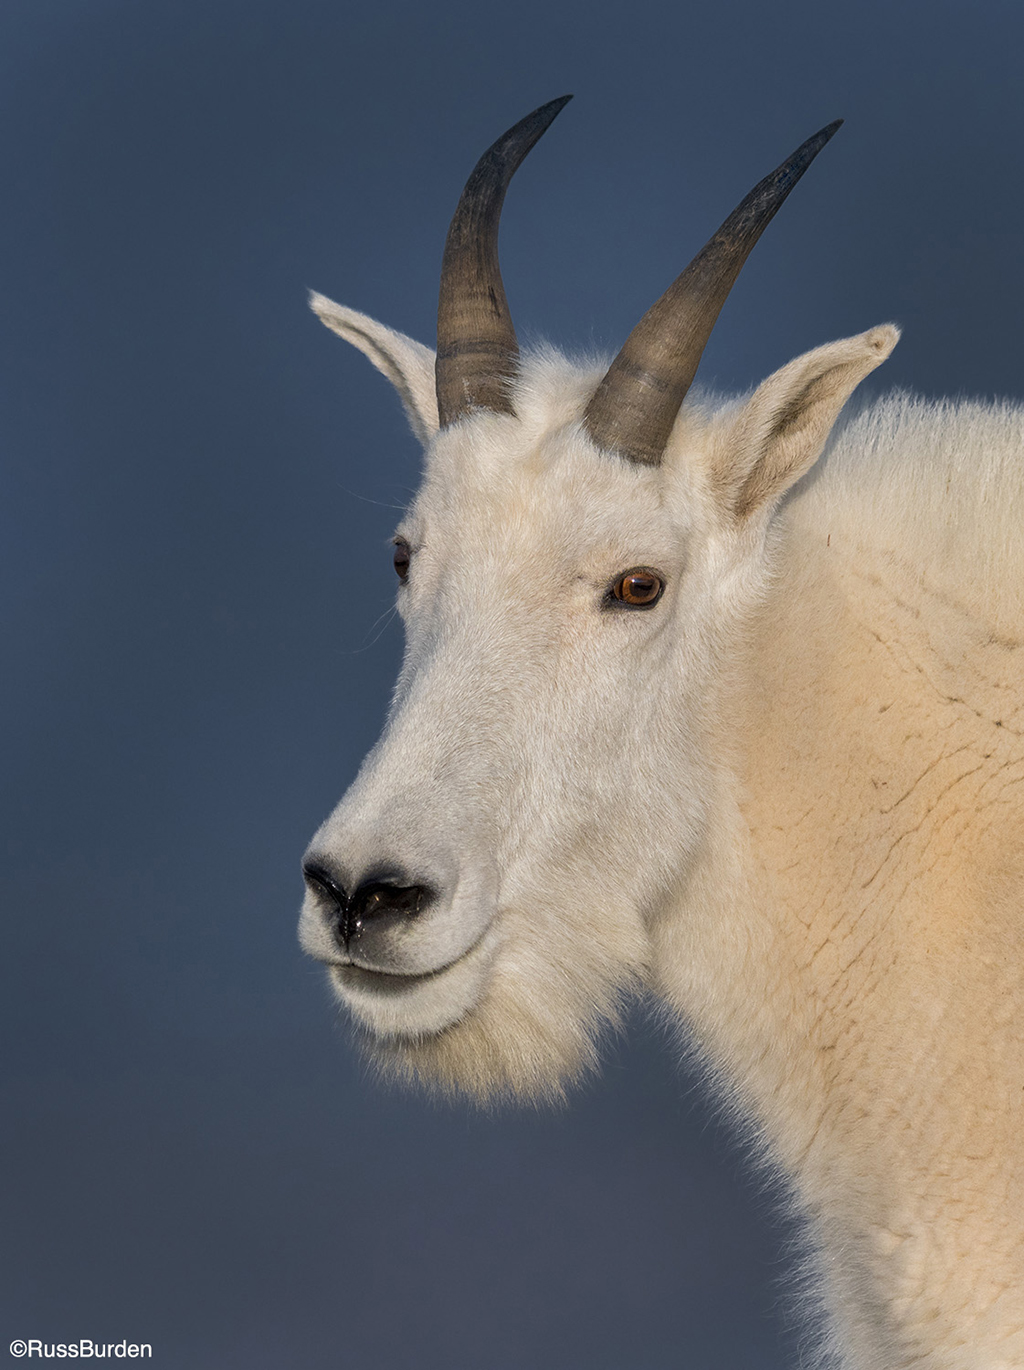
Certain standards have evolved netting the best results. For solo portraits of people, focal lengths of 100mm to 200mm produce a natural look. For wildlife, if it’s not dangerous to you or the animal, these focal lengths also work well, but for subjects that are dangerous or far away, longer telephotos or primes are the lens du jour.
Ultra wide-angle lenses distort the subjects and create longer noses, rounder chins and wider foreheads. Longer lenses typically compress facial features to make them flatter. A photographer can deviate from the above guidelines based on the following: the number of subjects being photographed, the tightness of the quarters, if you want to create a special effect and proximity of the subject distance.
Check out next week’s Tip of the Week for more information on how to control the overall look of the portraits you create so you can develop an “Eye for an Eye.”
Visit www.russburdenphotography.com for information about his nature photography tours and safari to Tanzania.
The post Develop An Eye For An Eye In Portraiture, Part 2 appeared first on Outdoor Photographer.