Please review the previous two week’s Tip of the Week to learn how to incorporate backlight into your indoor and outdoor nature photography shots in addition to a few tips on how to utilize it to make better people images.
Concerns When You Incorporate Backlight
The two most important concerns when you make backlit subjects are flare and exposure. To deal with flare, be sure to shade your lens to prevent the sun from striking your front element. In the nature studio set up I have in my basement, I channel light away from my lens using sheets of cardboard on the side of my flash. In the field, I block the sun’s light from hitting the front element using whatever I have at my immediate disposal. A lens shade helps, but when you’re close to 180 degrees from the sun, it has little effect.
Since the majority of my shooting is done with my camera on a tripod, I walk around to the front of the rig and hold my hand above the lens. I move it until I create a shadow over the front element. Some people use a hat, newspaper or other means. Regardless of the tool, the key is to prevent light from entering the lens.
When wide-angle lenses are used, it becomes even more tricky. It’s a fine line between shading the lens and not getting the item that’s shading it in the image. Unfortunately, I found this out the hard way and discovered my palm in the corner of the sky of some very nice images. If it’s possible, have a friend look through the viewfinder while you’re shading the lens to see if any gremlins appear, and be sure to check the LCD to verify you didn’t create an “Oops.”
Flare can also be reduced by using as few filters as possible. Each extra glass surface you attach to your lens, you increase the chance of light bouncing around its insides. Additionally, keep the front element of your lens as clean as possible to help reduce the risk.
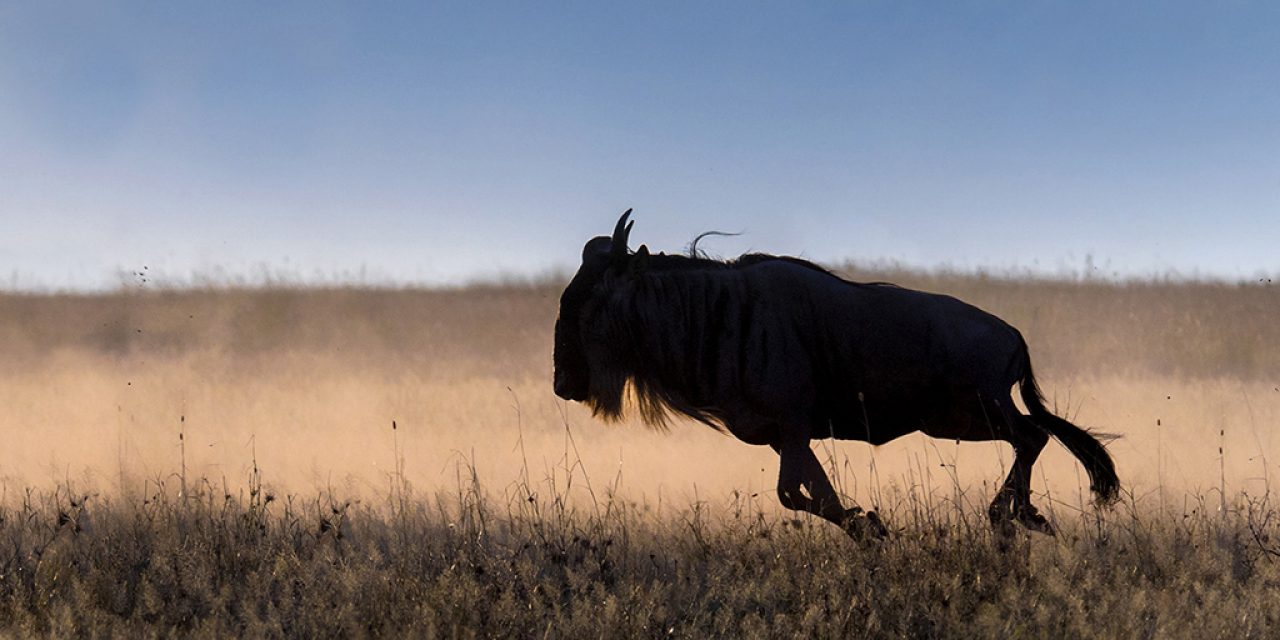
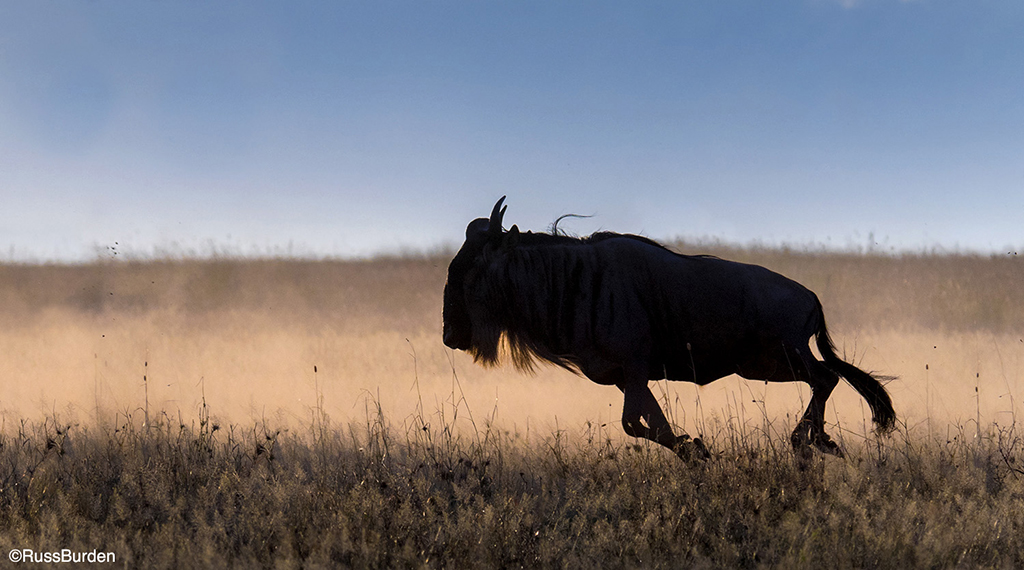
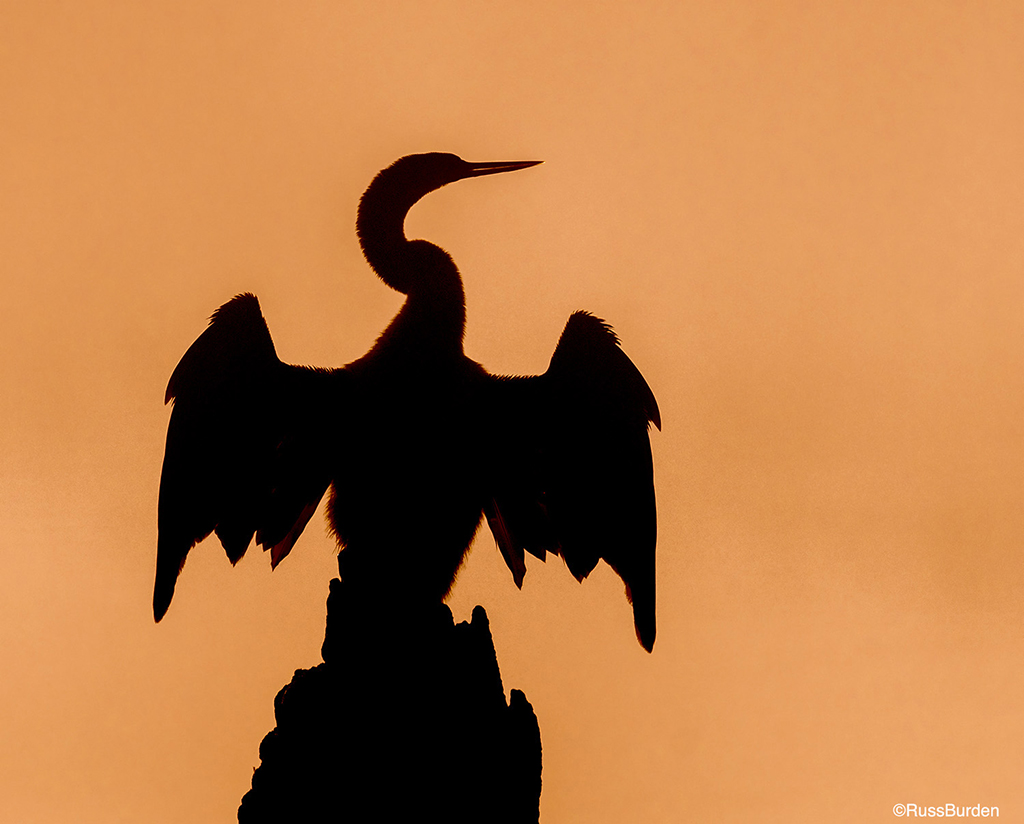
The higher the sun is from the horizon, the greater the chance of flare because there’s less atmospheric haze and pollution to block the sun. This makes the light more intense, adding potential flare problems. With this in mind, the higher in the sky the sun is located, the more intently I look for an intriguing subject to partially obscure its presence.
If I have only a section of the sun falling into my lens, the chance of flare is reduced. Trees, buildings, a sailboat’s mast, mountain peaks, etc., all work well to accomplish this.
A serendipitous side effect can be the addition of a sunstar. Let just a small portion of the sun become visible and stop your lens down to ƒ/22. Depending on the lens that’s attached to your camera, different shaped sunstars can add drama to the photograph.
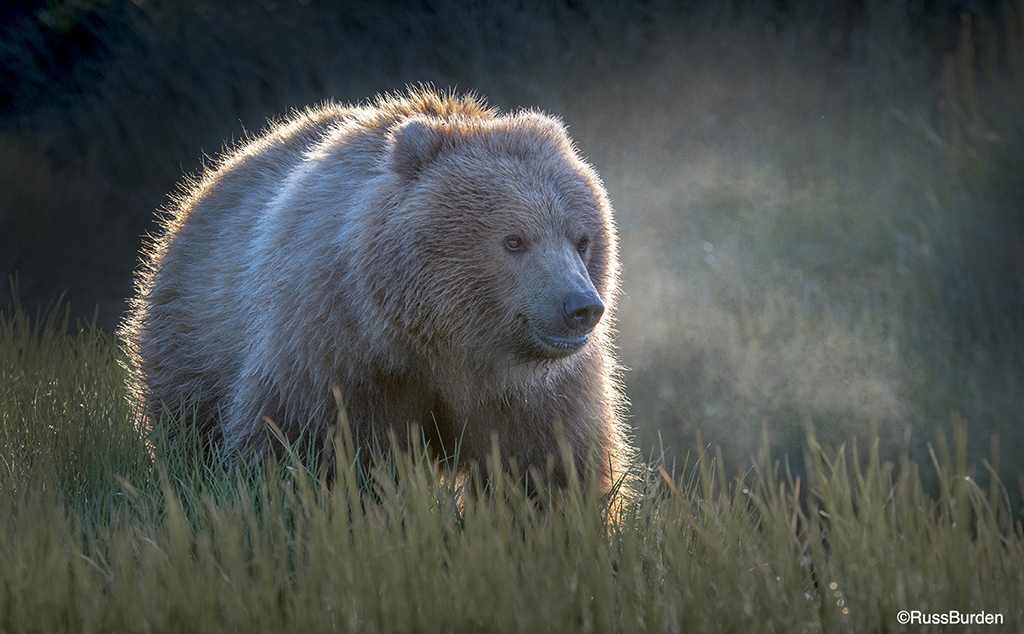
In regard to exposure, the best recommendation I can make is to use spot metering and take a reading off the most critical area of the backlit subject. Verify the end result on your LCD. Until you feel comfortable learning how to read backlight, I suggest you bracket to ensure you get the exposure you desire.
As with any new technique, go out and experiment. Quite often, a mistake can open up a whole new world of photography. With backlighting, there’s a lot of forgiveness in what constitutes a perfect exposure. With this in mind, go out and have some fun. You’ll more than likely come home with winners.
Visit www.russburdenphotography.com for information about his nature photography tours and safari to Tanzania.
The post Create Dramatic Light With Backlight, Part 3 appeared first on Outdoor Photographer.