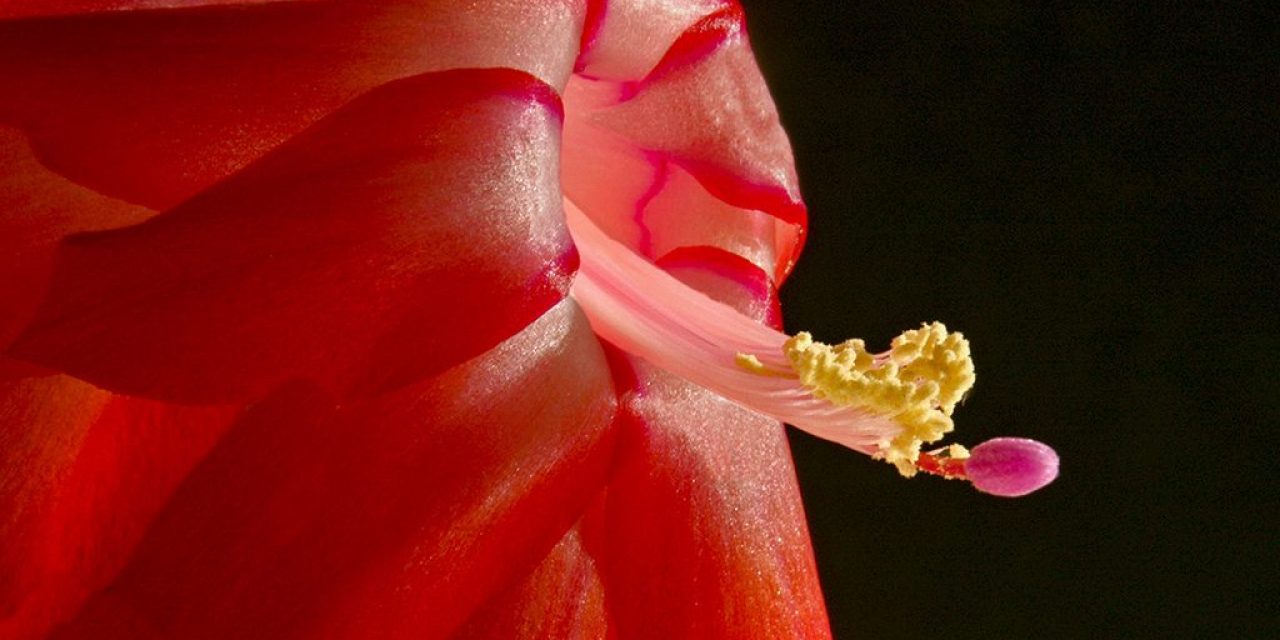
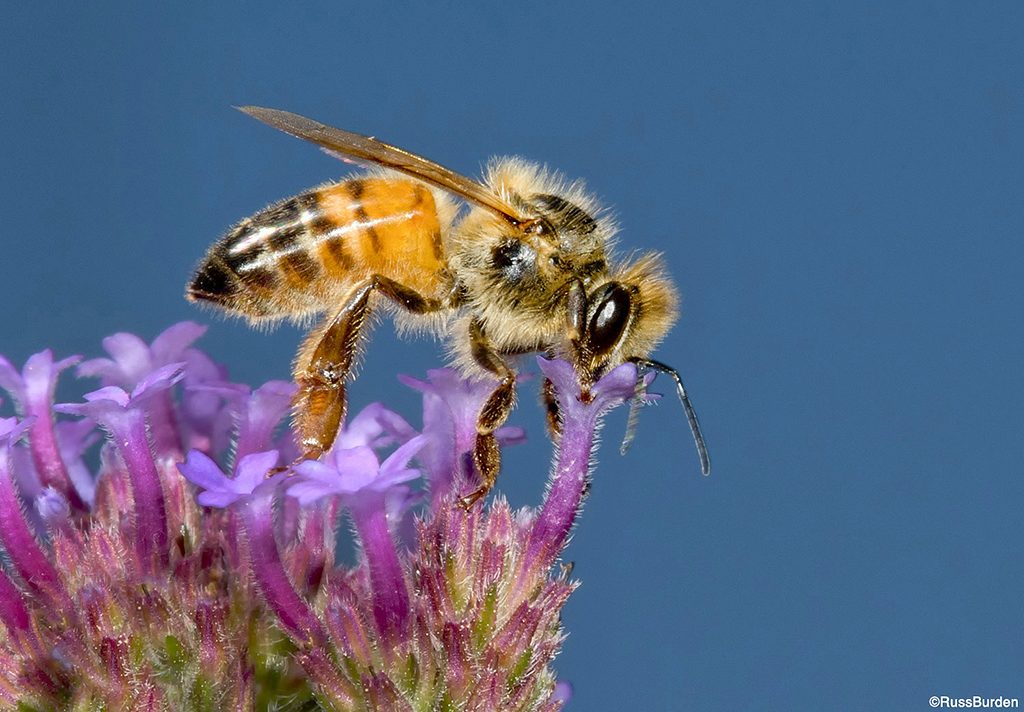
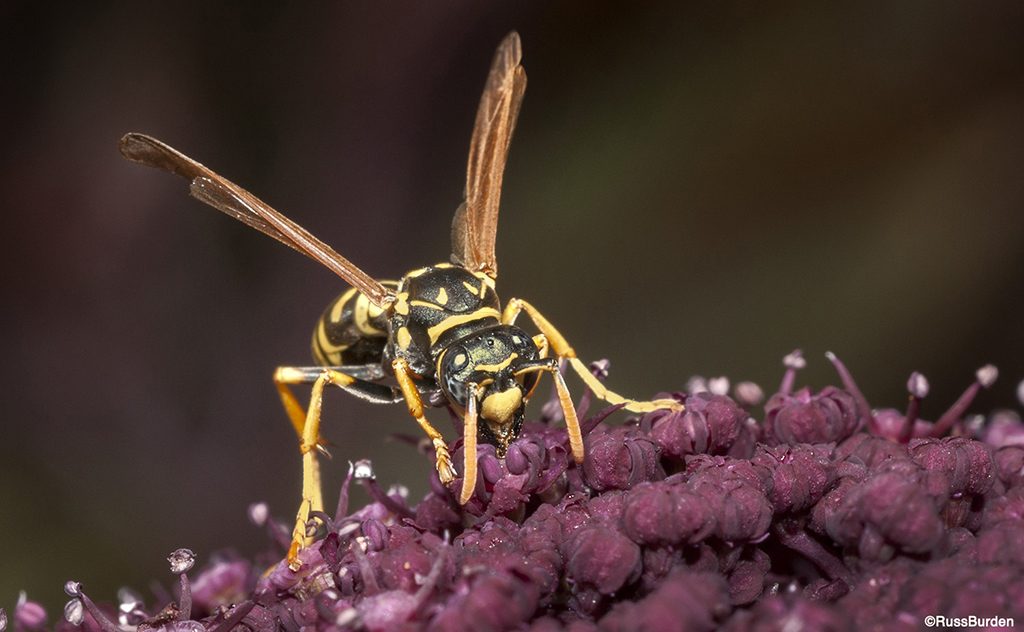
I primarily photograph wildlife. This means I seldom work in a controlled environment. I love the challenge of capturing subjects in natural light, in their own environment and on their terms. But when it comes to flowers, which don’t move, and some insects that have been raised under controlled conditions, I sometimes succumb and take charge of the entire shoot: lighting, background and positioning of them.
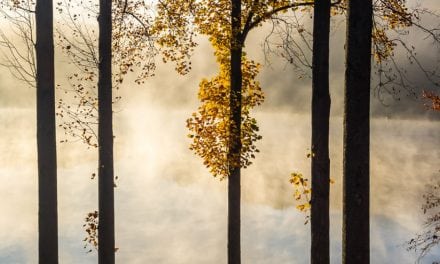
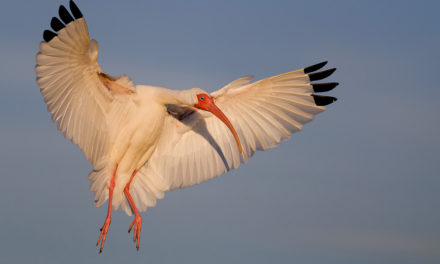
Since many of us have a little more free time on our hands these days, there’s never been a better time to find some macro subjects in your own backyard. Here are six macro background tips and tricks.
Artificial Background Materials
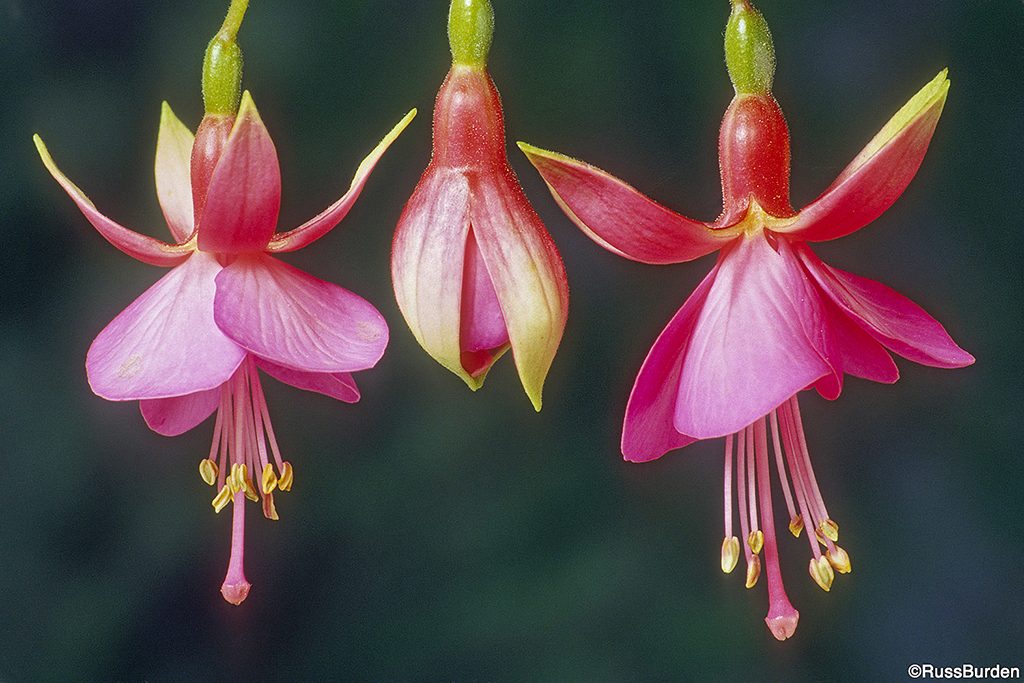
I often use an artificial background, which is simply a sheet of colored or hand-painted cardboard. I usually use a sheet of black oaktag, but when I want a more natural look, I use one that’s solid green or one that I’ve painted a mottled green.
Illuminating With Flash
My main lights are flash and I incorporate anywhere from two to four units. If the background piece is a solid color, its placement isn’t as critical. If I use my hand-painted mottled version, I place it out of the range of focus of the aperture at which I make the photo. I do this so the mottling on the cardboard appears to blend together in a soft and pleasant way.
Flash To Control Light
I use flash as it gives me full control of the light. I can individually adjust the output of each, so if I want to provide a highlight on one side of the subject, I simply increase the power of the flash on that side. As a result, I can produce any light ratio I desire. I always use one flash on the right side of my subject and another on the left. If I power them evenly, it gives the appearance of even wraparound light. If I increase the power of one and base my aperture on its given output, I create the look of a stronger light source coming from either the right or left. I base this on my desired composition and the effect I want in the end.
Flash To Control Background
I can also control the background via the use of flash. To accomplish this, I add a small third flash that I keep close to the piece of cardboard behind the subject. I have the option of moving that flash closer to the cardboard to brighten the background or doing the opposite to darken it. I can also power it up or down to create the same effect. In some cases, it’s good to show off what’s behind the subject and in others, it’s best to subdue it.
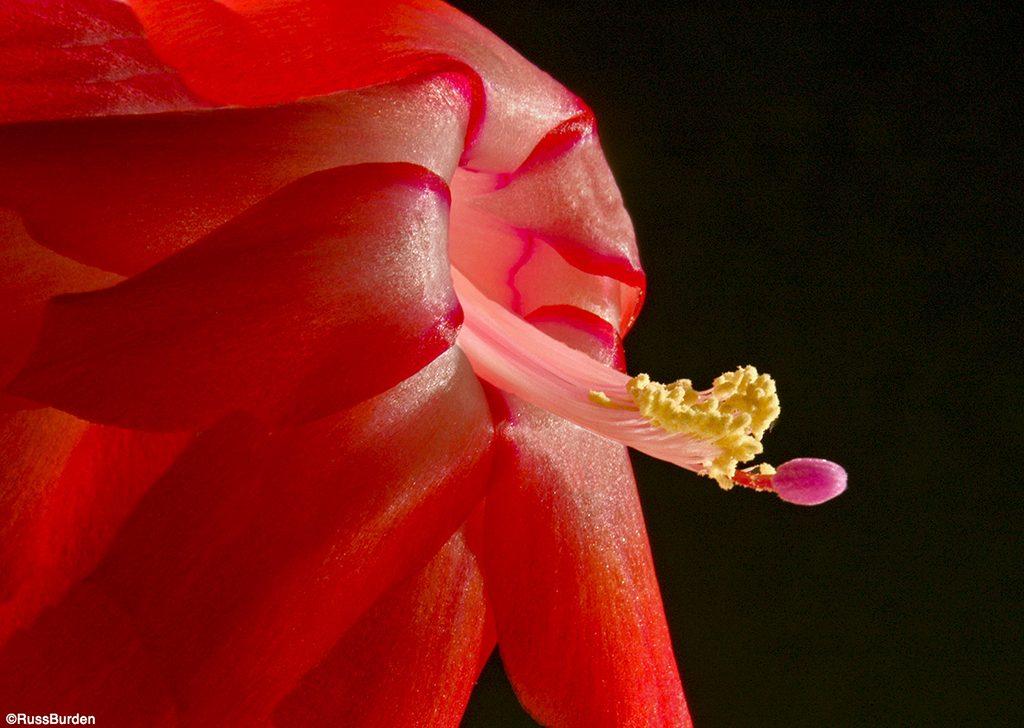
Creating A Black Background
To create a black background, I have two options. The simplest is to use black illustration board and not light it. The second comes about as a result of using two flashes as my main light. Since light from a flash falls off very quickly, if I power up my two main lights so I have to use an aperture of ƒ/16 or ƒ/22, even if I have a green board behind the subject, it will go black as a result of light falloff. If I’m in the field on a sunny day at noon and I want a black background, this is the technique I use.
If I were to use an aperture of ƒ/8 or ƒ/11, there’s enough daylight to light up the background. But if I stop my aperture all the way down and use high-speed flash sync so I can attain a shutter speed of 1/1,000th of a second, my background will be totally dark.
I sometimes like the look of a black background as it makes the subject pop. The subject becomes the only part of the photo that receives light so the viewer’s eye is brought directly to the primary focal point. If a lack of separation between some petals occurs or if the flower and the black background merge, I use my third flash to backlight the subject. This provides a halo or rim light that adds even more drama to the photograph.
Overcast Conditions
If it’s an overcast day and the background goes black but I want to depict detail, I simply lower the shutter speed to let in ambient light. Experiment using slower and slower shutter speeds until you achieve the look you crave. Be sure to use a tripod in this situation in case you need to slow down the shutter to speeds in the 1/30th of a second range. The more creative you can become with your small flashes, the more dynamic your macro subjects will appear.
Visit www.russburdenphotography.com for information about his nature photography tours and safari to Tanzania.
The post 6 Creative Macro Background Tips appeared first on Outdoor Photographer.